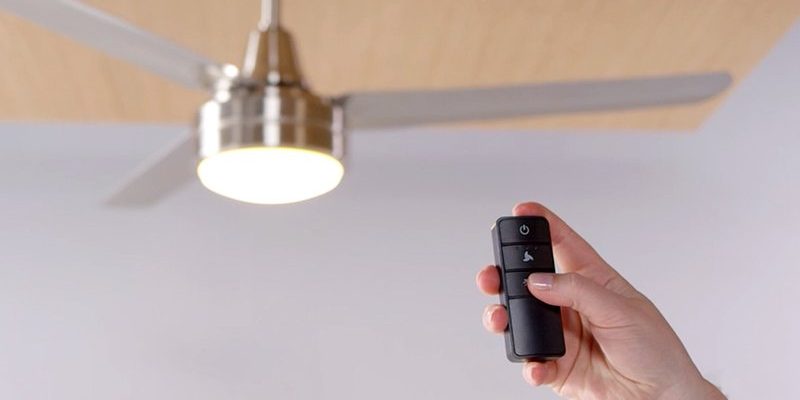
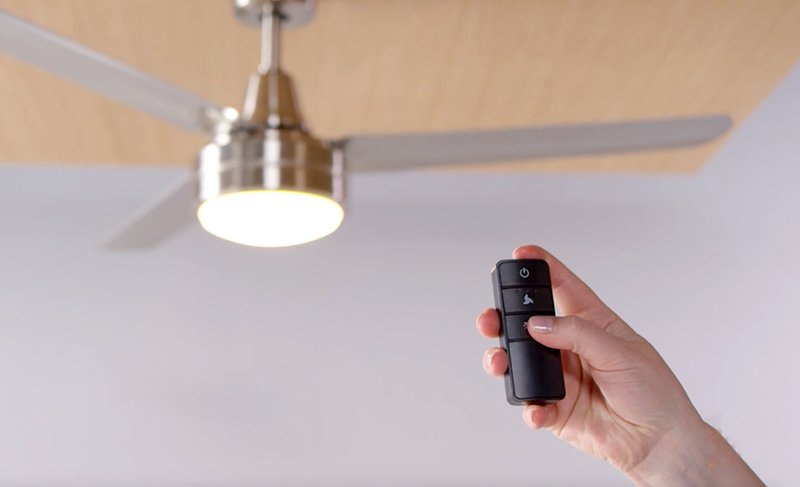
Here’s the thing—when a ceiling fan remote starts blinking nonstop, it’s usually trying to tell you something. Think of it like the check engine light for your fan. Sometimes it’s a quick fix, other times it takes some patient sleuthing. The remote itself is a simple battery-powered gadget, but it “talks” to the ceiling fan’s receiver using a radio code. When communication breaks down, the blinking begins.
Let me explain the most common reasons, walk you through some practical fixes, and make sure you won’t have to play the blinking-remote guessing game again. Whether you just installed your Hampton Bay fan or it’s been running quietly for years, understanding this quirky little signal can save you both frustration and time.
What Does a Blinking Hampton Bay Ceiling Fan Remote Mean?
When you notice the remote light blinking, it’s not just being dramatic. That flashing LED is an internal status update—basically, the remote’s only way to say, “Hey! Something’s off here.” While different Hampton Bay remotes have slightly different behaviors, most use blinking to indicate a failure to connect, a low battery, or an internal error.
Continuous blinking usually means the remote is trying and failing to sync with the ceiling fan’s receiver. It’s like making a phone call but never getting past the dial tone. Sometimes you’ll see rapid flashes, and sometimes it’s more of a slow, steady beat. Each pattern can point toward a specific problem: pairing, battery, or code mismatch.
You might be wondering, “Do all remotes blink the same way?” In general, Hampton Bay remotes are pretty standardized, but always check your model’s manual for oddball features. Still, a blinking light almost always boils down to a handful of common issues—nothing you need to call the electrician about just yet.
If the fan responds to other controls (like a wall switch or the pull chain), but the remote keeps blinking, that’s a big clue the problem is isolated to the remote, not the entire ceiling fan system.
Common Reasons Your Hampton Bay Remote Is Blinking
Let’s run through the main culprits—think of it as a quick troubleshooting flowchart, minus the corporate jargon.
- Low or dead batteries: The simplest fix, but often the most overlooked. When your remote’s battery drops below a certain voltage, the LED can blink as a warning. It’s not subtle, but it gets the point across.
- Remote needs to sync or pair: If your fan and remote have lost their handshake (maybe after a power outage or battery swap), the blinking means the remote is stuck searching for its buddy.
- DIP switch code mismatch: Older Hampton Bay models use tiny switches inside both the remote and receiver to “set the code.” If these are even a little misaligned, the remote’s light will blink, but nothing happens.
- Signal interference or receiver problem: Other wireless devices, thick walls, or even just a glitchy receiver inside the fan housing can stop the signal, leaving the remote blinking in vain.
Honestly, nine times out of ten, it’s either the battery or the code. But it pays to consider them all, especially if you’re troubleshooting for the first time.
How To Reset or Pair Your Hampton Bay Fan Remote
Resetting and re-pairing a ceiling fan remote sounds more complicated than it is. Picture this like reintroducing two old friends who drifted apart. Most Hampton Bay remotes have a clear reset or pairing method—typically involving holding a specific button or toggling a switch.
Basic reset steps:
- Turn off power to the fan at the circuit breaker (yes, all the way off, not just the wall switch).
- Wait at least 60 seconds. This helps discharge any stored energy and gives the receiver time to “forget” its old connection.
- Turn power back on.
- Press and hold the “Sync” or “Learn” button on the remote (often hidden in the battery compartment) for 5–10 seconds.
- If all goes well, the fan light will blink or the fan will start spinning—confirmation you’ve paired successfully.
Not every remote has the same buttons. If yours is missing a dedicated “Learn” button, sometimes pressing both “Fan Off” and “Light On” together does the trick. Hampton Bay’s manuals don’t always spell this out, so a bit of trial and error is normal.
Stick with it—sometimes it takes two or three attempts. Hold the button down the full 10 seconds, even if your thumb gets tired.
Checking and Changing the Battery in Your Remote
It may seem obvious, but you’d be shocked how many people overlook the humble battery. Even a half-drained battery can cause a Hampton Bay ceiling fan remote to blink endlessly while never actually sending a strong enough code to the fan.
How to swap the battery:
- Flip the remote over and slide off the back cover. Most models don’t require a screwdriver for this.
- Note the battery size—usually a 12V A23 or a pair of AAA batteries.
- Pop in a fresh set, making sure the polarity matches the diagram (otherwise, it simply won’t work).
- Before snapping the cover back, check for corrosion or loose connections in the battery compartment—a rare but possible issue.
If you replace the battery and the remote still blinks, you can cross this off your list and move on. But if the blinking stops and the fan responds, you’ve just solved the problem for a couple bucks and five minutes of your time.
Understanding DIP Switch Codes and Receiver Settings
Let me get a little nerdy for a second: some earlier Hampton Bay fans use DIP switches for remote programming. These tiny switches set a unique “code” so that your remote doesn’t accidentally control the neighbor’s fan.
Here’s how it works: Inside both the remote and the fan’s receiver (in the housing above the blades), you’ll find a row of mini switches. They must match exactly—up is up, down is down. Even a single switch out of sync will cause your Hampton Bay remote to blink continuously and do nothing else.
How to check and adjust DIP switches:
- Turn off power to the fan for safety.
- Open the battery compartment of the remote and look for the DIP switch row.
- Use a small screwdriver to open the fan housing (usually 2–3 screws near the ceiling).
- Locate the matching set of DIP switches on the receiver. Compare them, and set each switch in the same position as the remote.
- Secure everything, restore power, and test the remote again.
This whole process feels a bit like safe-cracking, but it’s a critical step for reliable operation, especially in homes with multiple ceiling fans.
Troubleshooting Signal and Interference Issues
Wireless signals are a bit like toddlers—they get distracted easily and don’t always do what you expect. Other wireless devices (garage door openers, Wi-Fi routers, even baby monitors) can interfere with the fan’s radio signal, especially if they’re on similar frequencies.
Common interference culprits:
- Large metal fixtures or mirrors near the fan that block the signal.
- High-powered electronics (microwaves, routers) on the same frequency band.
- Obstructions inside the ceiling housing such as electrical tape, insulation, or just a poorly installed receiver.
If you’ve recently added new devices to your home, or rearranged furniture near the fan, this could be the cause. Try standing closer to the fan, or removing nearby electronics to see if the blinking stops. Sometimes relocating the receiver inside the housing (even just an inch or two) helps boost the signal.
If you’re in an apartment or duplex, your neighbor’s remote could technically be the culprit—but that’s rare with properly set DIP switches.
Differences: Hampton Bay Remote vs. Universal Ceiling Fan Remote
You might be curious whether switching to a universal fan remote could solve your blinking problem once and for all. Here’s the lowdown: Universal remotes are designed to work with a wide range of ceiling fan brands, but they still require proper pairing and sometimes DIP switch code alignment.
Why stick with the original Hampton Bay remote? Because it’s calibrated to the fan’s receiver from the factory, it tends to be more reliable and less prone to “blinking confusion.” Universal remotes work great as replacements, but you’ll need to follow the exact same pairing steps and troubleshoot signal issues just like with the brand remote.
If you’re frequently losing or replacing remotes (kids, pets, life), a universal remote is a solid backup option. Just expect an extra round of setup the first time.
When To Replace the Remote or Receiver
Sometimes, despite your best efforts—fresh batteries, matching codes, resetting everything—the remote keeps right on blinking. That’s when you have to consider that either the remote or the receiver (the small black box inside the fan housing) could be faulty.
Signs you need a replacement:
- Remote light blinks, but never controls the fan or lights—even after resetting, new batteries, and code checks.
- Receiver makes a buzzing noise, overheats, or doesn’t respond to any remote input.
- Multiple remotes fail to control the same fan (meaning the issue is almost certainly in the receiver, not the remote).
Most hardware stores sell replacement Hampton Bay remotes and receivers, or you can order directly from the manufacturer. If you’re comfortable with DIY wiring, replacing the receiver is straightforward—just make sure to shut off the circuit breaker first. If not, an electrician can swap it out in under an hour.
Finishing Up: Regaining Control of Your Ceiling Fan
A blinking Hampton Bay ceiling fan remote doesn’t have to mean hours of frustration or a costly replacement. Most of the time, the fix is simple—swapping a battery, syncing the code, or moving a receiver. With a little patience (and maybe a screwdriver), you can rescue your remote from its “blinking fit” and get your fan working smoothly again.
As you get more comfortable with your ceiling fan’s quirks, you’ll notice how often small changes—like a fresh battery or double-checking those tiny DIP switches—make all the difference. Don’t let a little blinking stop you from loving your cool, comfortable space. And next time the remote starts to blink, you’ll know exactly what it’s trying to say.