Here’s the thing: Hunter is a well-known ceiling fan brand, and their remotes keep getting smarter. But even with their user-friendly design, the symbols and layout can be confusing, especially if you’ve just installed the fan or changed the batteries. Whether you’re trying to dim the lights, reverse the fan direction, or just sync your remote, understanding every button can save time and frustration. Let me explain every button, what it controls, and how to use them *without* needing an engineering degree.
Hunter Ceiling Fan Remote Button Layout: What You See
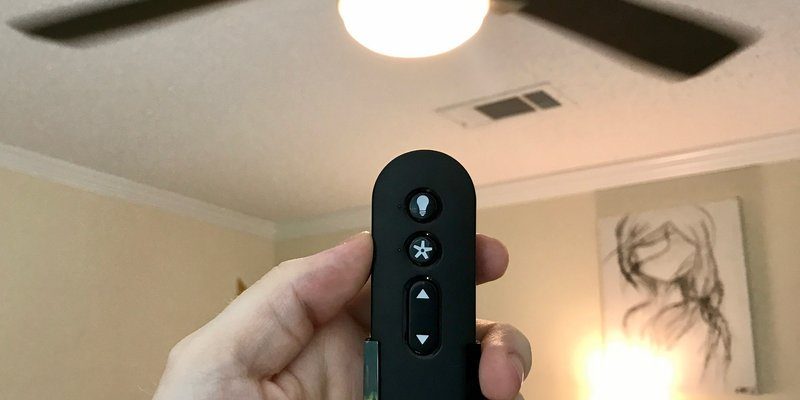
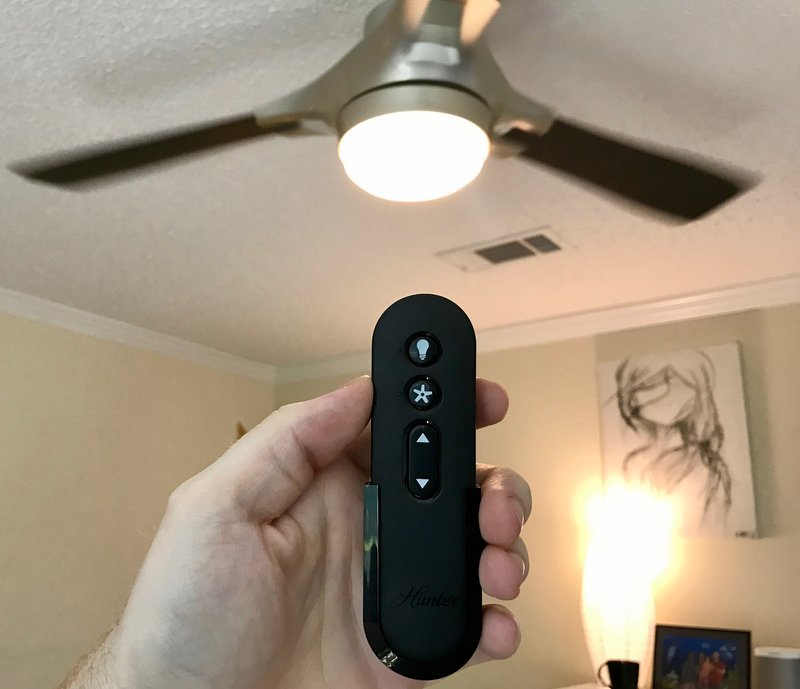
First off, let’s paint a clear picture of a typical Hunter ceiling fan remote. Most Hunter remotes have a slim, hand-friendly shape—sort of like a small TV remote, but less intimidating. At a glance, you might spot a handful of main buttons. These usually include:
- Fan speed controls (often three separate buttons or a single button you press multiple times)
- Light control (sometimes with a dimming function)
- Power on/off
- Reverse fan direction
- Optional sleep timer or breathing mode (for specific models)
Not all remotes look 100% alike, but Hunter tends to keep things consistent. The symbols are usually straightforward: arrows for speed, a lightbulb icon, maybe a triangle for reverse. If you’re squinting at faded icons or feel unsure, don’t worry. The next sections break down what happens when you press each one, plus what to do if your remote isn’t responding—or if it needs to be paired or reset.
Fan Speed Control Buttons: Low, Medium, High
Fan speed buttons are probably the most-used feature. On nearly every Hunter ceiling fan remote, you’ll find buttons marked as “Low,” “Med,” and “High.” Sometimes, you’ll get a single button that cycles through speeds—kind of like clicking a retractable pen. Each press nudges the fan to the next gear.
Here’s how it works: Press “Low” and the blades spin gently, perfect for keeping air moving without blasting you with a breeze. Choose “Medium” when you want a bit more cooling oomph—like during a mild summer evening. “High” is for those heat waves when you’re craving real wind power.
You might be wondering, why not just leave it on high? Honestly, that’s tempting, but running your fan on high 24/7 uses more electricity and can wear out parts faster. The speed settings let you tweak airflow and save energy. If your remote only has one speed button, just tap it repeatedly to cycle through the available settings. The fan usually “beeps” or blinks the light quickly to confirm a speed change.
Light Button: Switch, Dim, and Brighten
Most Hunter remotes have a light button—easy to spot with its lightbulb icon or “Light” label. This button isn’t just for turning the ceiling fan’s light on and off. Many remotes let you hold the button down to dim or brighten the light, almost like a volume knob for brightness.
Let me explain with a quick story: Imagine you just sat down for movie night. The overhead lights are blazing. Instead of hunting for the wall switch, you grab the remote. Tap the light button—lights go off. Want it dimmer instead? Hold the light button down, and watch the brightness fade smoothly. Release the button when it’s just right. Simple, but it feels kind of magical, doesn’t it?
Keep in mind, dimming only works if your fan has dimmable bulbs *and* the feature is supported. If you hold the button and nothing happens, don’t panic—it might just be how your particular Hunter fan model is wired.
Power On/Off Button: Master Switch Control
The power button usually sits at the top or near the center of your Hunter remote. Think of this as the master command. Tap it once, and both the fan and light turn on or off together (depending on your model and how your wall switch is set up).
This button comes in handy if you’re heading out or want to turn everything off in one go. Some Hunter remotes are “smart” enough to remember your last settings too. If you power off, then back on, the fan and light return to their previous speeds or brightness. No need to reset every time.
One quick tip: If the remote’s power button isn’t working, double-check the battery or see if the remote needs to be re-paired with your fan. Sometimes, a simple battery swap makes the remote spring back to life. If you’ve just installed a new fan and the power button doesn’t respond, you might need to sync or reset the remote—don’t worry, I’ll cover that soon.
Reverse Button: Changing Blade Rotation Direction
Here’s where things get a little less obvious—the reverse button. Not all remotes have this, but it’s a game-changer when they do. This button is usually marked with two arrows forming a circle or an “R” icon. Pressing it flips the direction the blades spin.
Why does this matter? Ceiling fans aren’t just for summer. In winter, you can reverse the blade direction to pull cool air up and push warm air down, making the room feel cozier without running the heater on overdrive. It’s a clever energy-saving trick.
Some Hunter fans only let you reverse blade direction from a manual switch on the fan’s motor housing. But if your remote has a reverse button—appreciate the convenience! Press it once and wait a few seconds; the blades will slow, stop, then spin up in the opposite direction. If nothing happens, check your manual. Not all fan models support motor reversal via remote, and sometimes the fan needs to be completely stopped first.
Timer and Sleep Function: Setting It and Forgetting It
Some Hunter remotes go beyond the basics and include a timer or sleep mode. These are usually marked with a clock icon or labeled with “Sleep.” Here’s how these work: Press the timer button, and the fan (sometimes the light too) will automatically turn off after a set period—say, 1 hour, 4 hours, or overnight. It’s a small thing, but a lifesaver for forgetful folks or for anyone who likes falling asleep with the fan on but doesn’t want to run it all night.
The timer button usually cycles through different options each time you press it. Some remotes have tiny LED indicators that light up to show which timer is selected. If you’re ever unsure, just check the instruction manual or experiment with the settings. Sleep mode sometimes lowers the speed automatically after a set time, making the room quieter as you drift off. Clever, right?
Older or simpler Hunter remotes may not include a timer. But for newer or premium models, it’s worth exploring all the extra features. You might find you use them more than you expected.
Pairing, Syncing, and Resetting Your Hunter Remote
Every once in a while, you’ll need to pair (or sync) your Hunter ceiling fan remote. Maybe you just replaced the battery. Maybe your remote is acting stubborn. Pairing makes sure the remote “talks” to *your* fan, not the neighbor’s.
Resetting or syncing is usually straightforward. Here’s a quick step-by-step that works for most Hunter remotes:
- Turn off power to the fan (via wall switch or circuit breaker).
- Wait about 10 seconds, then turn power back on.
- Within 3 minutes, press and hold the “pair” or “sync” button on the remote (sometimes called “Learn”). Hold for a few seconds until the fan/light blinks or beeps.
- Release the button. Your fan should now respond to the remote.
Some remotes hide the pairing button inside the battery compartment. Others use a combination of buttons. If your fan isn’t syncing, double-check the instructions for your specific model. And yes, if you suspect the remote is dead, try new batteries first. Troubleshooting often comes down to: battery, pairing, or a blocked sensor (if there’s something in the way).
Pairing the Hunter ceiling fan remote may feel intimidating, but it’s usually just a routine “handshake” so your fan knows who’s boss.
Hunter Remote Codes: Universal and Replacement Remotes
If you ever need a replacement remote or want to upgrade to a universal model, you might run into the topic of remote codes. Hunter’s remotes are often paired to fans using a DIP switch system (little toggles inside the remote and fan receiver) or a “Smart Sync” process. The code ensures your remote doesn’t accidentally control the wrong fan—important if you live in an apartment or have multiple fans in your house.
When pairing a universal remote, you may need to match the DIP switch code on the remote to the switches inside your fan’s receiver (usually found in the fan’s canopy). If there’s a mismatch, the remote won’t work. Newer Hunter models use digital pairing instead of switches for a smoother setup.
If you’re unsure about your code or which remote works, it’s best to check the manual or the Hunter website. Not every universal remote will support all Hunter fan features, especially extras like dimming or blade reversal. If you use a basic remote, you might lose advanced functions, so always check compatibility before buying a replacement.
Common Hunter Remote Troubleshooting Tips
Here’s the truth: even the best Hunter ceiling fan remotes act up sometimes. Maybe the buttons stop responding, or the fan acts like it’s ignoring you. Common culprits are pretty basic—dead batteries, blocked sensors, incorrect pairing, or signal interference.
Here are practical things to check:
- Battery: Replace with fresh batteries, making sure they’re inserted correctly. Low batteries = weak signal.
- Obstructions: Make sure there’s no dust, lampshades, or furniture blocking the fan’s receiver.
- Pairing: If the fan ignores the remote, run through the pairing process again. Sometimes, the remote “forgets” the fan after battery changes or power outages.
- Reset: If all else fails, try resetting both the fan and remote by turning off the power for 30 seconds and starting from scratch.
If you still have trouble, check if other wireless devices are causing interference, or try using a different remote (if available) to rule out a broken unit. And if your remote is physically damaged—say, from falling off the nightstand—you might need a replacement.
The most common issue is usually the simplest: batteries. Always try new batteries before getting frustrated with code or syncing problems.
Wrapping Up: Getting the Most from Your Hunter Ceiling Fan Remote
A Hunter ceiling fan remote shouldn’t feel like a mystery device. Each button unlocks a specific function, from adjusting fan speed to setting timers for a perfect night’s sleep. Once you’ve got the hang of which button does what, everyday comfort is just a tap away.
If you ever get stuck, remember: check the basics—battery, pairing, and obstructions. Value the extra features, like dimming and blade reversal, as smart ways to make your space more comfortable all year round. And if your old remote gives out, there are plenty of replacement and universal options—just double-check compatibility and codes before buying.
So next time you pick up your Hunter ceiling fan remote, you’ll know exactly what each button is for, and maybe even find yourself appreciating just how much control you really have.