
Here’s the thing: not every TV was built with streaming in mind. Some older models sort of squint at you when you offer up a Roku device, looking for a “code” or a “signal” they barely understand. But, with a little patience, the right remote, and maybe a flashlight to read tiny labels, you can usually get the two talking. If you’re unsure where to start, or if you’re tired of flipping between remotes just to adjust the volume, let me explain the step-by-step way to program your Roku remote for an older TV—without melting your brain or accidentally resetting your soundbar.
Understanding the Different Types of Roku Remotes
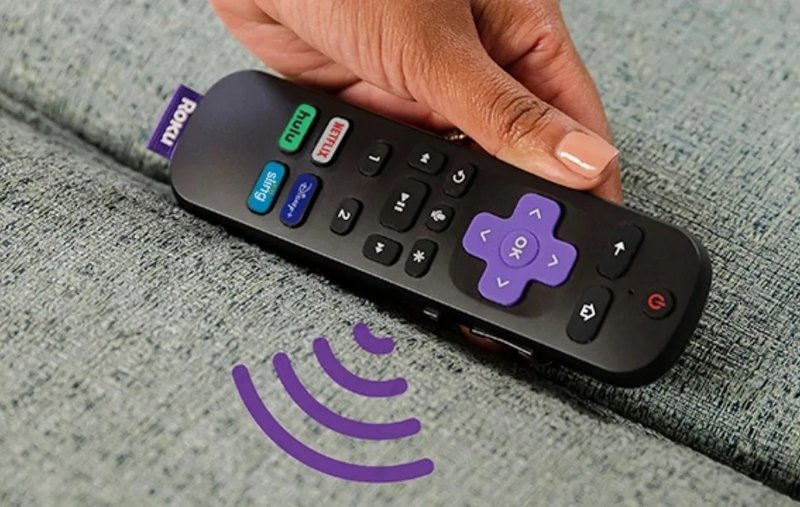
Before getting into the nitty-gritty of programming, it helps to know which kind of Roku remote you’re actually holding. Surprisingly, not all Roku remotes are born equal. Some newer models are decked out with fancy buttons, while older ones stick to basic commands. And then there’s the big difference: simple infrared (IR) remotes versus Roku Enhanced “point-anywhere” remotes (these use wireless technology, not just a line-of-sight beam).
Here’s where things can get tricky. If you’ve got a very basic Roku IR remote, it’s not going to directly program to control your TV’s power or volume—it’s only bossing around the Roku box itself. But, if your remote has television power and volume buttons (usually along the side or top), you’re holding a Roku Voice Remote or Enhanced Remote. This type can actually control your TV—even older ones—if you set it up right.
Think of it like this: the simple IR is like a polite neighbor who only talks to your Roku streaming device, while the Enhanced Remote is the social butterfly trying to get both your Roku and TV on board with movie night. If your remote is missing those special TV controls, you might need a universal remote instead.
Getting Your Roku Remote Ready: Batteries, Reset, and Pairing
Batteries first. It sounds obvious, but weak batteries are the sneaky culprit behind a ton of “why won’t this work?” moments. If your Roku remote is acting sluggish, or won’t sync with your streaming device or TV, pop in some fresh batteries. Sometimes new batteries can actually rescue a remote from a mysterious funk.
Now, to programming. Most Enhanced Roku remotes will try to auto-pair with your streaming device as soon as you insert the batteries. If it doesn’t, or if you’re trying to re-sync after a hiccup (maybe you reset your Roku box or got a new TV), you’ll need to manually trigger pairing mode. Usually, there’s a small button inside the battery compartment labeled “pairing.” Press and hold it until the LED starts blinking.
A little personal story—one time, I spent an entire Saturday thinking my remote was broken, only to realize I’d been pressing the wrong button. If things start to glitch out, don’t panic! Most issues (like a remote not controlling TV volume even after setup) can be solved by simply re-pairing or restarting both your Roku and TV. It’s weirdly effective.
Programming Roku Remotes for Older TVs: Step-by-Step Walkthrough
Here’s the heart of it. When you’re programming a Roku streaming device remote for an older TV, the goal is to teach the remote your TV’s special “language” (aka the right code). This lets you control basic stuff like power and volume, so you can finally shove the TV’s remote into a drawer forever.
Step 1: Start at your Roku’s home screen, using the Roku streaming remote.
Step 2: Head to Settings > Remotes & devices > Remotes > Set up remote for TV control.
Step 3: The Roku will prompt you to enter your TV brand. Even if your TV is a little on the ancient side (think “boxy” rather than “flat”), try typing the brand—Roku supports way more brands than you’d expect.
Step 4: Follow the guided instructions. Usually, this involves pressing a button to make the Roku send signals to the TV, testing volume or mute. If you hear sound, great; if not, it’ll try a different code. Sometimes it takes a few tries to find the right one, especially if your TV is a relic.
If your TV brand isn’t recognized, or nothing seems to work, don’t give up right away. Some older TVs use generic codes shared by several brands, so try a similar brand or a “closest match” from the list.
The setup process is mostly automatic, but patience is your friend. You might feel like you’re playing a slow-motion game of Simon Says, but once you hit the winning code, you should be able to adjust the TV volume or turn it off—straight from your Roku remote.
What If Programming Fails? Troubleshooting Common Issues
Let’s be honest, not every programming attempt works perfectly on the first shot—especially with older TVs that have their own quirks. If your Roku remote refuses to control the TV after pairing, there are a few things to check.
First, make sure your TV’s remote sensor isn’t blocked or dirty. This sounds silly, but older TVs can be fussy about receiving signals. If you have pets or kids, sometimes a little dust (or a stray sticker) can block the IR sensor right on the TV.
Second, double-check that your remote is actually the kind that supports TV controls. If you’ve somehow got a very old Roku model, it might not have the hardware needed for TV syncing. In that case, using a universal remote that supports both Roku and your TV can be a great alternative.
If you tried every code and nothing sticks, some TVs just aren’t compatible with Roku remotes for TV controls. You might need to keep your TV’s original remote for volume or power, but you can still use all your streaming features through the Roku remote. Think of it as a minor inconvenience—not a total dealbreaker.
Universal Remotes vs Programming Roku’s Remote: Which Is Better?
You might be wondering, “Wouldn’t a universal remote just fix all this?” It’s a fair question, and sometimes, the answer is yes. Universal remotes are designed to handle lots of devices at once—TVs, soundbars, streaming boxes, and even DVD players if you still have one in the closet.
The downside? Universal remotes can be a little overwhelming to set up, with code lists that look like ancient phone books. But, for super-old TVs that just won’t cooperate with a Roku-branded remote, a universal model gives you more flexibility. Some even let you “teach” them commands by syncing directly from your old TV remote (if you didn’t lose it in the couch cushions).
On the flip side, programming your Roku remote for TV control keeps things simple and streamlined. If it works, you’ll end up with just one remote for everything you need while watching shows. Less clutter, less confusion—just a smoother experience. If you’re tech-shy, Roku’s setup process is generally easier to follow, too.
Tips for Keeping Your Roku Remote Working Smoothly
A remote is only as good as its batteries, right? Here’s my “remote health” checklist to avoid headaches:
- Change your batteries regularly. The number one reason remotes act up is weak batteries. Don’t wait for total failure—swap them out every few months.
- Keep the remote clean. Spilled soda, greasy pizza fingers—real talk, life happens. Wipe it down with a cloth now and then. It actually helps the buttons last.
- Store away from kids and pets. I once watched a puppy turn a perfectly good remote into a chew toy. If you like yours working, keep it out of reach.
- Label your remotes if you have multiples. When you’re juggling several remotes (TV, Roku, soundbar), a piece of tape with the device name can save you from late-night confusion.
And one last thing—always check for software updates on your Roku device. Sometimes, new updates add TV codes or fix bugs that mess with remote programming. It’s painless and could save you the hassle of re-pairing everything.
When Should You Replace Your Roku Remote?
Even the best remotes don’t last forever, especially if they take a daily tumble off the couch. If your remote starts dropping connections, won’t sync, or certain buttons stop working (even after cleaning and battery changes), it might be time for a replacement.
Luckily, replacement Roku remotes aren’t hard to find. You can grab one online, at big-box stores, or sometimes even at secondhand shops if you’re on a budget. Just make sure you’re picking one that matches your device (Enhanced vs simple IR, for example). If you want the easiest setup, get one labeled as “compatible with TV power and volume,” so you know you’ll have those extra controls.
If you’re feeling techy, you can even use Roku’s remote app on your phone as a backup in a pinch. It’s not quite as satisfying as clicking real buttons, but perfect for those “Oh no, I lost the remote!” moments.
Wrapping Up: Making Streaming Easy, Even on Older TVs
At the end of the day, programming Roku streaming device remotes for older TVs is all about patience, the right remote, and a little troubleshooting know-how. Older TVs might not always play nice with fancy new tech, but with Roku’s TV control features and a few setup steps, you can usually bridge the generation gap. Don’t be afraid to try a few codes, re-pair if things get weird, or switch to a universal remote if you hit a brick wall.
The main thing is making your streaming routine as smooth as possible—so you can relax, binge your favorites, and finally toss that mountain of old remotes in the junk drawer. Honestly, your future self will thank you.