Optoma, known mostly for their high-quality projectors, has its own line of remotes. But what if you want this shiny Optoma projector remote to boss around your trusty old TV? Can you do it? Absolutely. But there’s a bit of a learning curve, especially if your TV is, well, vintage enough to remember dial-up internet. Let’s break this down like you and I are troubleshooting together on a lazy Sunday afternoon.
What Makes Optoma Projector Remotes Special?
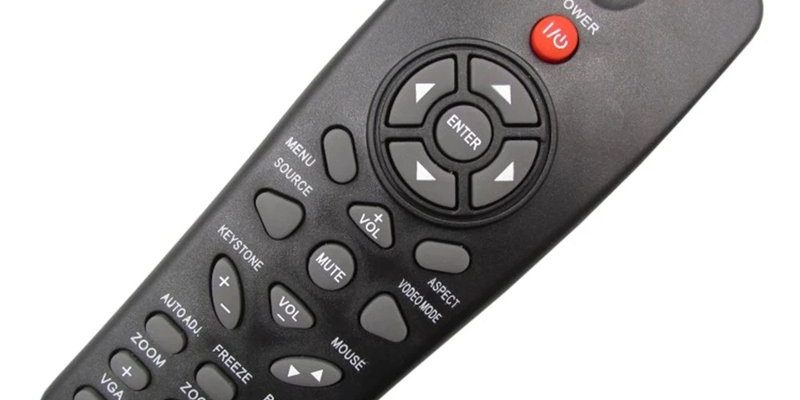
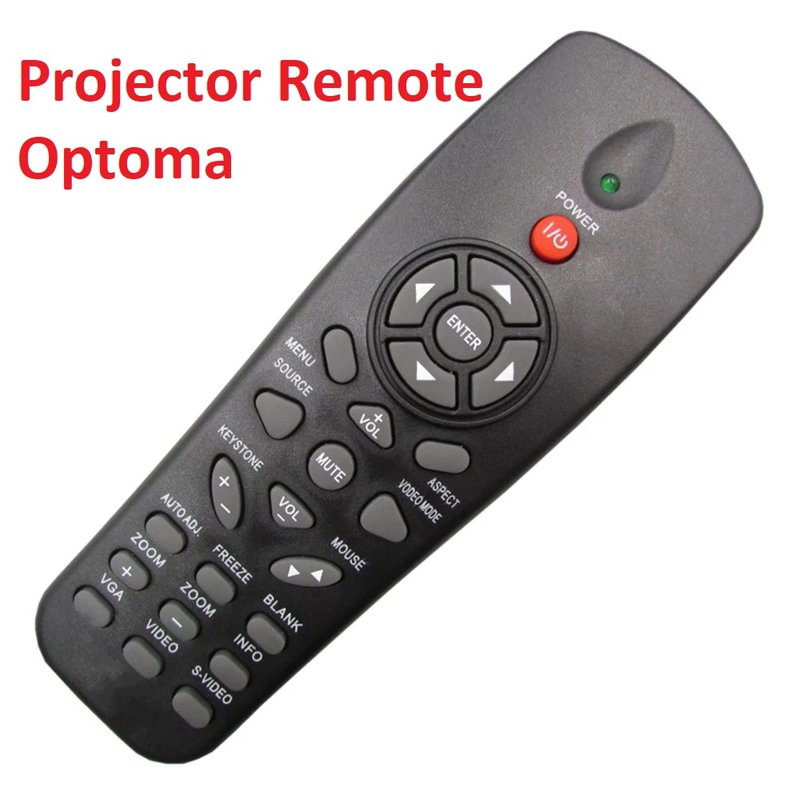
When I first picked up an Optoma projector remote, I expected it to be just another clicker in the ever-growing pile on my coffee table. But here’s the thing—Optoma’s remotes are built for more than just flipping through HDMI sources. They tend to have a slightly different layout, with dedicated buttons for projector functions like keystone correction, aspect ratio, and picture mode.
Why does this matter for controlling older TVs? Well, the core difference is in the signal language. Most projector remotes, including those from Optoma, use infrared (IR) signals. That’s the same tech as most older TVs. In theory, this makes them compatible. In reality, the codes and instructions they send out might not match what your TV expects—unless you program or pair the remote correctly.
And—honestly—Optoma hasn’t designed their remotes as full universal remotes, but some models do allow limited programming. The process isn’t as straightforward as the plug-and-play universal remotes you see at the dollar store, but with a few steps (and a bit of patience), you can get your Optoma remote to play nice with that old television.
Understanding Remote Codes and Syncing
Remember when you had to teach your grandma’s VCR to listen to a new remote? That’s basically what we’re doing here, just with less rewinding. To get your Optoma projector remote working with your older TV, you’ll need to find the right code for your TV brand. This code is like a secret handshake between the remote and the TV. If they’re not speaking the same “language,” nothing happens.
Most Optoma remotes that offer TV control have a programming mode. Usually, you enter a series of keypresses—sometimes holding down the “TV” button while entering a code—to sync the remote. If you don’t have the list of manufacturer codes, don’t panic! You can usually find a list online by searching “Optoma remote codes” plus your TV brand. Just double-check the remote’s model since code lists can change from year to year.
Here’s an insider tip:
If your Optoma remote doesn’t seem to respond at all during programming, check the batteries. Weak batteries can make the whole process feel like you’re shouting into a void.
Once you’ve got the right code and the remote starts controlling even one function—like turning the TV on or off—you’re in business.
Step-by-Step: How to Program an Optoma Projector Remote for Older TVs
Okay, let’s roll up our sleeves! Here’s what you’ll typically do to program your Optoma projector remote for an older TV:
- Insert fresh batteries. Seriously, don’t skip this. Old batteries are the cause of half the world’s remote problems.
- Find the TV code. Look it up for your TV brand. Write it down or keep it handy.
- Enter programming mode. For most Optoma remotes, press and hold the “TV” button until the LED light comes on (sometimes it’s a different button, so check your remote’s model-specific instructions).
- Input the code. Using the number buttons, type in the code. The LED should blink or go out to confirm.
- Test the remote. Try turning the TV on/off, changing the volume, or flipping channels. If something works, you’re on the right track. If not, try another code.
If this all sounds familiar, it’s because most universal remotes use a similar process. The big difference is the specific TV code and the exact steps for your Optoma model. Sometimes, you’ll need to try a few codes before you hit the jackpot. Patience is key—imagine you’re trying to guess someone’s Wi-Fi password from scratch, but with fewer consequences.
Troubleshooting Common Programming Issues
Let me paint you a picture: You’ve followed all the steps, triple-checked your code, and your Optoma remote still won’t budge. Frustrating, right? Before you launch the remote across the living room, let’s go through some common hiccups.
First thing’s first—line of sight. IR remotes need a clear path to the TV’s receiver. If there’s a stack of DVDs, a bowl of popcorn, or (in my case) your dog snoozing in front of the TV, move it. Even a little obstruction makes a difference.
Next, double-check that you’re actually in programming mode. Sometimes, the indicator light doesn’t behave exactly as described in the manual (or worse, there’s no light at all). If it’s not lighting up, try resetting the remote. Most Optoma remotes can be reset by removing the batteries and holding down the power button for thirty seconds before replacing the batteries.
Here’s a weird one:
If your TV is super old—think late ’80s or early ’90s—its IR receiver might be tuned to an older frequency. Some Optoma remotes only send modern IR signals, so compatibility isn’t always guaranteed. If nothing works, it might be time for a universal remote (more on that in a second).
Comparing Optoma Remotes With Universal Remotes
So now you’re probably thinking, “Wouldn’t it just be easier to get a universal remote instead of battling with the Optoma?” Sure, sometimes that’s the easy way out. But let’s compare the two.
Optoma projector remotes are designed mostly for projector use. TV control is more of a bonus feature. The upside? They’re usually less cluttered and keep things simple. The downside? Compatibility is limited—especially with quirky, older TVs.
Universal remotes, on the other hand, are built to play nice with almost anything that has an IR sensor: TVs, DVD players, streaming boxes…you get the idea. Their code libraries are huge, and they often have auto-programming or learning modes (where you “teach” the remote by pointing your old remote at it and pressing buttons). The downside? Universal remotes can be overwhelming, with more buttons than you’ll ever use, and they don’t always support every projector feature if you’re also using an Optoma device.
If you’re hoping for a one-remote-to-rule-them-all setup and your TV is particularly ancient, investing in a decent universal remote might save you time and sanity. But for folks who mainly use their projector and just want basic TV control, programming your Optoma remote is usually enough.
Resetting and Erasing Codes on Optoma Remotes
Maybe you punched in the wrong code. Maybe you’ve moved and your gear has changed. Either way, you’ll want to reset your Optoma projector remote and wipe those old pairings. This process is surprisingly easy, but each remote model is a bit different.
Generally, you’ll remove the batteries and then hold down a specific button (often “Power” or “TV”) for 30–60 seconds. Some remotes have a tiny recessed “Reset” button you’ll need a paperclip to press. After replacing the batteries, the remote should behave like it’s factory-new—ready for fresh codes and a new TV best friend.
Keep in mind, after a reset, all programming will be lost, so jot down any codes you want to reuse. It’s a bit like resetting your phone: everything starts from scratch, but you get rid of all the confusing old settings.
Power and Battery Tips for Reliable Remote Programming
Battery problems are sneakier than you’d think. If your Optoma remote is acting up, not responding to sync commands, or only working from two inches away, weak batteries are almost always the reason. Even if you just changed them, try a new set. I’ve had supposedly “new” batteries sit in a drawer for months and lose their punch.
Here’s a pro tip: use brand-name alkaline batteries and avoid mixing old and new batteries together. Cheap or mismatched batteries might not provide the steady voltage needed for programming commands—which can make the remote seem haunted.
And if you’re programming several remotes at once, give your hands a break every now and then. Infrared remotes are usually pretty reliable, but repeated failed commands (thanks to dying batteries) can sometimes lock the remote into a weird state until it’s reset.
When Programming Isn’t Enough: Alternatives for Old TV Control
Sometimes, all the programming in the world won’t get your Optoma projector remote to obey your old TV. Maybe it’s a brand that doesn’t have compatible IR codes, or perhaps the TV’s IR sensor is just worn out. Don’t be discouraged—it happens more often than you’d think.
If you hit this wall, these alternatives can save the day:
- Universal remote: As I mentioned before, these can control almost anything, including multiple devices at once.
- Replacement remote: You can often find a direct replacement for your TV brand online—sometimes even vintage models on auction sites.
- IR Extenders: These gadgets can boost or redirect your remote’s signal, making programming and control much more reliable if your remote works only at odd angles.
Honestly, you’re not alone if you opt for a universal remote after twenty minutes of head-scratching. But there’s a special kind of satisfaction when you finally crack the code and that ancient TV responds to your Optoma remote like it’s 1999 all over again.
Wrapping It All Up
Programming an Optoma projector remote to control an older TV can be a quirky adventure, but it’s absolutely doable if you know what to look for—codes, batteries, and a touch of patience. The process is a real throwback to when electronics required a bit of trial and error (and maybe some muttered words under your breath).
If your Optoma remote and old TV don’t end up seeing eye-to-eye, no shame in going the universal route or picking up a replacement. But if you get it working, hey, you’ve unlocked a surprising bit of modern convenience for your classic gear. At the end of the day, finding a way for your tech—both the shiny and the seasoned—to work together is always worth the effort. And if you’re still having trouble? Don’t worry. There’s a whole world of remote enthusiasts out there who’ve been exactly where you are and have a solution or two up their sleeve.