So if you’re sitting there, remote in one hand and “user manual” in the other (or, let’s face it, Googling every five seconds), don’t sweat it. You’re hardly alone! Loads of people want their fancy streaming device to mesh with the kind of TV that wasn’t built yesterday. Let me walk you through the process—no jargon, no stress. Just plain-English help, as if we’re both poking at the remote together, swapping stories about when TVs used to have those satisfying clicky dials.
Why Pair an Nvidia Shield Remote With an Older TV?
Here’s the thing: not everyone is ready—or willing—to drop hundreds on a brand-new smart TV just to use the latest streaming gadgets. You might love your Shield Pro for buttery-smooth streaming, gaming, and Google Assistant, but maybe your trusty old Sony Bravia or LG plasma is still looking sharp. So, can these two worlds collide, or are you stuck with a drawer full of remotes and HDMI adapters?
Pairing your Shield remote to an older TV is about more than just convenience. It’s about keeping what works while leveling up your entertainment. With the right setup, you can:
- Control TV power and volume with one remote—no frantic searching under the cushions.
- Reduce remote clutter (because, honestly, there’s nothing worse than playing “guess which remote?” every time you want to watch Netflix).
- Enjoy the Shield’s features seamlessly, even if your TV doesn’t know what “Android TV” is.
One small catch: older TVs may not support all the latest HDMI-CEC bells and whistles, which can make syncing a bit trickier. But don’t lose hope! There’s usually a workaround, and I’ll walk you through it.
Getting to Know Your Nvidia Shield Remote
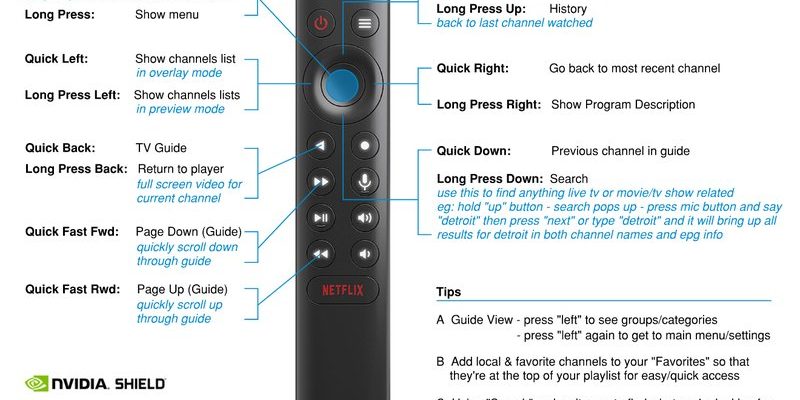
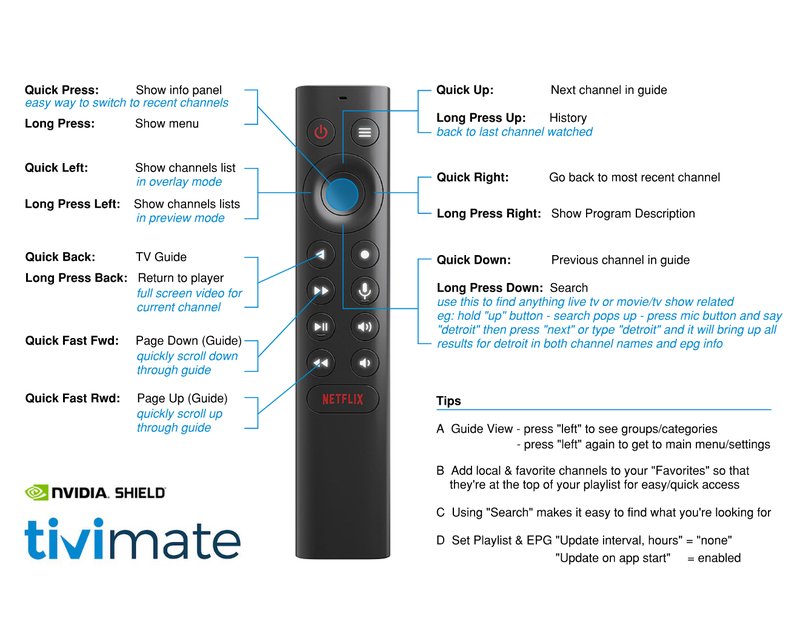
Before you start pairing, it helps to know what you’re working with. The latest Nvidia Shield remote (the triangular one) is a clever piece of tech. It talks to your Shield via Bluetooth and, for controlling the TV, often uses infrared (IR). That means the remote can send simple signals that older TVs can actually “hear”—kind of like speaking an ancient language your old TV still understands.
Here’s what your Shield remote can do:
- Power on/off your TV (by sending an IR signal—think of it as old-school Morse code for electronics).
- Adjust volume, either over HDMI-CEC (if your TV is new-ish) or IR (if it’s old).
- Navigate, launch apps, and talk to Google Assistant—all over Bluetooth for speedy response.
If your TV is pre-2010, expect to rely mostly on IR for power and volume. Bluetooth is just for the Shield unit—it won’t communicate with the TV itself.
How to Program Your Nvidia Shield Remote for Older TVs
So, picture this: You’ve plugged your Shield into the HDMI port, fired it up, but the remote won’t turn the TV on or adjust the sound. Maybe it works for the Shield menu, but not for basic TV controls. That’s because, out of the box, the remote needs a little programming to “speak” your TV’s language.
Here’s a step-by-step guide, written for non-techies:
Step 1: Insert New Batteries
Dead batteries make even the smartest remote look useless. Pop fresh batteries in first. Don’t skip this—you’d be surprised how many headaches start with a weak battery.
Step 2: Put the Shield Into Pairing Mode
Navigate to Settings > Remotes & Accessories > Add Accessory on your Shield. Hold the “Select” and “Back” buttons together on your remote until the light flashes. That’s pairing mode! The Shield should now recognize the remote. This step is mostly for connecting the remote to the Shield itself—not the TV—but it’s essential.
Step 3: Program TV Controls
Now, in your Shield settings, look for “Display & Sound” > “Power control”. Here, you can tell the Shield to send the right IR signals for your TV brand. It may prompt you to pick your TV brand and test if the remote can turn the TV on/off or adjust the volume.
- If your brand is listed, awesome! Select it and follow the on-screen instructions to confirm it works.
- If it’s not, try selecting a similar brand. Sometimes, brands share remote codes (for real—Sony and Toshiba, for example, occasionally overlap).
If none of the codes work, your TV may be too old or just stubborn. But don’t give up yet—there are alternatives!
Troubleshooting Common Issues
Of course, nothing tech ever goes 100% smoothly, right? If you’re stuck, here’s what might be going on and how to fix it.
Problem: Remote Won’t Control TV Power or Volume
Honestly, this is super common with older TVs. Double-check your remote’s line-of-sight; IR needs a clear path. Also, be sure you’re in the right settings menu as described above—sometimes folks (myself included!) end up in the Bluetooth accessories section by mistake.
If your remote refuses to work, try resetting the Shield remote: hold down the “Back” and “Home” buttons for 15 seconds. Then re-pair and try programming the controls again.
Problem: TV Brand Not Listed
Try universal codes or pick a brand from the same manufacturer family. Sometimes you have to get creative and select three or four brands before hitting the jackpot.
Problem: Volume is Controlling the Shield, Not the TV
On some setups, you need to tell the Shield to control “TV volume” instead of the default “Shield audio output.” This is buried in settings, but it’s there—poke around in the “Display & Sound” options.
Pro tip: Sometimes, unplugging the Shield and TV from power for a minute (the classic “have you tried turning it off and on again?”) can clear weird settings and make pairing work like magic.
Universal Remote vs. Nvidia Shield Remote: What’s Better?
You might be wondering, “Why not just use a universal remote?” Fair question! Universal remotes are like the Swiss Army knife of living rooms—they can be programmed for nearly any device, old or new. But here’s why you might stick with the Shield remote:
- Sleek integration: The Shield remote is built for its streaming device. It wakes the Shield, launches Google Assistant, and has keys you’ll actually use.
- Less setup hassle: No need to punch in long codes (unless your TV is extra old-school); the Shield’s menu does most of the heavy lifting.
- Batteries and reliability: Universal remotes can be a bit unpredictable with battery drain or with weird button layouts.
That said, if you just can’t get your Shield remote to sync, a universal remote programmed with the right code is a tried-and-true backup. Just make sure it supports both IR and Bluetooth if you want the full Shield experience.
What to Do If All Else Fails: Other Options for Old TVs
Here’s the real talk: sometimes, the old TV just isn’t having it. Maybe it’s from a brand so obscure that even Google shrugs. Or maybe the IR receiver on the TV is busted. If you’ve tried every code and combination, don’t panic.
Try a Bluetooth-to-IR Adapter
These little dongles plug into your Shield’s USB port. They can “learn” your TV’s IR codes and relay them from the Shield remote over Bluetooth. It’s a weird workaround, but sometimes, that’s what it takes.
Use Your Phone as a Remote
There’s a free Nvidia Shield TV app for Android and iOS. It’s super simple, and your phone is always nearby anyway. The catch? It can’t turn your TV on/off if the TV itself doesn’t support remote-on over HDMI.
Manual Method: TV Remote for Power, Shield Remote for Streaming
If you’re cool with it, you can just use your TV’s original remote to turn it on and adjust volume, then use the Shield remote for everything else. Yeah, it’s two remotes, but it works in a pinch. Bonus: less frustration.
Keeping Everything in Sync: HDMI-CEC And Why It Matters (Or Not)
You might see “HDMI-CEC” pop up while poking through menus. HDMI-CEC (Consumer Electronics Control) is like the United Nations for devices; it helps them talk to each other over HDMI. Newer TVs can power on/off and adjust volume with the Shield remote thanks to HDMI-CEC. Older TVs, though, likely don’t have this.
If your TV supports it (sometimes under weird brand names like “Bravia Sync” or “Simplink”), enable HDMI-CEC in both your TV and Shield menus. Otherwise, you’re relying on IR, as covered above.
Don’t let HDMI-CEC jargon intimidate you. It’s just a bonus feature, not a dealbreaker. Your setup can still work without it.
Final Thoughts: Enjoying Your Nvidia Shield with Any TV
Trying to program an Nvidia Shield streaming device remote for older TVs might feel like a wild goose chase at first, but it’s honestly not rocket science. Once you get a feel for how the remote codes, IR signals, and pairing steps work, you’re halfway there. Sometimes the solution is simple—a fresh set of batteries, pointing the remote just right, or poking around in the settings a bit longer.
What’s great is that you don’t have to give up on your old TV just to enjoy the latest streaming magic. Whether you use the Shield remote, a universal remote, or even your phone, there’s usually a way to get everything clicking together. And when that victory moment comes—the TV turns on, the sound changes, and your favorite show starts up—all that fiddling suddenly feels worth it.
So, keep experimenting, keep your sense of humor, and don’t be afraid to try a workaround. Old TVs and new remotes might seem like unlikely friends, but with a little patience and a few tips, they can get along just fine.