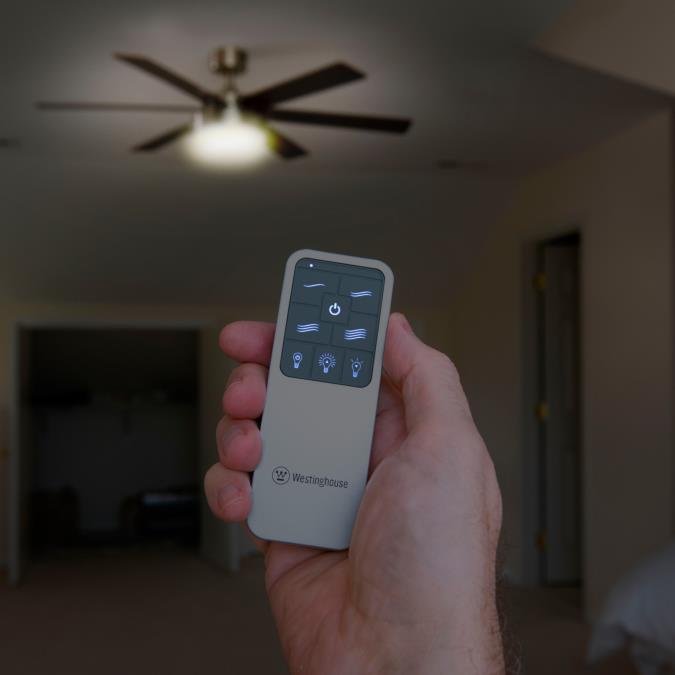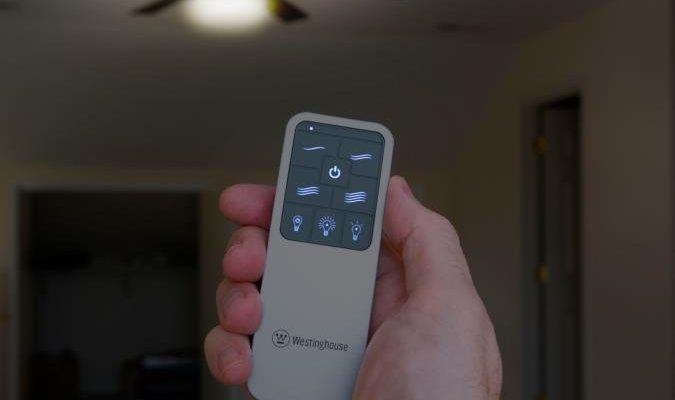
With so many remote controls out there—each with its own quirks—Westinghouse fan remotes can leave users wondering if there’s a secret handshake or a magic button to pair or reset things. Honestly, ceiling fan remotes are a bit like tiny wizards, and sometimes the magic isn’t obvious. If you’re confused about how pairing or syncing works, or if you just want to know if your model has that mysterious *learn button*, you’re in the right place.
Let’s break it all down: what the learn button does, how Westinghouse remotes actually pair, and what you should do if your remote stops speaking the same language as your fan. Trust me, you don’t need a degree in electronics to get this sorted.
What Is a Learn Button and Why Does It Matter?
Before diving into whether Westinghouse ceiling fan remotes have a learn button, let’s clear up what we’re actually talking about here. A *learn button* is a tiny, usually recessed switch found on some remote controls or on their matching receivers (the bit hiding in your fan’s canopy). Its only job is to help the remote and the fan’s receiver “talk” to each other—sort of like making two people exchange phone numbers before they can text.
When you press the learn button, you’re basically telling the system, “Hey, let’s sync up!” This is especially useful if you have more than one fan or you bought a new remote. It helps prevent your neighbor’s fan remote from randomly making your lights flicker at midnight. Some brands make this process super obvious (a big red button); others bury it deep under a battery cover or inside the fan canopy itself, which is about as fun to reach as the bottom of a popcorn bag.
Why does it matter? Without proper pairing, your remote could behave like it’s ignoring you on purpose. Maybe the fan doesn’t spin when you hit “On,” or the light won’t dim. The learn button is the bridge for code syncing, and you’ll want to know if yours even has one before you go hunting with a flashlight.
Do Westinghouse Ceiling Fan Remotes Have a Learn Button?
Here’s the thing: most *Westinghouse ceiling fan remotes do NOT come with an obvious learn button* on the remote itself. Instead, they usually rely on something called *dip switches* or a pairing process that looks a little different from other brands like Hunter or Hampton Bay.
Let me explain. If you take a closer look at the battery compartment on many Westinghouse remotes, you’ll find a set of tiny, sliding switches—these are the *dip switches*. Their job is to set a unique code so your remote matches up with the receiver tucked away in the fan. You set the same code on both ends, kind of like picking a secret passcode for a clubhouse.
Some newer models might offer a *pairing* button, but it’s almost always located on the receiver (inside the fan housing), not the remote. So, if you’re shaking the remote and wondering why you can’t find a learn button, you’re not crazy—Westinghouse just does things differently.
- No visible ‘learn button’ on most Westinghouse remotes.
- Pairing relies on dip switches or a receiver-side button, not an onboard remote button.
- This means troubleshooting feels a little different than with other brands.
Of course, always check your manual. The remote may look generic, but Westinghouse makes several models, and there are rare exceptions—so don’t toss that manual just yet.
How to Pair a Westinghouse Ceiling Fan Remote Without a Learn Button
You might be wondering, “If there’s no learn button, how do I actually pair my Westinghouse remote?” Honestly, it’s not rocket science, but it does take a bit of patience and a screwdriver.
First, you’ll want to locate those dip switches. Pop off the battery cover on your remote; you should see a row of tiny switches labeled 1-4 (sometimes more). Next, grab a step stool and—carefully—open up the canopy on your ceiling fan. There’s another set of dip switches on the receiver (the bit with wires leading into it).
Here’s how you pair them:
- Set the dip switches on the remote and receiver to the exact same pattern. (Up, down, up, down—just match ’em exactly.)
- Replace the battery cover and the fan canopy, making sure everything is nice and snug.
- Turn the fan’s power back on at the breaker or wall switch.
- Test your remote—try turning the fan on and off and playing with the light button.
If the fan doesn’t respond, double-check the dip switch settings. An uneven switch or loose battery can throw it all off. You don’t need any code, reset, or special tools—just line up those switches and you’re golden.
Tip: If you live in an apartment building or a house with lots of ceiling fans, make sure your dip switch pattern is unique. Otherwise, you might accidentally control someone else’s fan—awkward!
Westinghouse Universal Remotes vs. Original Fan Remotes
Not all ceiling fan remotes are created equal. Some people try using a universal remote instead of the original Westinghouse model—sometimes out of necessity, sometimes out of curiosity (or desperation). So, what’s the difference, and does it change how you pair or reset things?
Original Westinghouse remotes are designed specifically for your fan model. Their dip switch system is meant to match up with your fan’s receiver, meaning the chance of compatibility issues is pretty low. The process usually involves what we’ve already discussed: matching dip switches, and maybe pairing via a receiver button if you have a newer fan.
Universal remotes promise to work across several brands, including Westinghouse, but they sometimes have a *learn button* (on the remote itself, or the receiver) to help them sync up. These can be a blessing if you’ve lost your original remote, but pairing might involve entering a code, holding down a learn button, or even resetting everything to factory settings. It’s more fiddly, and not every universal remote is a perfect match.
There’s no harm in trying a universal remote, but if you run into wiring confusion or find that nothing syncs, returning to an original Westinghouse remote is often the easier path.
Troubleshooting Common Westinghouse Ceiling Fan Remote Problems
If your fan remote’s not working, don’t panic—it’s usually something simple. Here are a few issues people often run into, along with what to check.
- The remote won’t control the fan or light: Nine times out of ten, it’s dead batteries or a code mismatch. Swap in new batteries first. If you’ve just changed the batteries or had a power outage, check that the dip switches on the receiver and remote still match up.
- The fan turns on, but the lights won’t: Sometimes, the light button can get “stuck” electronically. Try holding the light button down for a few seconds, or reset the remote by popping the battery out for one minute.
- The remote and fan stopped syncing after a power cut: If a sudden power loss hit your home, the receiver might have lost its mind. Turn the power off at the breaker, wait thirty seconds, and switch it back on—that usually reboots the receiver. Double-check your dip switches just in case.
If none of these work, your receiver (in the fan) might be having issues, especially if it’s old. Sometimes, the only fix is a replacement receiver and remote kit. But honestly, that’s rare—most remote troubles are just a sticky switch, a tired battery, or a code mismatch.
Replacing the Batteries in a Westinghouse Ceiling Fan Remote
This might sound simple, but battery issues are at the root of a *lot* of remote headaches. Here’s the right way to swap batteries and avoid weird issues:
- Slide off the remote’s battery cover. Most Westinghouse remotes use an A23 12V battery, which looks like a mini AA (but don’t mix them up).
- Check the battery contacts for corrosion or dust. Wipe them gently with a dry cloth if needed.
- Pop in a fresh battery, making sure the + and – ends are lined up correctly.
- If there’s a battery saver tab (sometimes found on new remotes), remove it so the battery touches the contacts fully.
- Replace the cover and test the remote with your fan.
A weak battery can sometimes *seem* to work—the light flashes, but there’s not enough juice for a solid signal. If anything starts acting up, swapping in a new battery should be your first step.
Resetting and Re-Pairing Your Westinghouse Ceiling Fan Remote
So, what do you do if nothing else is working? You’ve changed batteries, checked dip switches, and your fan is still acting like it’s on a coffee break. In many Westinghouse fans, a *reset* involves simply cutting the power to the fan (either by wall switch or the circuit breaker), waiting about 30 seconds, and turning it back on.
If your fan uses a receiver with a pairing button, press it after restoring power, then press any button on your remote to sync them. For fans with only dip switches, the reset is a physical one—double-check the switch pattern and ensure both remote and receiver match.
If you’re still having issues, sometimes the receiver itself might need replacing. Fans and remotes aren’t immortal, sadly.
When to Replace or Upgrade Your Westinghouse Remote
Eventually, remotes fail—buttons get mushy, the case cracks, or the internal wiring just gives out. If your remote is older than your favorite hoodie, it might be time for a replacement. You can buy a new Westinghouse remote kit, often with a compatible receiver included, or try a universal remote (just be sure it lists Westinghouse compatibility on the box).
Upgrading is also a smart move if you want extra features, like timer functions or smart home integration. Newer remotes sometimes offer learning capabilities or easier pairing, even though a *learn button* isn’t always part of the Westinghouse ecosystem.
Before tossing the old remote, though, try a new battery and double-check the switches—remotes have a way of coming back to life when you least expect it.
Final Thoughts: Getting Your Westinghouse Remote Back on Track
If you’ve been searching for the elusive *learn button* on your Westinghouse ceiling fan remote, you’re not alone. The truth is, most of these remotes simply don’t have one—and that’s by design. Pairing is done the old-fashioned way, lining up codes with dip switches, or sometimes tapping a button on the receiver hidden away in your fan.
It might feel a little old school, but the process is usually quick once you know what to look for (and where to look). Whether you’re troubleshooting, syncing, or just swapping batteries, a little patience—and maybe a steady hand on a step stool—goes a long way. And hey, once it’s working, you can kick back, relax, and let your ceiling fan’s magic work for you.
