Here’s the thing: Hampton Bay remotes are everywhere. They come in different shapes, models, and quirks. Some have buttons labeled for every possible feature, while others feel like a cryptic puzzle. So, does a “learn” button actually exist on a Hampton Bay ceiling fan remote? And if not, how do you pair or reset the thing when it’s acting up? Let’s break it all down, step by step—no tech degree needed.
What Is a “Learn” Button on Ceiling Fan Remotes?
The term “learn button” sounds high-tech, but the concept is simple. On some remotes or devices, a learn button puts the system into a mode where it’s ready to recognize or “learn” commands from another remote or the main unit. You’ll often see this on garage doors, universal remotes, or smart home gadgets.
Here’s where it gets a bit confusing: not every remote has a physical button labeled “learn.” In the world of ceiling fans, some brands build in a pairing process that involves pressing a certain button sequence, while others have actual labeled buttons. For many buyers, the idea of a learn button is appealing because it promises an easy fix to common problems—like when your fan stops obeying the remote or you swap out batteries and lose the connection.
In the case of Hampton Bay ceiling fan remotes, things work a little differently. The remotes rarely include an actual button labeled “learn.” Instead, pairing or syncing requires a specific set of steps—or sometimes, a tiny button inside the battery compartment that isn’t obvious at first glance. But don’t worry, there’s a process for just about every scenario.
Do Hampton Bay Ceiling Fan Remotes Have a Learn Button?
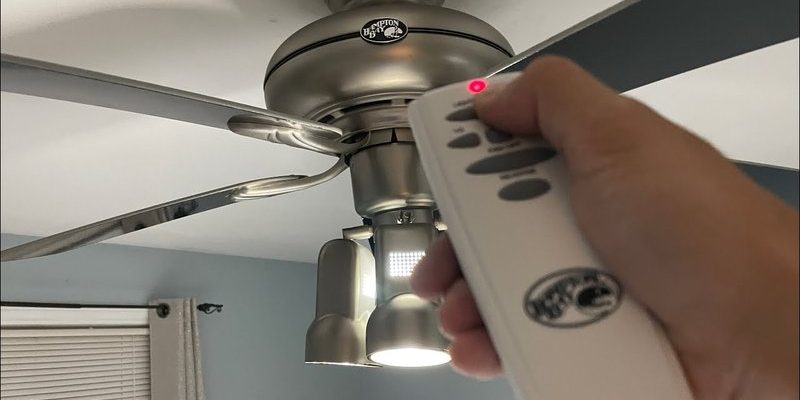
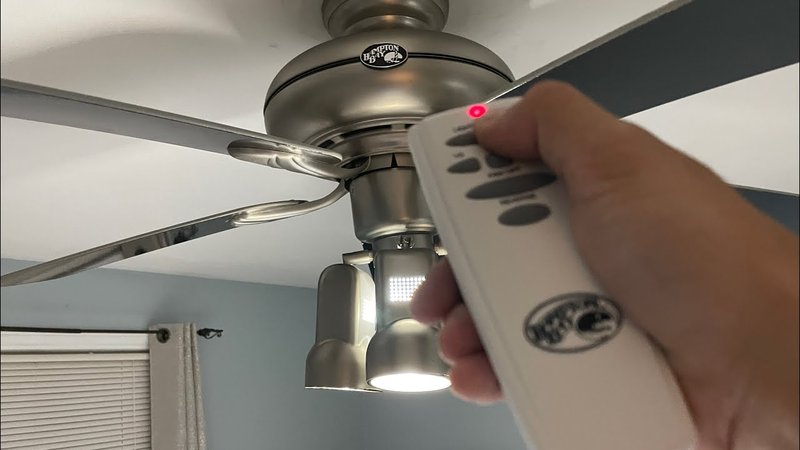
Honestly, if you’re poking around your Hampton Bay remote looking for a big button labeled “learn,” you’re not going to find one. Most Hampton Bay ceiling fan remotes simply don’t have a clear, dedicated learn button on the outside—at least not in the way some universal remotes do.
Instead, here’s what you’ll usually find:
- Older remotes might use DIP switches—tiny toggles inside the battery compartment that control the frequency, making sure your fan and remote “speak the same language.” There’s no learn button here. You just match the switches on both the remote and the receiver inside the fan.
- Newer models rely on a pairing process after a battery change or reset. Some models ask you to press a combination (like the “fan off” button for five seconds) right after powering up the fan. Here, the “learning” isn’t about a physical button—it’s about timing and button sequences.
- Certain Hampton Bay remotes have a small, unlabeled button inside the battery compartment or on the back. It’s not always called “learn,” but pressing it starts the pairing mode.
So, while you won’t see a shiny red button that says “learn,” the functionality is there through these alternative methods.
How to Pair or Sync a Hampton Bay Ceiling Fan Remote Without a Learn Button
You might be wondering, “If there’s no learn button, how do I actually pair my remote?” Here’s how the process usually works for most Hampton Bay ceiling fans:
Step 1: Turn off power to the fan at the wall switch or breaker. This isn’t just about safety; it also resets the receiver.
Step 2: Remove the battery cover on the remote. Check inside for any tiny switches, reset buttons, or helpful diagrams. If you spot DIP switches, make sure they match the switches on the fan’s receiver.
Step 3: Restore power to the fan. Within 30 seconds of turning the power back on, press and hold the “fan off” button (or sometimes the “light” button, depending on your model) for about 10 seconds. This triggers the fan’s receiver to listen for a new signal from the remote.
Step 4: Test the remote. If you successfully sync the remote and fan, you’ll hear a beep, or the fan and light will respond.
If there’s a small button inside the battery compartment, press it gently with a pen tip right after restoring power. This usually replaces the step of holding a function button. Always consult your fan’s manual, since the exact method can vary by model.
Pro tip: Sometimes the process has to be repeated if you’ve changed the remote’s batteries or after a power outage. The receiver and remote need to be “reintroduced” so they can pair up again.
Troubleshooting Hampton Bay Remote Pairing and Reset Issues
Pairing issues can make you want to toss the remote across the room, but most of the time, the problem’s not as dramatic as it feels. Here are some common headaches—and how to solve them:
- The fan isn’t responding at all. Double-check that the batteries are fresh and installed correctly. Weak batteries can weaken the signal or kill it altogether.
- The fan responds to the remote, but the light won’t budge. This usually means only part of the code paired. Redo the pairing process, pressing the appropriate function buttons during setup.
- The remote works, but the fan only turns on and off—no speed changes. Sometimes, a stubborn receiver needs a complete power cycle. Cut power at the breaker for a full minute, then start the pairing sequence again.
- Two fans in the house respond to one remote (or vice versa). This is a “frequency overlap” problem. If your model uses DIP switches, change the switch combination on one set to create a unique pairing.
If all else fails, the receiver in the fan might be bad—or the remote itself is at the end of its life. Swapping in a universal Hampton Bay-compatible remote is often cheaper than tracking down the original.
What to Look For: Remote Model Differences and Features
Not all Hampton Bay ceiling fan remotes are created equal. Some come bundled with the fan, while others are sold separately as replacements. The features and pairing methods can change based on:
- Model year: Older models rely heavily on DIP switches for syncing codes. Newer ones have “smart” receivers that allow for easy pairing with a press-and-hold button method.
- Number of buttons: Basic models just handle on/off and speed settings, while advanced versions include light dimmers, timers, and even reverse airflow controls.
- Universal compatibility: Universal remotes can control multiple brands and devices but may not offer every feature specific to Hampton Bay fans.
If you’re replacing a lost or broken remote, always check the model number inside your fan’s housing or on the old remote itself. This saves you from buying a remote that doesn’t play nicely with your ceiling fan.
Comparing Hampton Bay Remotes to Universal Fan Remotes
You might be tempted to grab a universal remote from the nearest hardware store. They promise to work with everything—but, honestly, they’re a bit like one-size-fits-all socks: handy, but not always a perfect fit.
Hampton Bay remotes are tuned for the specific technology inside Hampton Bay fans. They speak the same “language” as your fan’s receiver, which makes pairing and troubleshooting much easier.
Universal ceiling fan remotes use broader code databases. They can work, but you might run into missing features—like the ability to dim the light or reverse the fan direction. Pairing is also a little trickier, since the codes may not match up automatically. If you go universal, pick one that specifically lists Hampton Bay compatibility and follow the directions closely.
In short, if your original Hampton Bay remote can be replaced with the same model, that’s always your safest bet. Universal remotes are a plan B, not the ideal.
Replacing Batteries and Resetting The Hampton Bay Remote
It sounds basic, but battery troubles are the silent villain in a lot of ceiling fan woes. Here’s how to swap them and give your remote the best chance of syncing right away:
- Slide off the battery cover—usually on the back of the remote. Some models have a clip, others just slide.
- Remove the old batteries, usually two AA or AAA.
- Wait 10–15 seconds before adding fresh batteries. This little pause helps reset the remote’s internal code memory.
- While the batteries are out, check for any tiny switches or buttons—this might be where the hidden “learn” function lives.
- Insert the new batteries and close up the remote. Start the pairing process if needed (see earlier section).
If the remote still won’t cooperate, the issue may be with the receiver in the fan, not the remote itself.
When to Replace or Upgrade Your Hampton Bay Remote
Sometimes, all the pairing and troubleshooting in the world won’t save a remote that’s just given up the ghost. Age, humidity, accidental drops, or battery leaks can all take their toll.
Signs it’s time to get a new remote:
- The buttons are unresponsive, even after a fresh battery and reset.
- The remote only works when you’re standing inches away from the fan.
- None of the pairing methods work, and the receiver is confirmed working.
You can usually find replacement Hampton Bay remotes online or in home improvement stores. Just be sure to match the model number and check compatibility before buying. If you’re stuck, take your old remote (or a photo of the model number and FCC ID) to the store—a savvy associate can help you match things up.
Takeaways: The Truth About Hampton Bay Remotes and “Learn” Buttons
So, is there a learn button on Hampton Bay ceiling fan remotes? Not in the big, obvious way users sometimes hope for. Instead, the magic happens with a careful little dance—power cycling, button holding, and sometimes, setting tiny DIP switches. This has its perks: fewer accidental resets, less risk of “learning” someone else’s fan, and a cleaner look.
If your Hampton Bay remote is acting finicky, don’t panic or start hunting for a unicorn button. Use the pairing steps, reset with new batteries, or try switching frequency codes. And if all else fails, there’s always a replacement out there—to put you back in control of your airflow and lighting, without any more guesswork.