Here’s the thing: GE Universal Remotes are designed to be the “one ring to rule them all.” They can control everything from your streaming box to your aging VCR, which is awesome… right up until you want to erase an old connection or fix some stubborn syncing issue. Think of unpairing as cleaning the slate on your remote—wiping away old info, codes, or settings so you can pair it to something new (or just stop random button presses from turning on your neighbor’s TV).
Whether you’re troubleshooting, donating your remote, or just tired of random devices responding, unpairing is a smart move. But I totally get how looking at those tiny buttons can feel intimidating. So let’s walk through the process together, step by step, like we’re figuring out a mysterious old puzzle box—no stress, just simple explanations.
Understanding How GE Universal Remotes Work
Before jumping into any unpairing process, it helps to know what you’re dealing with. GE Universal Remotes are meant to “speak” the language of pretty much any major device brand—TVs, soundbars, projectors, you name it. You probably entered a code (or used the auto-scan feature) to sync your remote to each device. When you press a button, the remote sends out an infrared signal tailored specifically for your device. It’s honestly like a remote-controlled translator.
Here’s the slightly annoying part: unlike smart remotes with digital screens, most GE Universal Remotes don’t show you a list of paired devices. There’s no app, no flashy confirmation message. They just remember the code you programmed for each device button (like TV, DVD, AUX) and keep it until you clear or overwrite it. This makes unpairing slightly… mysterious. But not impossible.
The best way to think of it? Each “mode” or device button on the remote stores its own unique code. Unpairing basically means erasing that code from the memory, so nothing happens when you press those buttons. If you want to pair the remote with a different device later, you’ll need to enter a new code or follow the pairing steps again.
Why Unpair Your GE Universal Remote?
You might be wondering, why not just leave things as they are? Well, there are a few good reasons you might want to unpair your GE remote from a device:
- Troubleshooting: Sometimes, devices start acting weird. Maybe your TV won’t respond, or the remote randomly controls two things at once. Resetting and unpairing clears out glitches and bad codes.
- Switching Devices: Upgraded your soundbar? Got a shiny new TV? Unpairing is the first step before syncing the remote to your latest gear.
- Donating or Selling: If you’re giving away the remote (or the device), you’ll want to wipe old codes so the next person gets a clean start.
- Decluttering: Sometimes you just want less confusion! Unpairing removes outdated devices you don’t use anymore from the mix.
It’s kind of like hitting “reset” on a cluttered workspace—out with the old, in with the fresh and functional.
How To Unpair GE Universal Remote From a Device: The Core Steps
Alright, let’s get into the practical stuff. The process to unpair a GE Universal Remote isn’t as glamorous as, say, deleting an ex’s phone number, but it’s way less messy. Here’s how you wipe the slate clean on your remote for a specific device:
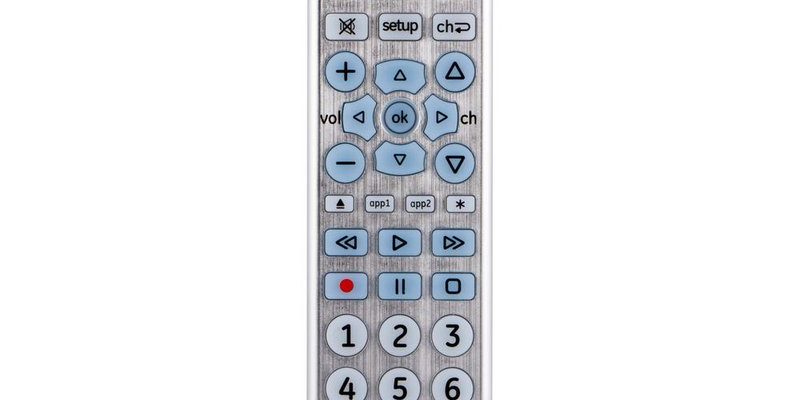
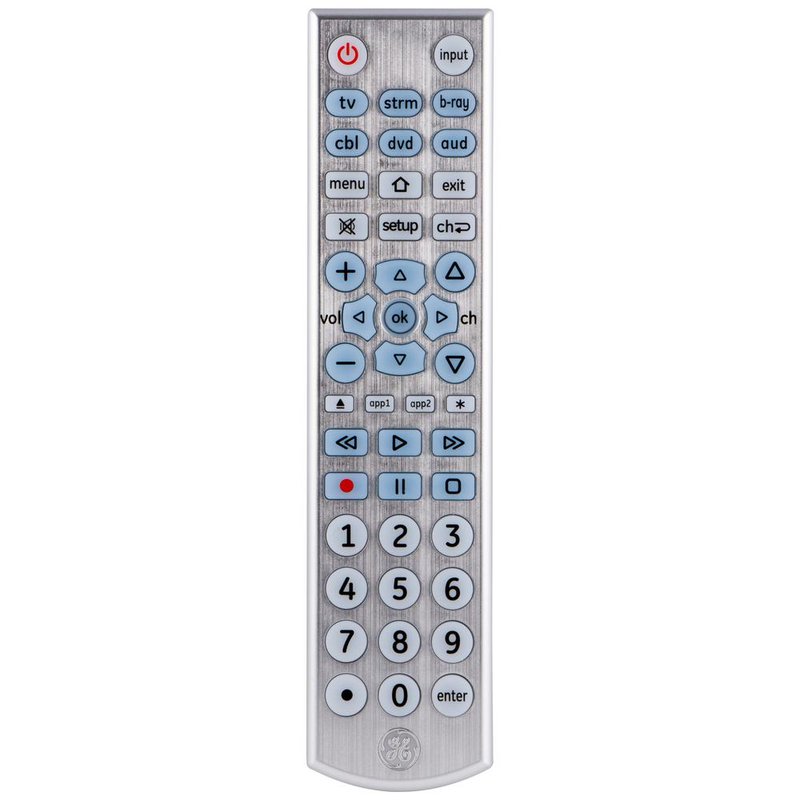
- Step 1: Locate the Device Button
Find the button at the top of your remote that you assigned to the device you want to unpair—like “TV,” “AUX,” or “DVD.” Each device button holds its own code in memory. - Step 2: Press and Hold SETUP
Hold the “SETUP” button (sometimes labeled “CODE SEARCH”) until the LED indicator light stays on. This tells the remote it’s listening for commands. - Step 3: Press and Hold the Device Button
While the light is still on, press and hold the device button you want to clear (for example, “TV”). The indicator will blink, showing you’re in device mode. - Step 4: Enter the Reset Code
Most GE remotes use “0000” or “000” as the master reset code for unpairing. Type it in slowly. If the LED blinks twice and then turns off, you’ve just wiped the code from that button. If not, try “0001” or check your user manual—some remotes vary.
Pro tip: If you accidentally reset the wrong button, don’t panic. You can always re-pair the remote by entering the right device code again later.
After this, pressing the device button should do…well, nothing! You’ve unpaired that device, so it’s ready for a new code whenever you want.
What If the Unpairing Steps Don’t Work?
Here’s where things get real. Sometimes, you follow every step and the remote just won’t cooperate. Maybe the indicator light doesn’t blink. Maybe random buttons still trigger your old soundbar. Frustrating, right? I’ve had this happen, and it’s usually one of three things:
- Weak Batteries: Yup, the classic. If your remote doesn’t seem to react the way you expect, try swapping in fresh batteries before you panic. Low power messes with everything—especially syncing and resets.
- Wrong Remote Model: Not all GE remotes work exactly the same. Double-check your remote’s model number (usually written on the back or inside the battery cover) and find the right instructions. If your remote has different buttons or a different indicator light pattern, your pairing/reset method might be slightly unique.
- Stuck in a Glitch: Sometimes, remotes need a “hard reset.” Remove the batteries, press every button (yep, all of them) to drain any leftover charge, and wait 2–3 minutes. Put the batteries back in and try unpairing again. This trick has saved my sanity more than once.
Here’s the thing: If you’ve tried everything and your remote still won’t forget its old pairing, it might be time for a replacement. Remotes wear out eventually—don’t beat yourself up!
How Unpairing Differs from Factory Reset
You might hear people talk about “factory reset” and “unpairing” like they’re the same thing, but let me explain why they aren’t. Unpairing, like we’ve covered, only clears the code from one device button—say, just your TV or DVD section. Everything else on your remote stays as it was.
A factory reset is the nuclear option. It wipes every code and setting from your GE Universal Remote, basically returning it to how it was straight out of the box. This is useful if you want to start from zero or if your remote is just plain acting haunted.
But—and this is important—you’ll have to reprogram all your devices from scratch if you do a factory reset, which can be a bit tedious. So, unless you’re troubleshooting major glitches or handing off the remote to someone else completely, just unpair the specific device you need.
Troubleshooting Common Problems After Unpairing
Okay, so let’s say you’ve followed all the steps and unpaired your GE Universal Remote from a device, but now you’re facing unexpected issues. Maybe nothing happens when you press a button—or worse, your remote seems to have a mind of its own. Don’t worry, you’re not alone.
One common issue: sometimes after unpairing, the remote won’t sync to the new device. This usually happens if an old code is “stuck” in memory. Try the reset steps again, or perform the hard reset (as mentioned earlier) to clear out any lingering codes. Another thing to check: is the device itself on and working? Sometimes the problem isn’t your remote, but your TV, soundbar, or battery-powered gadget just needs a moment or a fresh set of batteries.
If you’re still stuck, it might be worth comparing your GE Universal Remote with a brand-specific remote (usually the one that came with your TV or device). Universal remotes are super versatile, but sometimes certain functions (like built-in apps or specialty settings) only work with the original remote. It’s a bit like trying to unlock your front door with your gym locker key—close, but not quite right.
Alternatives and When to Upgrade Your Remote
Honestly, universal remotes are fantastic for decluttering and keeping things simple, but technology moves fast. If your GE Universal Remote keeps glitching or won’t unpair even after a reset, it might be time to look at newer options. Some modern remotes have better compatibility, backlit keys, or even voice controls. I know, “Alexa, turn on the TV,” sounds lazy until you’ve done it at 2 a.m. while half asleep.
Still, if you love the simplicity of a basic GE remote, more power to you. Just remember, the unpairing process gives your old gadget a new lease on life—and you a bit more control over your entertainment.
Final Thoughts: Keep Your Remote Relationships Healthy
Unpairing a GE Universal Remote from a device isn’t exactly rocket science—but it does take a little patience and a few simple steps. If you treat these remotes like a tool (not a mystery box), you’ll find it’s surprisingly easy to wipe out old codes and get everything working just the way you want. Whether you’re decluttering, troubleshooting, or just want to be sure your gear works exactly the way you like, knowing how to unpair your remote is a skill you’ll use again and again.
Next time your remote seems stuck on an ex-device, don’t stress. Grab a coffee, follow the steps, and enjoy having total control over your home setup—without any leftover baggage. And hey, if your remote gives you too much trouble, there’s always room in the junk drawer for another mysterious clicker, right?