Here’s the thing: many folks expect their Hampton Bay fan’s remote to work straight out of the box. Sometimes it does! But new batteries, power outages, or even just moving into a new home can break that invisible handshake between the remote and receiver. For anyone who’s never touched the dip switches or doesn’t know what “pairing” means, it might feel a bit intimidating. But honestly, with a slow walkthrough and a few household tools, the process is way less mysterious than it seems.
If you’ve got a standard Hampton Bay ceiling fan remote, you’re in the right spot. Most models—whether you’ve got a simple on/off remote, or one with fancy speed and light controls—follow the same sync pattern. The trick is understanding how the remote talks with the receiver hidden up in your ceiling fan, and then making sure those signals match up perfectly.
How the Hampton Bay Remote and Receiver Communicate
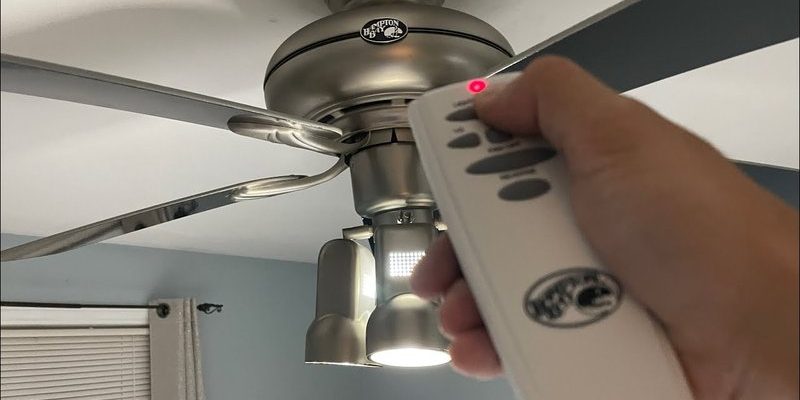
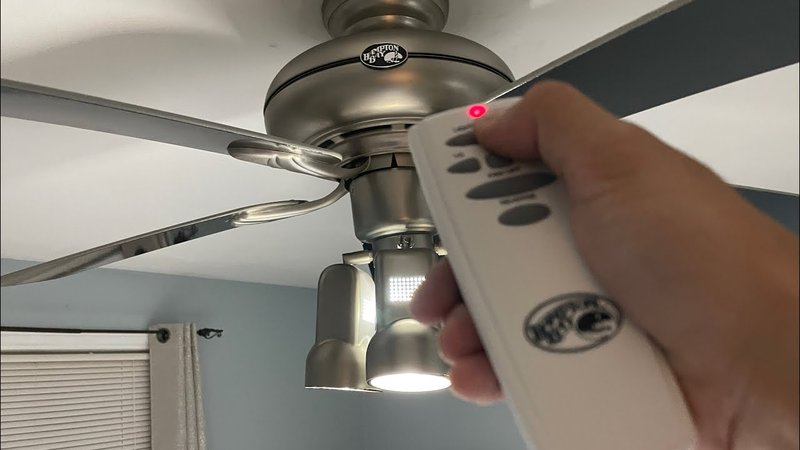
Let me explain why syncing matters. The ceiling fan remote isn’t just a magic wand; it’s a radio transmitter. Tucked inside the fan canopy (that round part by your ceiling) is a small receiver—think of it as the fan’s “ears.” When you press a button, the remote sends a signal using a code, and the receiver listens for that exact code before doing anything.
Why does this matter? If the remote and receiver are set to different codes, the fan won’t respond. And in apartment buildings, you definitely don’t want your remote controlling the neighbor’s fan! That’s why manufacturers use code switches—tiny toggles inside both the remote and the receiver—to make each combo unique.
You might be wondering, “Is this like syncing a Bluetooth speaker?” Not exactly. Instead of digital pairing, we’re matching little physical switches. Once they’re aligned, your remote and receiver speak the same language. If you ever swap out a remote or move fans around, you’ll want to check these codes again.
Opening the Remote and Receiver: Safety First
Before grabbing a screwdriver, let’s talk safety. Shutting off power at the breaker is a must. We’re dealing with ceiling wiring here, not just a TV remote. Cutting power keeps you safe and protects the fan from surges while you’re working.
Here’s what you’ll usually need:
- Phillips screwdriver
- Small flathead screwdriver (for dip switches or battery covers)
- Fresh batteries for the remote
Gently pop the battery cover off your remote. Inside, you should spot a set of tiny toggle switches, usually four or five. This is your code. To access the receiver, you’ll often need to loosen the screws that hold the fan’s canopy to the ceiling. Lower the canopy (watch for wires), and you’ll find a slim plastic box wedged beside the mounting bracket—that’s the receiver, dip switches and all.
Always double-check that the power is off. Even if you’re just peeking at the receiver, nobody wants a surprise zap.
Setting the Code: The Heart of Syncing
This is where the magic happens. You’ll see a row of tiny switches—kind of like old-school piano keys—inside both the remote and the receiver. Each switch can be toggled up or down (sometimes labeled ON/OFF or 1/0).
Here’s the process:
- Choose a code—any combination. Just be sure the pattern matches exactly on both the remote and receiver.
- Use the tip of your screwdriver to flip the switches. If you mess up, no worries—just reset, and try again.
- Once the codes match, snap the battery back in and reattach the remote cover.
- Secure the receiver back into the canopy, being careful not to pinch any wires, and tighten everything up again.
Why do these codes matter? Think of them as house keys. If the keys don’t match, the remote can’t “unlock” the fan’s controls. Once they’re lined up, the remote’s signals go straight to your receiver, and not to every other fan on the block.
Powering Up and Testing the Connection
Now for the payoff. Restore power at the breaker and give your remote a test drive. Try all the functions—fan speed, light, on/off. If everything clicks, you’ve nailed the sync! Sometimes there’s a short delay as the receiver wakes up, but that’s normal.
If you press buttons and nothing happens, don’t panic. Here’s a quick checklist:
- Are the dip switches in the remote and receiver an exact match?
- Are the remote’s batteries fresh and inserted correctly?
- Is the receiver firmly connected and tucked back in place?
Honestly, most syncing failures come down to code mismatches or dead batteries. If you get stuck, it’s worth starting from scratch with a new code pattern.
Troubleshooting Hampton Bay Remote Sync Problems
You might be wondering, “What if it still doesn’t work?” Some issues pop up more than others. Here’s what I’ve seen happen, and how to deal with it:
- If multiple remotes or fans are nearby, their signals can clash (like walkie-talkies on the same channel). Try picking a unique code combination you haven’t used before.
- If your remote works up close, but not across the room, there might be interference. Household electronics or thick walls can muffle the signal.
- If nothing works, test the remote on another Hampton Bay fan (with the same code), or try a universal remote. Sometimes, receivers just give out after years of use.
Receivers can fail, and not even the best code will fix a hardware issue. If you’ve tried everything, swapping in a replacement receiver kit could be the answer.
Resetting and Re-Syncing After Power Outages
Power surges or outages can sometimes knock the sync out of whack. If your fan suddenly stops responding, there’s a quick reset trick:
- Turn off power at the breaker, then wait about 30 seconds.
- Turn the power on, and within 30 seconds, hold down the “fan” or “learn” button (if your remote has one) for 10 seconds.
- The fan should start spinning or beep to confirm the pairing.
Not every Hampton Bay fan uses a “learn” button feature. If yours does, it’s usually marked inside the battery bay or in your manual. If not, syncing dip switches is the safer bet. Either way, don’t panic—most fans recover easily after a quick reset.
Using a Universal Remote or Replacing Parts
Here’s where things get interesting. If you’ve lost your original remote, a universal ceiling fan remote might do the trick. Just make sure it’s compatible with Hampton Bay fans and that the receiver in your fan matches up.
Universal remotes often include their own receiver, but you can sometimes pair them with your existing setup. You’ll still need to set the code—same process as before.
If your receiver or remote has truly bit the dust, plenty of affordable replacement kits are out there. Just double-check your fan model and wiring before grabbing a new one. Honestly, updating to a newer remote sometimes brings bonus features, like dimmer controls or preset speeds.
Common Mistakes and How To Avoid Them
Pairing a Hampton Bay remote sounds straightforward, but a few classic blunders can trip up anyone:
- Forgetting to turn off the circuit breaker before poking around in your ceiling fan. Trust me, this is one shortcut you don’t want to take.
- Mismatching the codes between remote and receiver. Always double-check before reassembling everything.
- Using old or backwards batteries. Even fresh batteries can be inserted the wrong way if you’re in a hurry.
- Forgetting to fully secure the receiver inside the fan canopy. A loose receiver can cause wiring issues or even short out your remote connection.
Being methodical—one step at a time—makes a difference. I like to snap a photo of the dip switch pattern I set, just in case I ever need to sync another remote later.
Why Syncing Your Hampton Bay Remote Matters
Pairing your Hampton Bay ceiling fan remote with its receiver isn’t just a one-time chore. It’s about making your daily life a little easier: dim lights from the couch, change fan speeds at night, or just stop the blades without reaching up. If you’ve ever fumbled for a wall switch in the dark, you get it.
Proper syncing also matters for safety. You don’t want your remote to operate someone else’s fan, or vice versa. Whether you’re troubleshooting after a blackout or setting up a new fan, attention to these steps helps avoid endless frustration down the line.
Pairing isn’t high-level tech wizardry—it’s more like matching the right puzzle pieces. Once you see how the remote and receiver “talk,” you’ll have zero fear syncing them again in the future.
If you’ve followed all these steps, your Hampton Bay ceiling fan and remote should be perfectly in sync. Enjoy cooler breezes and hassle-free controls—no more shouting across the room at your stubborn fan.