Setting schedules with the Intermatic pool remote system isn’t just about convenience; it’s about finally creating a routine you don’t have to babysit. The Intermatic brand’s remotes are pretty popular for exactly this reason: they’re designed to help you automate your pool’s daily tasks. But if you’ve just gotten one—or you’re stuck in a tangle of buttons and beeps—it can feel intimidating. Don’t worry. With a little know-how, you’ll have your pool set up to run itself, saving you time, electricity, and probably a bit of sanity.
Understanding Your Intermatic Pool Remote System
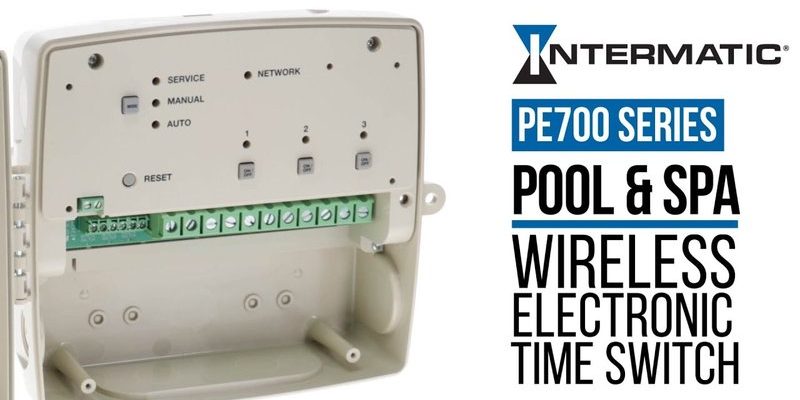
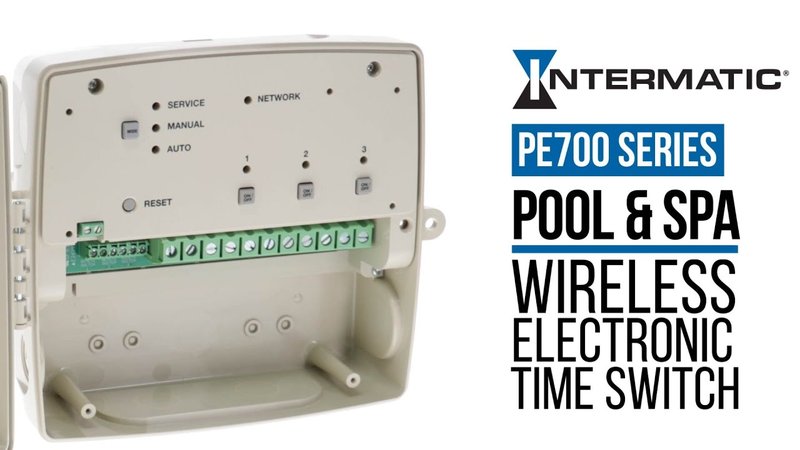
Let’s break down what this system actually is before we start pushing buttons and setting timers. The Intermatic pool remote system is a type of control panel that lets you manage all your pool equipment—like pumps, lights, and heaters—from a single device. Some models are simple wall panels, while others offer handheld or even wireless remotes. There’s something oddly satisfying about standing at your kitchen window and, with just a click, turning on your spa jets before you even dip your toes in.
Honestly, having everything centralized like this changes the whole pool experience. Instead of running outside and flipping individual switches or fumbling with circuit breakers, you can program the exact schedule you want. The remote ties into a main controller, syncing up with all your connected gear. The brand’s smart approach means it’s not just on/off functions—these remotes can set schedules, pair with timers, and even let you override settings easily if plans change.
You might be wondering, “What if my system doesn’t respond?” Good question. The Intermatic remotes usually require a strong sync between the remote and the main control box. If something’s off—like low battery, signal issues, or even a code mismatch—troubleshooting those basics can save you a lot of frustration. In some situations, a quick reset or fresh battery is all it takes to get things back on track.
Getting Started: Setting Up Your Intermatic Remote
Before you start programming daily schedules, you need to make sure your remote is paired and ready to communicate with the main pool controller. Here’s the thing: the setup process is meant to be straightforward, but it pays to go slow and double-check each step. Find your Owner’s Manual or check the model number—different Intermatic remotes have slightly different steps depending on the generation.
Most of the time, setup looks like this:
- Install fresh batteries in the remote if it’s wireless. If it feels sluggish, a new battery can do wonders.
- Power on both the remote and the pool’s main control box.
- Enter pairing or “learn” mode—this typically involves holding one button on both the remote and panel for a few seconds.
- Wait for the indicator light or beep that signals a successful sync. If you don’t see confirmation, repeat the step or check code settings.
If the remote refuses to pair or loses connection, try a quick reset. Most Intermatic models have a dedicated reset button or a simple code sequence (like holding two buttons simultaneously). This will clear old settings but won’t erase your ability to start over—a small relief if things get wonky.
Once you know the remote and main box are talking, you’re ready for the fun part: actually programming those schedules.
Programming Schedules: Step-by-Step Guide
Here’s where you get to make the system work for you. Setting schedules with the Intermatic pool remote system means telling your pool when to operate each device—pumps, heaters, lights, or anything else connected. No more manual flipping. This frees you up for more important things, like enjoying your coffee while the spa preheats itself.
To set a schedule:
- Enter the “Program” or “Schedule” mode from your remote. Usually, there’s a button labeled specifically for this, or you might hold down the main menu button until the display changes.
- Select the device you want to schedule (for example, Pool Pump).
- Choose the start time and end time using the arrow or plus/minus buttons. Don’t be afraid to set multiple schedules if you want the pump running in the morning and evening.
- Confirm your settings—often by pressing “Enter” or holding the main button until you see a code or flashing light.
A quick tip: Program each device one at a time and run a test. For example, set the pool light to come on in one minute and check if it triggers. It’s easier to work out bugs with one device before committing to a whole set of schedules.
It’s easy to get tripped up by AM/PM confusion or forgetting to save. If things aren’t working as you expect, double-check the time settings and whether you hit that final “save” or “confirm” button. The remote doesn’t always forgive a missed step!
Editing and Adjusting Schedules (And Why You’ll Want To)
Let me explain—life isn’t static, and neither is your pool routine. Maybe you’re having a summer party and want the pool lights on later than usual, or perhaps you want to shorten the pump’s run time to save electricity. Editing schedules with the Intermatic pool remote system is pretty painless once you know the sequence.
Start by entering the “Program” or “Edit” menu on your remote. Use the navigation arrows to find the specific schedule you want to tweak. The interface can feel a bit old-school, especially on older Intermatic remotes, so don’t rush—watch for blinking indicators or code prompts.
Delete or change start and stop times with a few button presses. If you need to erase a schedule entirely, there’s usually an option for “clear” or “delete.” As always, confirm your changes with the save/enter button. Some users get nervous about editing, but you really can’t mess up anything permanent—worst case, you’ll just start from scratch.
What’s great here is the flexibility. Maybe you set a schedule for weekdays but want to override it on weekends, or change things last-minute. The remote usually lets you do a temporary override, running the pump or lights outside the programmed times without erasing your existing setup. That’s super handy for spontaneous hot tub nights or unexpected maintenance.
Troubleshooting Common Intermatic Scheduling Issues
You might be thinking: “What if something goes wrong?” Here’s the honest truth—electronics get quirky sometimes. With the Intermatic pool remote system, most problems come down to three things: power, battery, or sync issues.
If your schedules aren’t triggering, check:
- The battery in the remote (if it’s wireless)—weak batteries cause missed commands and poor connection.
- That the remote and control box are still paired. Sometimes, power outages or code mismatches can “unpair” your devices.
- The time and date settings on both the remote and the control box. If the clock resets, your schedules may trigger at the wrong time or not at all.
- Physical obstructions or interference if you’re using a wireless remote (like thick walls or metal cabinets nearby).
A classic fix is a soft reset: power down the remote, remove and reinsert the battery, and try to pair it again. If things are still weird, dig into your Owner’s Manual for a model-specific sync or code reset. If your remote displays a code on the screen, jot it down—sometimes that code will tell you exactly what’s wrong.
Don’t be shy about calling in help if you’re completely stuck. Most pool pros know Intermatic systems inside and out, and a quick service call can save you hours of frustration.
Comparing Intermatic Remotes vs. Universal and Other Brands
You might be wondering, “Is Intermatic really better than a universal remote or other brands?” Here’s my take: Intermatic remotes are designed specifically for their own pool controller systems, so pairing, syncing, and scheduling is usually a lot smoother and less buggy. The menus will feel more intuitive and you’ll have fewer headaches when it comes to code compatibility or power issues.
Universal remotes, on the other hand, promise to work with just about anything—but in reality, they can be hit or miss. You might get basic on/off control, but advanced features like schedule programming or device syncing might not work at all. If you enjoy tinkering and don’t mind some trial-and-error, they’re an option. But if you just want your pool to listen and behave, sticking with the Intermatic-branded remote is usually the safer (and less stressful) bet.
It’s a bit like using the charger that came with your phone versus a knockoff—sure, the knockoff might work, but you’ll deal with more hiccups and frustration in the long run. Plus, Intermatic offers better support and documentation, especially for troubleshooting and code resets.
Maintaining and Resetting Your Intermatic Pool Remote
After a few months (or seasons), most pool owners forget about their remotes—until something stops working. Honestly, a little maintenance goes a long way. Check and replace the battery annually, even if it’s not dead yet. Dust off the contacts inside the battery bay with a dry cloth. Give the remote a gentle wipe-down with a damp (not wet!) cloth to keep the buttons responsive.
If your remote starts acting up—random beeps, unresponsive buttons, or missed schedules—a full reset is your friend. Most Intermatic remotes let you perform a factory reset by holding down a combination of buttons (usually the main power plus program keys) for 10-15 seconds. This will clear stored schedules and code pairings, but it’s often the fastest way to fix bugs or glitchy behavior.
Make a habit of syncing your remote again after a reset. If you’re seeing error codes, consult the handy code chart in your manual (or online) to nail down the problem. Sometimes all it takes is re-pairing the remote with the main control box or manually resetting the time and date so schedules line up again.
A little preventative TLC can keep your Intermatic pool remote system running like clockwork, so you don’t have to worry about it every swim season.
Final Thoughts: Master Your Pool Routine
Setting schedules with your Intermatic pool remote system isn’t just a techy upgrade—it’s an investment in less hassle and more poolside fun. Once you’ve got the routines programmed, you’ll barely have to think about pump cycles, spa jets, or whether you left the pool light on all night. Honestly, that peace of mind is worth it.
It might feel a bit daunting at first, especially if technology isn’t usually your thing. But with a little patience—and maybe a couple of resets along the way—you’ll find that Intermatic’s smart design really takes a lot of the guesswork out of pool care. If you ever get stuck, there’s always a manual, a friendly pool pro, or even a quick online search to help out.
So, next time you’re relaxing by the pool and everything just *works*, you’ll know it’s all because you took a bit of time to set your Intermatic system up just right. Enjoy the extra free time, and don’t forget to actually use that pool for what it’s meant for: unwinding and having fun.