Here’s the thing: Hampton Bay fan remotes are designed to simplify things, but they don’t always feel intuitive at first. Maybe you’ve just installed a new fan, or you’re troubleshooting one for the first time. Either way, you want your fan to do what you want, when you want—no late-night scavenger hunts for that elusive “code” or second-guessing which button does what. Let’s walk through setting fan speed, step by step, with all the details that make it simple—even if “DIY” isn’t exactly your middle name.
Understanding Your Hampton Bay Ceiling Fan Remote
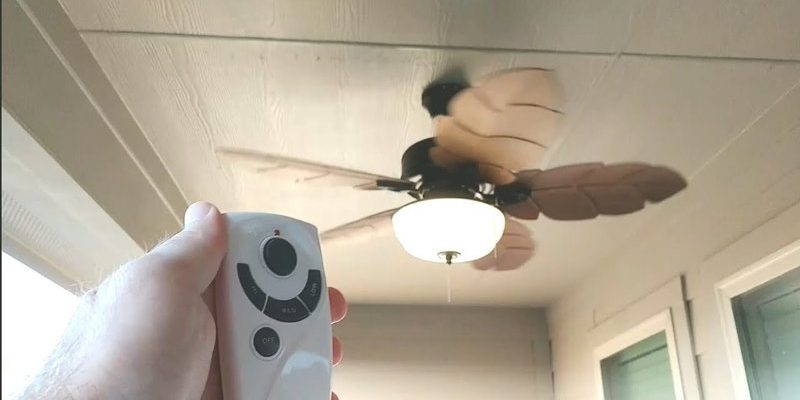
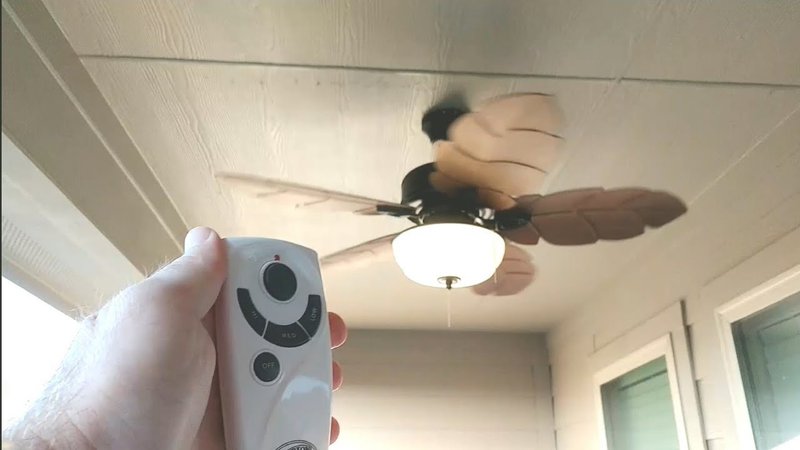
First off, let’s make sense of what’s in your hand. Most Hampton Bay ceiling fan remotes look pretty similar, even if you’ve seen a few different models on store shelves or online. You’ll likely spot a rounded, plastic handset with a handful of buttons—usually marked with things like “HI,” “MED,” “LOW,” and maybe an “OFF.” Some models sneak in extras like a light switch or even a “reverse” button.
What’s actually happening here? Those buttons are sending a wireless signal—almost like a tiny walkie-talkie—up to a receiver unit tucked inside the ceiling fan housing. That receiver translates your button presses into electrical commands, which in turn tell the fan’s motor to spin faster, slower, or stop entirely.
You might be wondering: does every Hampton Bay remote work the same way? The answer is mostly “yes,” but there can be small variations—especially if you’re using a universal remote or you’ve had to pair a replacement unit. The good news is, the general logic behind the speeds (high, medium, low) stays consistent across models, with only slight tweaks in layout or labeling. If you have the original remote, setting the fan speed is straightforward; if not, there are a few pairing steps you’ll want to know (we’ll get to those).
How Fan Speed Settings Work on Hampton Bay Remotes
Let me explain the basics: your Hampton Bay ceiling fan remote controls the speed by cycling through three or sometimes four options. These are usually labeled as:
- High – For maximum airflow
- Medium – A happy in-between for regular use
- Low – Soft, gentle breeze for nighttime or cooler days
- Off – Stops the fan entirely
There’s no secret code or sequence—pressing the button sends a command straight to the fan’s receiver unit. A gentle “click” or small LED light might flash to confirm your command, depending on your model. (If you don’t hear a gentle beep or see a light, don’t panic. Some models skip feedback entirely.)
Now, the speed you pick changes how quickly the motor inside the fan spins the blades. Set it to “high,” and you’ll feel a strong breeze almost instantly. “Low” feels more like a whisper. This difference isn’t just about comfort—it can help cut down on energy bills, too, since running a fan on low speed uses less power.
You might wonder, “Does the remote remember my last setting?” On most models, the answer is yes. When you turn the fan off and then back on, it usually starts at the last speed you used—unless you’ve reset the receiver or swapped out the batteries. Speaking of which, let’s talk power.
Checking and Changing the Remote Batteries
Honestly, this sounds obvious, but weak or dead batteries are the number one reason a Hampton Bay ceiling fan remote stops working—or only works sometimes. If your fan isn’t responding, or you’re pressing the speed button and nothing happens, the first thing to check is the power source.
To change the batteries:
- Flip the remote over and look for a sliding cover or a small screw. (Most models use a simple cover.)
- Slide or unscrew the battery compartment to open it.
- Most Hampton Bay remotes use AAA or 9V batteries. Pop out the old ones and insert new ones—match the positive (+) and negative (-) ends carefully.
- Close the compartment and give the remote a test.
If you’ve swapped the batteries and the fan still doesn’t respond, it could be an issue with the receiver or the remote pairing, which leads us straight into troubleshooting territory.
Pairing and Syncing Your Hampton Bay Remote With the Fan
You might be wondering if you need to “code” or sync the remote to the fan. If you’ve just installed a new fan, or you’ve replaced a lost remote, the two might not be paired yet. Luckily, most Hampton Bay ceiling fans use a simple DIP switch system or a push-button pairing process—not the kind of tech that’ll have you pulling your hair out.
Inside both the remote and the receiver (usually in the fan canopy), you’ll find small switches—these are your DIP switches. Their positions must match for the remote and fan to talk to each other. Here’s how to pair them:
- Turn off power to the fan at the circuit breaker. Safety first—nobody wants a zap.
- Remove the fan canopy to access the receiver. Look for a tiny row of switches (often 4 or 5 in a line).
- Open the remote’s battery compartment—you’ll see identical DIP switches there, too.
- Use a small screwdriver or pen to set the switches in the *exact* same positions on both the remote and receiver.
- Replace everything, restore power, and try the remote. You should be back in business.
Some newer models skip DIP switches and automatically pair when you hold down a specific button for a few seconds. Check your manual (or the back label of the remote), because the process can vary slightly. If all else fails, a quick reset (holding the power button for 10–15 seconds) can often re-sync things.
Step-By-Step: Setting Fan Speed Using Hampton Bay Remote
Let’s break it down simply, so you never have to guess. Here’s how to actually set your fan speed:
- Make sure the remote has working batteries and the fan is powered on.
- Identify the fan speed buttons. You’ll usually see “HI,” “MED,” “LOW,” and “OFF.”
- Press the button for the desired speed. (For example: “HI” if you want fast airflow.)
- Wait a few seconds. Most fans respond immediately, but some take a moment to wind up or slow down.
- If nothing happens, double-check the remote’s batteries or re-sync as described above.
Here’s a quick example: you’re sitting on the couch, it’s starting to feel stuffy, so you grab your Hampton Bay remote and tap “HI.” The fan blades speed up, moving a lot of air. Later, when you’re ready to settle in with a good book, you tap “LOW”—the fan slows down for a gentle breeze. It’s all about comfort at the tap of a button.
Troubleshooting: When the Fan Speed Won’t Change
Sometimes, things don’t go as planned. Maybe you’re pressing the button and nothing’s happening—or the fan only responds to some commands, not others. Before you call in a pro or start climbing on ladders, there are a few things to try.
If the fan is completely unresponsive, start by checking the batteries. Even “brand-new” batteries from the junk drawer can sometimes be duds.
If the batteries are fine, the DIP switch code might be mismatched, or the receiver in the fan may need a reset. Try these steps:
- Double-check the DIP switch settings in both remote and receiver—each switch must match exactly.
- If your remote has a reset or pair button, press and hold as per the manual’s instructions. Sometimes holding the “OFF” button for 10–15 seconds does the trick.
- Make sure the fan’s light kit (if present) is not interfering—some models require the light to be off for certain commands.
- If all else fails, power off the entire unit at the breaker for a full minute, then turn it back on.
Honestly, if you’ve tried all these steps and nothing works, the receiver module itself might be faulty—a more advanced repair. Universal remotes are an option, but they’ll need to be paired with the receiver, too.
Comparing Hampton Bay Remotes With Universal Options
You might be thinking: “My original remote is lost or broken. Can I use a universal remote?” Good question. Universal ceiling fan remotes are designed to work with multiple brands, Hampton Bay included. The setup process—pairing, setting codes—remains similar, though sometimes universal remotes add extra buttons or slightly different layouts.
Pros of using a universal remote:
- Works with most ceiling fans, not just Hampton Bay
- Easy to find replacements at hardware stores
- Sometimes adds features like timers or reverse mode
Cons to watch for:
- Pairing can be finicky if the DIP switches don’t perfectly match
- Not all features (like light dimming) may work on every model
- Build quality can vary wildly—stick to trusted brands
If you’re considering switching to a universal remote, just check your fan’s receiver for compatibility. Sometimes it’s easier (and more reliable) to stick with a genuine Hampton Bay remote—especially if you want every function to work smoothly.
Tips for Making the Most of Your Ceiling Fan Remote
Once you’ve got your fan speed set, here are a few quick tips to get the most comfort and efficiency out of your Hampton Bay ceiling fan:
- Seasonal direction: Many fans have a “reverse” button (sometimes on the remote, sometimes on the fan itself). Clockwise for winter (pushes warm air down), counterclockwise for summer (pulls hot air up).
- Energy savings: Keeping the fan speed on “low” or “medium” during cooler days saves energy, while “high” is great for hot afternoons or when you’re entertaining guests.
- Battery check: Swap remote batteries at least once a year, or sooner if the response is sluggish. It keeps things running smoothly and avoids those late-night “why won’t it work?” moments.
- Keep the remote handy: Use the remote’s wall mount (if included) or pick a spot where it won’t wander off with the kids or get buried under couch cushions.
A little attention keeps your ceiling fan and remote team working together—they’re here to make life more comfortable, not complicated.
Closing Thoughts: Enjoying Greater Comfort With Your Hampton Bay Remote
Changing your ceiling fan speed with a Hampton Bay remote shouldn’t feel like learning a new language. Once you’ve got the basics—battery checks, pairing, knowing which button is which—it really is as simple as pressing a button for instant comfort. And if you ever get stuck, retracing your steps through batteries, DIP switches, or a quick reset usually does the trick.
Think of your Hampton Bay remote as the tiny conductor of your home comfort orchestra. When everything is working, you set the pace, the mood, and the airflow, all with a few clicks. Here’s to fewer summer sweats, quieter nights, and a fan that always seems to know just what you need.