Imagine your Harbor Breeze fan and remote as a pair of walkie-talkies. They can only “hear” each other if they’re tuned to the same channel, and that’s exactly what programming or pairing does. Whether you just installed a new fan, swapped out batteries, or the remote lost its mind after a power outage, syncing things up from scratch isn’t as intimidating as it sounds.
Understanding Harbor Breeze Ceiling Fan Remotes and Receivers
So, what’s actually going on inside that little remote? In simple terms, the remote sends a wireless signal to a receiver stashed up in your fan’s mounting bracket. The “code” or “channel” they use has to match. Some models use dip switches—tiny switches you flip to set a code—while newer ones pair automatically.
Think of the receiver as the brain of the fan. When you tap a button on the Harbor Breeze remote, the signal tells the receiver to spin the blades or dim the lights. If the codes don’t match, the fan’s brain just shrugs and ignores you.
Some Harbor Breeze fans come with remotes right in the box, while others let you add a universal kit. You might even spot a little black button labeled “Learn” on the receiver—this is your best friend if you need to re-sync everything after a battery swap or circuit breaker reset. If your remote has a sticker inside the battery compartment with numbers, you likely have a dip-switch style. If not, you’re probably working with a “Learn” button system.
Understanding this setup helps you choose the right approach: either matching the dip switch codes or using the sync/pairing button. Get this right, and the rest is just a careful step-by-step process.
Before You Start: Safety and What You’ll Need
Before tinkering with your Harbor Breeze ceiling fan remote, let me say one thing: safety first. Ceiling fans and electricity aren’t the kind of friends you want to interrupt unprepared. Always cut power at the breaker before poking around in the fan’s housing. That’s not just something your cautious uncle would say—it’s genuinely important.
Here’s what you’ll need before getting started:
- Your Harbor Breeze remote and ceiling fan (obviously!).
- A sturdy step ladder — unless you’re 7 feet tall.
- Fresh batteries for the remote. A dying battery can throw things off and make you question everything.
- Small Phillips screwdriver — for fans with covers or remotes with screwed-down compartments.
- Patience. Programming is easy once you know how, but sometimes remotes just have a mind of their own.
It’s smart to clear the area under your fan, too, in case you drop a screw or just want to avoid climbing over a coffee table. If you’re in an apartment, maybe warn your roommates about the step ladder in the living room.
Step 1: Check and Replace the Remote Batteries
This sounds basic, but you’d be amazed how many ceiling fan “problems” are just tired AAAs. If your Harbor Breeze remote is flashing weakly or not lighting up at all, fresh batteries are your first move.
Open the battery compartment—usually it just slides off, but some remotes need a gentle push or a tiny screwdriver. Swap out old batteries for new ones, paying close attention to the plus/minus symbols, so you don’t accidentally reverse the polarity. If your remote uses coin cell batteries, those pop out easily with a fingernail.
Still nothing? Check for corrosion (that weird white crust) on the contacts. Clean it gently with a cotton swab dipped in vinegar if you see any. Re-seal the compartment and check if the remote lights up or makes a quiet “click” sound when you press a button. If it does, your remote is probably fine and ready for programming.
Step 2: Locate the Ceiling Fan Receiver and Identify the Programming Method
Ready to get your hands a little dusty? The receiver lives inside the fan’s mounting bracket up at the ceiling. To reach it, turn the power off at the breaker, then remove the bottom canopy (the cover closest to the ceiling). You might need to unscrew one or two small screws.
Once you spot the receiver, look for either:
- DIP switches — tiny switch rows, usually with four or more toggles. These physically set the “code.”
- A small black “Learn” button — used for automatic syncing and pairing the remote.
Take a photo of the setup before touching anything. It helps you remember how things fit back together. Some Harbor Breeze receivers have both a “Learn” button and dip switches, but most use just one system.
This step is where things click for most people. Once you know your model’s method—dip switch or “Learn” button—you can follow the right programming process. If you’re unsure, check your manual (if you kept it…) or look up the model number online.
Step 3: Programming Harbor Breeze Remotes With Dip Switches
If your remote and receiver both have dip switches, you’ll need to match them exactly. Think of these like tiny binary on/off codes—the tech is old-school but reliable.
Here’s how you do it:
- Carefully slide open the dip switch cover on both your Harbor Breeze remote and receiver.
- Use a small tool, like a pen tip or tiny screwdriver, to flip the switches on both devices. They might be labeled 1, 2, 3, 4. Set each switch “up” or “down” to match the other device exactly.
- Double-check your work. Even one switch in the wrong position, and the fan won’t respond. Snap a photo before closing things up.
Here’s the thing: dip switch codes are unique, so if two fans nearby use the same settings, you might accidentally control both at once. If you live in an apartment or duplex, pick a code combo that isn’t the default.
Re-seal the remote and the fan canopy, then restore power at the breaker. Try the remote. If the fan spins and the light works, you’ve nailed the programming.
Step 4: Syncing a Harbor Breeze Remote Using the “Learn” Button
Many newer Harbor Breeze fans ditched dip switches and use a “Learn” button to pair the remote with the receiver. If this is your setup, relax—it’s honestly even easier than matching codes.
Here’s how to sync:
- With the power still OFF, locate the “Learn” button on the receiver inside your fan. (Often right on the black receiver box.)
- Restore power at the breaker. You now have a short window—usually 30 seconds—to pair the remote.
- Press and hold the “Learn” button on the receiver (or sometimes a pairing button on the remote) for 3–5 seconds. You’ll often hear a beep or see the fan blades jog slightly to show it’s ready.
- Release the button, then press any button on your Harbor Breeze remote. The fan/light should respond, confirming the sync.
If the fan doesn’t respond, don’t panic. Turn power OFF and try again. Sometimes you need a couple tries if the timing was off. Once it works, replace the canopy, climb down, and enjoy the breeze.
If you ever reset your home’s breaker or the remote acts flaky, just repeat this process to re-sync.
Troubleshooting Harbor Breeze Remote Programming Issues
So you followed every step, but the fan refuses to budge. Annoying, but not the end of the world. Harbor Breeze remotes are sturdy but not flawless, and a few things can throw things out of sync.
Start by checking the basics:
- Are the batteries good and inserted correctly? Weak or reversed batteries = no signal.
- Is the receiver inside the fan getting power? Sometimes a loose wire (or even an unseated receiver) will break the circuit.
- Did you wait for the correct pairing window with the “Learn” button? Power cycling too early (or too late) can interrupt the process.
- Are the dip switches lined up exactly? Even a dusty switch can throw things off. Nudge them all the way “up” or “down.”
If the fan or light works with a wall switch but not the remote, your issue is almost certainly with the code or pairing, not the wiring. On the other hand, if nothing works, you may need to check your home’s circuit breaker, or (rarely) replace a fried receiver.
Older remotes and fans sometimes just wear out. Universal ceiling fan remotes can work as a replacement if you match the frequency/code system. But honestly, pairing the original Harbor Breeze remote is usually more reliable.
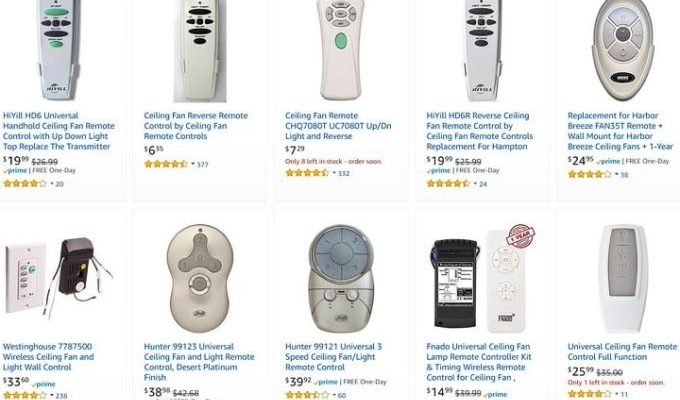
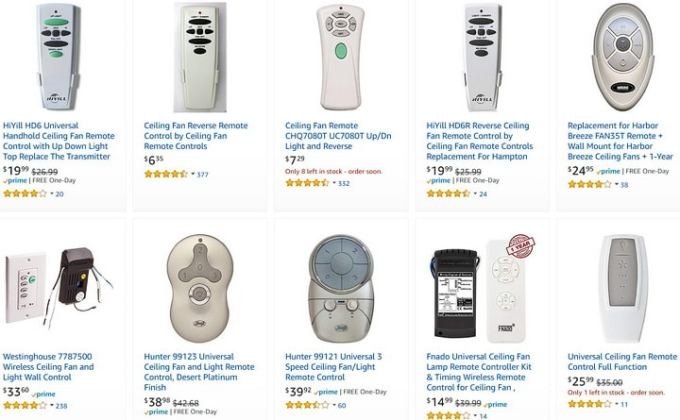
Comparing Harbor Breeze Remotes and Universal Ceiling Fan Remotes
You might be wondering if you can just grab a universal remote instead of hunting for your specific Harbor Breeze model. In many cases, yes—you can! Universal ceiling fan remotes are designed to work with most major brands, including Harbor Breeze, as long as the frequency and code system match.
Here’s a quick comparison:
| Harbor Breeze Original Remote | Universal Ceiling Fan Remote |
|
|
Just double-check the receiver in your fan. If it uses dip switches, match those in the universal remote. For “Learn” button style, most universal remotes still sync the same way—but read the manual twice before starting.
Why Properly Programming Your Harbor Breeze Remote Matters
Let me explain why this isn’t just about convenience. A well-programmed Harbor Breeze ceiling fan remote isn’t only handy when you’re too lazy to get up—it’s a safety thing, too. If your remote stops responding, you might be forced to use the wall switch or, worse, try DIY fixes that mess with your home’s wiring.
Properly syncing your remote and fan also avoids accidental cross-signals. Imagine flipping a switch and triggering your neighbor’s fan—funny for a second, but not ideal long term.
Plus, once you’ve set your remote up right, it’s easier to add a light kit or swap out remotes without redoing everything. This little bit of patience up front saves a lot of stress (and sweaty afternoons) later on.
Finishing Up: Enjoying a Synced Harbor Breeze Ceiling Fan
If you made it this far, you’ve probably got your fan and remote communicating perfectly, and that’s no small win. There’s something satisfying about pressing a button and watching your ceiling fan spring to life—especially when you know exactly how it all works behind the scenes.
From fresh batteries to matching dip switch codes or pairing with the “Learn” button, each step builds your confidence. And if things hiccup, you know where to look. So enjoy your perfectly synced Harbor Breeze ceiling fan and remote. Next time someone complains that their “fan remote is possessed,” you’ll know exactly what to do—and maybe even show off a little.