Honestly, you’re not alone in this. Most people don’t keep every manual, and the tiny print on those booklets is rarely comforting. Here’s the thing: programming a Linear garage door remote isn’t rocket science. With a bit of patience—and maybe a step-by-step walkthrough—you can get your remote working just like new, no manual required. Let me explain how the process works, what tools you’ll need, and how to troubleshoot common problems along the way.
Understanding Your Linear Garage Door Remote
Before you press any buttons, it’s worth knowing what kind of remote you’re working with. Linear makes several models of garage door remotes, and while the core concept is the same, the button layout and features can be slightly different. You might have a small, single-button remote that clips to your car visor, or a larger unit with multiple buttons for different doors.
The main parts you’ll see are:
- The large button (or buttons) you’ll press to activate the opener
- A tiny LED light that flashes when the remote is working
- A slot or panel for the battery, usually on the back
Linear remotes use a radio signal to sync, or pair, with your garage door opener. The code inside the remote has to match what the opener expects—think of it as a secret handshake between the two devices. If the code doesn’t match, the door won’t budge.
Understanding this “handshake” is key. Older Linear remotes used dip switches (little toggles inside the battery compartment), but most modern ones use a digital learn button system. If your garage opener was made after the early 2000s, you’re probably in the learn button era.
What You’ll Need Before You Start Programming
Don’t worry, the supply list is surprisingly short—but forgetting even one part can slow you down. Here’s what you’ll want handy:
- Your Linear garage door remote, with a fresh battery installed
- A small step ladder (unless your opener is within reach)
- A flashlight if your garage ceiling is dark or the opener is in a shadowy corner
- Patience, especially if you haven’t done this before
You might be wondering about that fresh battery. A weak battery can cause a world of trouble—unresponsive buttons, weak signals, or failing to sync at all. If your remote hasn’t worked in a while, swap in a new battery before you start programming. Most Linear remotes use standard coin-cell batteries, like CR2032. Having a working battery is non-negotiable for successful programming.
Locating the “Learn” Button on Your Linear Garage Door Opener
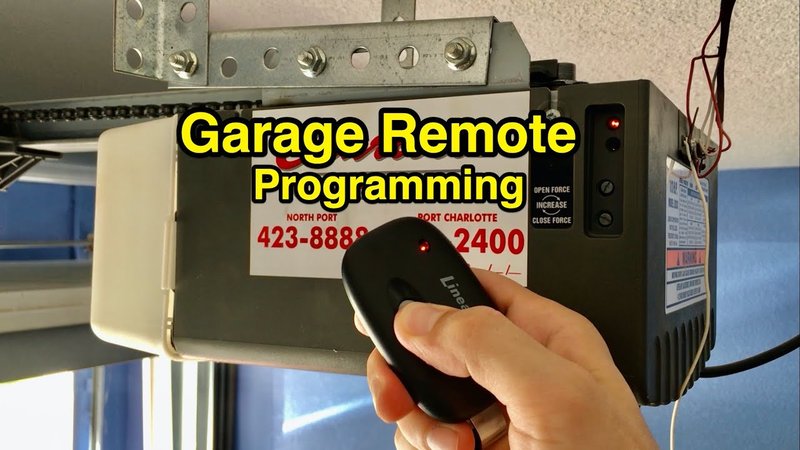
This is where some folks get stuck. The learn button hides on the main garage door opener unit (typically hanging from your garage ceiling, not inside the remote). It’s not labeled with neon letters, but finding it is the golden ticket to pairing your remote.
Here’s what you’ll do:
- Look for the main opener box (there’s usually a cover you can gently slide or flip open).
- Scan for a small button labeled “Learn,” “Prog,” or even just a color-coded button (Linear often uses red, green, or purple).
- You might see a tiny LED indicator next to the button—this should light up or blink when pressed.
Let me paint a picture: You’re on the step ladder, flashlight in hand, poking around the side or back of the opener. Don’t be afraid to shine light into every nook and cranny—the learn button usually isn’t on the front where the lights are. You’ll often find it by following the wire that connects to the wall button.
Don’t rush this part. Pressing the wrong button won’t break anything, but if you can’t find the button, take a photo of the opener and look for the model number. Sometimes a quick online search with your opener’s model reveals exactly where that mysterious button is hiding.
Step-by-Step: How To Program Linear Garage Door Remote Without The Manual
Now for the main event. Here’s how to program your Linear garage door remote without the manual, using the “learn button” method that works on most modern Linear openers.
Step 1: Press the Learn Button on the Garage Opener
- Press and release the learn button on the opener unit. The indicator light next to the button will usually glow steadily or blink, signaling it’s ready to learn a new remote.
- Don’t hold it down too long—just a tap is enough. Holding for five seconds or more might wipe all paired remotes (not ideal unless you want a full reset!).
Step 2: Press the Remote Button
- Within about 30 seconds of pressing the learn button, grab your Linear remote and press the button you want to use (usually the largest button or the one you haven’t programmed for another door).
- Hold it down for a few seconds. The opener’s indicator light should flash or click, signaling a successful sync.
Step 3: Test the Remote
- Leave the remote’s button and wait a couple of seconds.
- Now, press it again. The garage door should start moving—open, close, or stop depending on its current position.
If your opener doesn’t respond, try repeating the steps. Sometimes timing is everything. If it still doesn’t work, check the battery or ensure you’re using the correct button. Some remotes can store several codes, so make sure you’re pressing the intended button.
The process is easier than it sounds. If you think of the learn button as the “pairing mode” and the remote as saying “hello” to your opener, you’re halfway there.
Troubleshooting Programming Issues With Linear Garage Door Remotes
Programming doesn’t always work the first time—and that’s okay. You might be wondering why your perfectly good remote and opener won’t talk to each other. Here are some common issues (and honest fixes):
Batteries and Distance
- A weak battery is the
- Try moving closer to the opener when syncing. Some remotes are pickier about range during the programming process than during daily use.
Interference from Nearby Devices
- Garage openers operate on radio frequencies. Nearby electronics, LED bulbs, or even neighbor’s garage openers on the same frequency can cause interference.
- If your garage is full of gadgets, try unplugging a few before programming (yes, even that weird old mini-fridge in the corner).
Clearing Old Codes
- If you’ve inherited a house or bought a used remote, the opener might be full of previous codes. Hold the learn button for 6–10 seconds to erase all paired remotes. (Warning: All remotes for that opener will need to be reprogrammed.)
If you’re still stuck after a few tries, jot down your opener’s model number and look up specifics. Some obscure Linear models use a slightly different process, but the learn button steps above cover 90% of situations.
How Linear Garage Door Remotes Compare to Universal Remotes
Here’s something you might not know: not all garage remotes are created equal. Linear remotes pair seamlessly with Linear openers, but what about those “universal” remotes you see online or at the hardware store?
Pros of Brand-Specific Remotes
- Fast and easy pairing—no compatibility headaches.
- Typically better range and reliability.
- Direct support from the manufacturer if things get weird.
Pros of Universal Remotes
- Can work with multiple brands or types of openers (good if you have more than one brand in your garage).
- Often cost less, but might require a few extra steps or code entries for syncing.
If you want the smoothest possible setup and use a Linear opener, stick with a Linear remote. If you juggle several brands or want a backup, a universal remote might make sense—but programming steps may differ. Always check that your opener’s year and model are supported by the universal remote’s coding list.
When To Reset or Reprogram Your Linear Garage Door Remote
You might wonder: when is it time to reset or reprogram your remote? Let me explain a few situations that call for a fresh sync:
- Losing a remote: If a remote is lost or stolen, reset all codes on your opener by holding the learn button for ten seconds, then reprogram your other remotes. This protects your home from unwanted access.
- Remote not responding consistently: If your remote works only sometimes, a new battery and a fresh programming cycle often solve the problem.
- After power outages or electrical surges: Garages sometimes “forget” paired devices after major electrical disruptions. A quick reprogram returns things to normal.
It’s normal to reprogram once every few years. If you move into a new home with an unfamiliar opener, always reset codes and pair your own remote. Peace of mind is worth those extra few minutes.
Replacing the Battery in Your Linear Garage Door Remote
A lot of folks skip this step, thinking the remote “just works”—until it doesn’t. Here’s a quick rundown:
- Pop open the battery compartment (usually on the back or under a sliding panel).
- Take note of the battery type—most are labeled “CR2032” or “CR2016.”
- Replace with a new battery, making sure the positive (+) side faces the right direction.
- Snap the cover back on and test the remote by pressing its button. The LED should flash brightly.
If you’re still having issues after a fresh battery and successful programming, double-check for corrosion on the contacts inside the battery slot. You might also try programming with a different button (if your remote supports more than one).
Final Thoughts on Programming Linear Garage Door Remotes Without the Manual
Programming a Linear garage door remote without the manual isn’t a mysterious art or a secret club handshake—it’s a series of clear, repeatable steps. The real trick is understanding your equipment, finding that learn button, and not letting a missing booklet slow you down. Whether you’re setting up a brand-new remote or syncing an old favorite after a battery swap, the process is surprisingly forgiving.
If you run into trouble, pause and double-check the basics: battery, proximity, and timing. Sometimes it just takes a fresh set of eyes—or a dose of patience—to make things work. So next time someone tells you they’re stuck without the garage remote manual, you’ll know exactly what to say. Cheers to a hassle-free garage door and fewer lost manuals, now and in the future.