Here’s the thing: programming a Chamberlain remote isn’t as mysterious as it seems. Think of it like pairing a phone with Bluetooth headphones. There’s a button here, a light there, maybe a code involved, but once you know the steps, it clicks together. And yes, even if you’ve never done this before, you can absolutely handle it. Let me explain how to program your Chamberlain garage door remote—no manual needed, no tech degree required. Just a bit of patience and maybe a step stool.
Understanding Your Chamberlain Garage Door Remote
Before poking at buttons, it helps to know what kind of Chamberlain remote you have. Not all remotes are identical, and Chamberlain has updated their tech over the years. Some older models look like a relic from the ’90s—big, chunky, and with dip switches inside. Newer remotes are usually slim, with one to three buttons, and sometimes an LED indicator.
Most Chamberlain remotes today use “rolling code” technology. That means the code between your remote and the garage opener changes every time you use it, which keeps things secure. No one can just copy your signal and sneak into your garage. But this also means each remote needs to be “paired” or synced with your opener to work. And yes, there’s a very specific process to do this, especially if you don’t have the manual in hand.
So, peek at your remote. Does it have a brand logo? How many buttons do you see? Is there a tiny LED that blinks when you press a button? All these details will help you follow the next steps. And if your remote looks different from any instructions you find online, don’t panic—most Chamberlain models work in a similar way.
Finding the Learn Button on Your Chamberlain Opener
Here’s where most people get stuck: the magical “Learn” button. This is the heart of the pairing process. The Learn button lives on the actual garage door opener—the big unit mounted to your ceiling—*not* on the remote itself.
You might be wondering what this button looks like. Usually, it’s a small, square or circular button, sometimes yellow, red, orange, purple, or green depending on the model’s age. To find it, you’ll usually need to:
- Grab a step stool or ladder (safety first!)
- Locate the back or side panel of the main opener motor, up by the ceiling
- Look for a button labeled “Learn” near a small LED light
- Sometimes, you might need to remove a light cover to see it (again, careful up there!)
Pressing this button puts your garage opener into pairing mode. That’s the secret handshake between your remote and the opener. If you’re worried about resetting everything, don’t be—a quick tap just arms it for programming, while holding it down (for 6-10 seconds) usually erases all remotes from memory. Honestly, don’t hold it unless you’re trying to wipe the opener clean.
Step-By-Step: How To Program Chamberlain Remote Without Manual
Here comes the core part—programming your Chamberlain garage door remote from scratch. Even if you’ve never done it before, the process is surprisingly doable.
Step 1: Prep the Remote & Opener
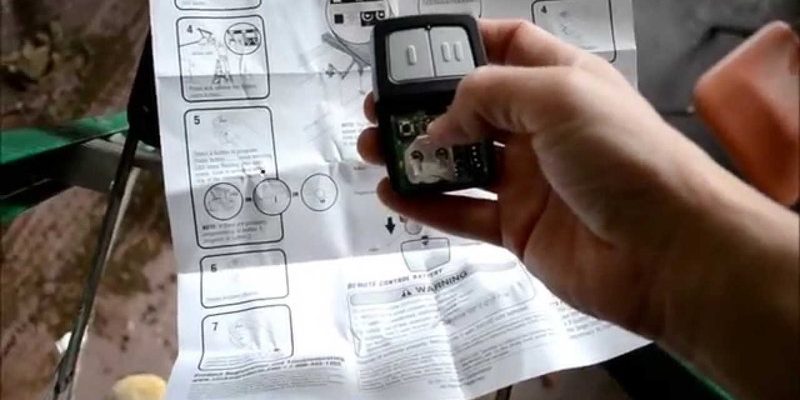
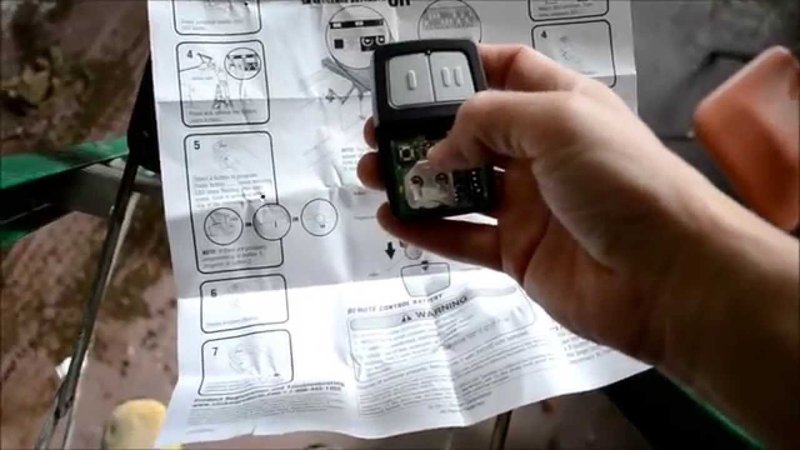
First, make sure your remote has a fresh battery. A weak battery is the silent killer of many remote issues. Grab your remote and have it ready in one hand. Climb safely to the garage opener so you can reach the Learn button.
Step 2: Engage Pairing Mode
Briefly press the Learn button on your opener. The LED next to it will light up and stay on for about 30 seconds. This is your window—the opener is waiting to “hear” from a remote to sync with.
Step 3: Program the Remote
While the opener’s LED is glowing:
- Press and hold the button on your Chamberlain remote that you want to program (usually for 2-3 seconds).
- Release the button when you see the opener’s light blink or hear a click. That’s the opener’s way of saying, “I heard you, we’re paired!”
Step 4: Test the Remote
Hop down, stand clear of the door, and press the programmed button. If the garage door moves, congratulations—you’re synced! If not, double-check the battery, and repeat the steps, making sure to time things right.
Troubleshooting Common Chamberlain Remote Programming Problems
Of course, sometimes things don’t go as planned. You might follow the steps and still get crickets—no movement, no click, no blinking lights. Here’s what could be going wrong, and how to fix it.
Dead or Weak Battery
You might be thinking, “But the LED blinks when I press the button!” True, but garage remotes can be finicky. A battery that’s *almost* dead might give enough juice for the light but not enough to send a good code. Swap in a fresh coin cell and try again.
Wrong Button Sequence
Maybe you pressed the Learn button too long (resetting everything), or you missed the 30-second pairing window. Go slow. Tap the Learn button briskly, then program the remote promptly.
Outdated Remote or Incompatible Model
Some really old Chamberlain openers (pre-1993) use dip switches inside the remote. If your remote doesn’t have those, or your opener’s Learn button is missing, you might be out of luck without a universal or matching remote.
Interference or Signal Blockage
Metal shelving, fluorescent lights, or even thick garage walls can mess with the remote’s signal. Try standing directly under the opener to program, and watch for nearby electronics.
If you’ve tried every fix and still can’t get things to sync, don’t beat yourself up. There could be a deeper issue, like a faulty receiver in the opener. Sometimes, calling a pro is the most time-saving move.
Resetting Chamberlain Remote Codes Safely (When You Have Extras)
Maybe you found a remote from the last homeowner, or you simply want to clear out all connected remotes and start fresh. Here’s how to reset your Chamberlain opener’s memory the right way—without causing accidental headaches.
- Hold the Learn button on the opener for about 6–10 seconds, until the LED turns off.
- This erases *all* paired remotes and keypads—so be prepared to reprogram every device you want to keep.
- After the reset, follow the programming steps above for each remote.
Honestly, this is a great peace-of-mind step if you just moved in or worry someone else might have access. It’s like changing the locks, but faster and with fewer keys to lose.
Differences Between Chamberlain, LiftMaster, and Universal Remotes
Here’s a common source of confusion: Chamberlain, LiftMaster, and Craftsman remotes often look similar, and they’re even made by the same company. So, can you mix and match? Sometimes, yes.
- Chamberlain and LiftMaster usually share the same programming process and frequency (check the back sticker of your opener for specifics).
- Universal remotes claim to work with Chamberlain, but you’ll need to follow *their* instructions, which can be slightly different.
- If your remote has multiple buttons, you can often pair them to different garage doors, even if they’re different brands (as long as the frequencies line up).
Always check for the “compatible with Security+” or “rolling code” phrase on the remote packaging if shopping for replacements. And when in doubt, buy the brand-specific remote for guaranteed compatibility.
How Garage Door Remote Pairing Works (In Plain English)
You might be wondering, “Why do I have to jump through all these hoops?” It boils down to security. Old-school remotes used fixed codes—easy to copy, easy to hack. The modern *rolling code* system in Chamberlain remotes throws a curveball: each time you press the button, the code changes, like a password that updates itself every second.
When you hit the Learn button on your opener, you’re telling it, “I’m about to introduce you to a new friend. Listen up!” The opener learns the code from the remote, then expects a rolling code from that same device next time you press it. This dance keeps your garage safer and prevents strangers from opening your door with a random remote.
The more you know about this invisible handshake, the less mysterious and intimidating it feels to reprogram or sync your garage door remote.
Alternative Ways To Program Chamberlain Garage Door Remote
Lost cause with the standard method? Don’t worry, there are a few other tricks up the sleeve:
- Try programming via the external wall control panel (some Chamberlain models let you add a remote from the wall push-button unit—look for a Learn button there).
- If you have a smart garage opener (with Wi-Fi), pair the remote through the Chamberlain MyQ app. The app’s step-by-step guidance is practically dummy-proof.
- For universal remotes, follow their pairing sequence. Usually, it’s a combo of holding down specific buttons until you see the remote LED blink in a certain pattern.
- If all else fails and you’re still locked out, calling Chamberlain support or a professional installer will save hours of frustration. No shame in getting help when tech gets tricky.
Keeping Your Chamberlain Garage Door Remote Working Smoothly
You’ve finally got your Chamberlain remote programmed—but what keeps it working over time? Like all gadgets, these remotes need a little TLC.
- Change the battery every year (set a reminder, seriously).
- Keep the remote dry and away from heat—leaving it in your car’s cupholder on a hot day can ruin the electronics.
- If you notice reduced range, try reprogramming or relocating the opener antenna for better signal.
- Every couple years, check for firmware updates if you have a smart-enabled opener (the MyQ app can help).
No one wants to get stuck outside their own garage, especially in the rain. A little maintenance goes a long way.
Final Thoughts on Programming Chamberlain Garage Door Remotes Without a Manual
Losing the manual doesn’t have to mean endless frustration or a frozen garage door. Chamberlain has built their remotes and openers to be “figure-out-able”—even if the process feels mysterious at first. With a bit of patience, a working battery, and careful attention to pairing steps, anyone can sync up their remote, no tech wizardry required.
So next time someone tells you that you “have to have the manual,” you’ll know the real deal. It’s all about finding the Learn button, timing things right, and not panicking when things don’t go perfectly the first time. Before you know it, that satisfying *click* will signal a job well done—and a smoother start or end to your day, every time you pull into the driveway.