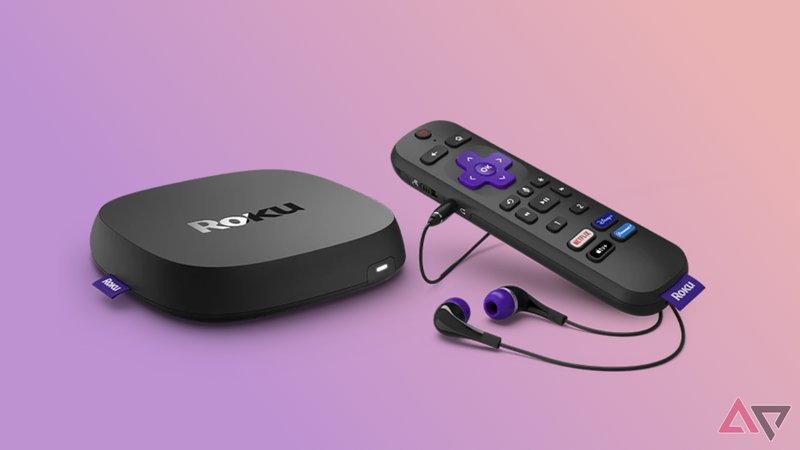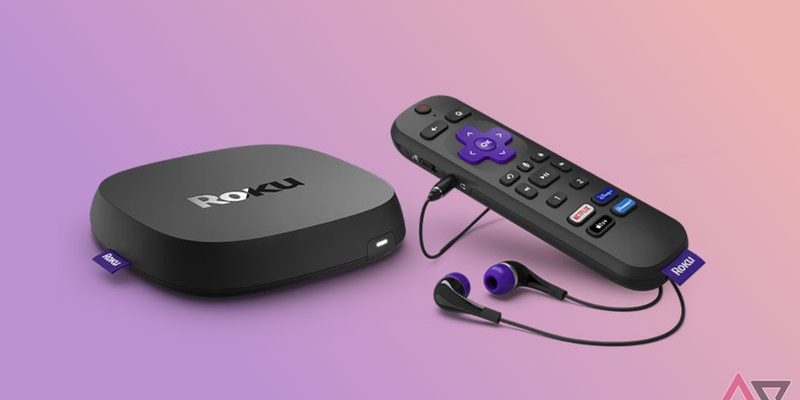
So, let’s break it down like you’re sitting across from me with a cup of coffee and a slightly confused look. Whether you have a Roku voice remote, an enhanced remote, or even a “just-off-the-shelf” model, you can sync it with most soundbars—yes, even those from brands like Bose, Samsung, Sonos, or Vizio. The magic lies in a bit of code, some patience, and not being afraid to hit “pair” a couple of times.
Understanding Roku Remotes and Soundbar Compatibility
First off, not all Roku remotes are created the same. You’ve got your basic IR (infrared) remotes and the fancier Bluetooth or Wi-Fi Direct ones—Roku calls these “enhanced” or “voice” remotes. If your remote has a microphone button or feels a little heavier, chances are it’s one of the enhanced types. Why does this matter? Because only enhanced/voice remotes can really manage device control (like power or volume) through CEC or IR learning. The basic IR remotes, sadly, are like that friend who just never RSVPs—helpful, but not always present when you need them.
Now, about that soundbar. Most modern soundbars support HDMI-CEC or IR learning, meaning they can “listen” for commands from universal or programmable remotes. Popular brands like Bose, Samsung, TCL, and even some off-brands play nicely with Roku, especially when you connect everything through your TV’s HDMI ARC port. What’s HDMI ARC? Just think of it as a two-way street for both sound and remote signals, making things much, much easier.
Here’s the thing: having a compatible soundbar and the right Roku remote is like making sure you have both a key and a lock—it doesn’t matter how nice the key is if it doesn’t fit the lock. So, double-check your remote model and your soundbar’s compatibility before you get too frustrated.
Prepping: What You Need Before You Start Pairing
Let me explain what you’ll want to have on hand before diving into the pairing process. Think of it as mise en place, but for home theater setups:
- Your Roku streaming device, plugged in and connected to your TV (stick, box, or even a Roku TV—doesn’t matter)
- Your Roku remote (preferably the enhanced/voice type)
- Your soundbar (connected via HDMI ARC or optical cable, powered up, and ready for action)
- Fresh remote batteries—trust me, you’ll want those green lights blinking
If your soundbar, remote, or setup isn’t “typical,” don’t sweat it—most systems work more or less the same way. But, if your remote’s been sitting unused for months, start by popping in fresh batteries. Honestly, half the “why won’t my remote work?” issues are just battery drama. And while we’re talking prep, make sure your Roku system is running the latest software version—updates often include new device codes and better sync performance.
Last but not least, it helps to have the soundbar’s manual (or at least the model number) handy. Sometimes you’ll need to select the right code from a list, especially if you have an older or less common brand.
The Actual Pairing Process: Step-by-Step
Alright, let’s walk through how to pair your Roku remote to your soundbar. It’s not rocket science, but there are right and wrong turns along the way.
1. On your Roku home screen, grab your remote and navigate to Settings. Scroll to Remotes & devices, then select Remote (and your specific remote, if you’ve got more than one paired).
2. Tap on Set up remote for TV control. Don’t let the “TV” part fool you—this is where you’ll find soundbar magic, too.
3. Roku will prompt you to confirm your TV brand first, then ask if you want to control your soundbar or AV receiver. Choose “Soundbar.”
4. Enter your soundbar brand from the list. Roku will run through a couple of test codes, usually making your soundbar volume go up or down. Pay attention—if you hear the soundbar react, hit “Yes.” If not, try the next code.
5. Once you’ve found the golden code, Roku will sync the remote so the volume and mute buttons control your soundbar directly.
This is where a bunch of setups go sideways: sometimes, Roku doesn’t find the right code, or your soundbar just doesn’t react. If that’s you, try resetting the remote (hold the pairing button inside the battery compartment for about 5 seconds until the light flashes) and repeat the process. It’s a bit like teaching a stubborn dog a new trick—sometimes you have to try a couple of times.
Pro tip: If you’re using HDMI ARC and CEC is enabled (check both your soundbar and TV settings), Roku will sometimes “just work” without extra setup—like magic, but with electronics.
Troubleshooting Common Issues When Pairing Remotes
You might be wondering, what if it STILL doesn’t work? Cue frustrated sighs. The truth is, pairing issues happen. Sometimes, it’s a settings thing; other times, it’s just plain gremlins in the system.
First, double-check that HDMI-CEC is enabled on your TV and your soundbar. Look for menu options like “CEC,” “Anynet+,” “BRAVIA Sync,” or “SimpLink”—brands love their weird names, but it’s all the same feature. Without CEC enabled, no remote on Earth will control your soundbar over HDMI.
If you’re using IR learning (not HDMI), make sure there’s a clear line of sight between the remote and the soundbar’s IR receiver. If you’ve tucked your soundbar behind a plant or under the TV, that’s probably the culprit. It’s like trying to text someone in a cave—signals just won’t get through.
Still stuck? Try resetting your Roku remote. Inside the battery compartment, you’ll find a tiny button. Hold it down until the pairing light flashes. Then repeat the setup steps above. Sometimes, a simple reset breathes new life into a stubborn remote.
Using Universal vs. Roku-Specific Remotes
Here’s a reality check: Roku’s own enhanced remotes make the whole pairing experience pretty seamless. Universal remotes, on the other hand, require a bit more patience (and maybe an online code book). If you’re the kind of person who likes to control EVERYTHING—speakers, TV, streaming box, ceiling fan (okay, maybe not that one)—a universal remote could be worth it.
Roku remotes, especially the newer models, are designed to work smoothly with most soundbars when paired correctly. They use a combination of IR signals and, when the planets align, HDMI CEC. Universal remotes rely on programming specific codes. Sometimes those codes just aren’t in the remote’s database, especially for newer soundbars.
In my own home, I tried using a Logitech universal remote with a SONOS soundbar and a Roku Ultra. Was it possible? Absolutely. Was it fun? Not really. It took an afternoon of googling, a few “did I break it?” moments, and some creative language. If you prefer a shortcut, stick with the official remote and Roku’s setup tools.
How It Works: HDMI ARC, CEC, and Signal Paths
Let’s peel back the curtain on how the whole pairing code and sync process actually works. When you press “volume up” on your Roku remote, it sends a signal in one of two ways:
- If your soundbar is connected via HDMI ARC and CEC is enabled, the signal routes through the TV’s HDMI port, across the cable, and tells the soundbar, “hey, turn it up.”
- If you’re using an optical cable (or just IR), the remote sends an infrared code that the soundbar recognizes—just like a TV remote from the ’90s.
The reason why device codes matter? Each brand has its own way of “listening” for remote commands. Roku tries a bunch of possible codes until it finds the one your soundbar “hears.” If you’re ever curious why you see those weird brand lists in the Roku menu, now you know—they’re essentially just remote dialects.
Honestly, when it works, it’s invisible. But knowing how it works means you can troubleshoot smarter. If you can’t control the soundbar, you know to check the code, the setup, or the signal path.
Tips for Smooth Remote and Soundbar Operation
Alright, you’ve synced your Roku remote to your soundbar, TV is glowing, and you’re ready for movie night. But before you get too comfortable, here are a few tips to keep things humming along:
- Check your batteries every few months. Low battery means weaker signals and random “why isn’t this working?” moments.
- Keep your soundbar in clear view of the remote, especially for IR-based setups. Don’t let a stack of books or a decorative bowl block the path (I learned this the hard way).
- If you ever need to reset everything (like after moving furniture or adding a new device), just walk through the pairing process again. It only takes a couple of minutes once you know the steps.
- Some brands update their code lists over time—if you upgrade your soundbar, rerun the Roku device setup to see if there’s better code support.
And here’s a small, real-world confession: I once spent twenty minutes convinced my setup had broken, only to realize I’d turned down the volume on the soundbar itself. Don’t overlook the basics.
Alternatives If Pairing Just Won’t Work
Sometimes the stars just don’t align. Maybe your soundbar is too old, or just doesn’t like being told what to do. If that’s you, all is not lost. You can always:
- Use the soundbar’s own remote for volume/mute, and the Roku remote for streaming. Not ideal, but hey, it works.
- Try a programmable universal remote with code learning features. These remotes can “memorize” commands from your soundbar’s original remote.
- If your soundbar or TV supports smartphone apps for control, give those a try—they’re surprisingly handy and often support advanced features.
It’s a little more clunky, but sometimes you’ve got to work with what you’ve got.
Final Thoughts: Making Life with Roku and a Soundbar Easier
Pairing your Roku streaming device remote to a soundbar definitely makes your home theater setup feel more seamless—like finally getting all your ducks (or remotes) in a row. There might be a little trial and error, but once it clicks, you’ll wonder how you ever managed with a coffee table covered in remotes. Remember, it’s all about finding the right code, double-checking your connections, and maybe—just maybe—accepting that sometimes technology needs a little encouragement (or a reset button).
So, whether you’re showing off your new surround sound to friends or just binge-watching something old and comfy, you’ll appreciate having everything under control. Keep those batteries fresh, be patient when syncing, and don’t feel bad if you need to look up your soundbar model one more time. That’s real life. And honestly? It’s worth it for great sound—no matter what device you’re using.
