
The Overhead Door brand is one of the big names in garage openers. Their remotes use a rolling code for security—a fancy way of saying they change the “password” every time you open or close the door so nobody can just copy the signal. Most new-ish cars come with HomeLink or Car2U visor buttons, making it possible to ditch the chunky remote altogether. The trick is getting them to “speak the same language.” So, grab your remote, put on your problem-solving hat, and let’s walk through how to pair that Overhead Door remote with your car’s visor button step by step.
Understanding How Overhead Door Garage Remotes Work
Before diving into the actual pairing steps, it helps to understand what’s happening behind the scenes. Overhead Door garage remotes send a coded radio signal every time you press the button. These remotes don’t just whisper, “Open sesame!” It’s more like, “Here’s my secret code—let me in!” The opener on your ceiling listens for this signal and, if the code matches, it triggers the door to move.
Most models use what’s called a *rolling code* system. Each time you hit the button, the code changes, making your remote far more secure than the old dip-switch models. Imagine if your house key randomly changed itself after every use—no one could copy it! That’s the same idea here.
Why does this matter? When you pair your car’s visor button, you’re basically teaching it to imitate your handheld remote. But because of the rolling code, you can’t just “clone” the remote like copying a music CD. You have to introduce your visor to the opener (like a digital handshake) so the opener knows to trust that new button.
Gathering What You’ll Need To Pair The Remote And Car Visor
You don’t need a trunk full of tools for this—just the basics. Here’s what you’ll want handy before starting:
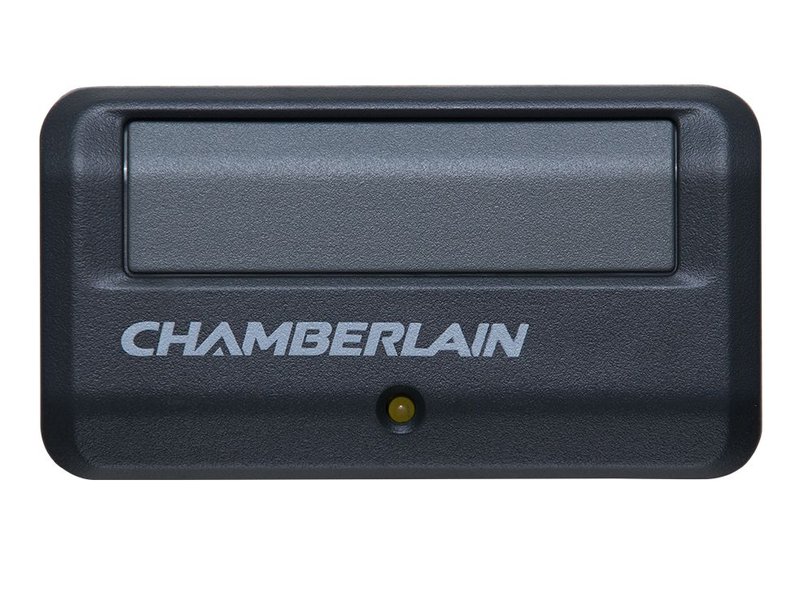
- Your Overhead Door remote (the one that already works with the opener)
- Your vehicle’s owner’s manual (optional, but can be a lifesaver if your car has tricky instructions)
- A sturdy step ladder (so you can reach the “Learn” button on your overhead opener unit)
- Patience—and maybe someone to hand you things if your hands are full
If your car has the HomeLink (three little house icons) or Car2U system built into the visor, you’re good to go. Make sure the remote has a fresh battery. A weak battery is the sneaky villain behind most pairing failures. If you’re not sure, swap in a new one before you begin.
Locating The “Learn” Button On Your Overhead Door Opener
Here’s the thing: not every garage opener wears its heart on its sleeve. The “Learn” button is that heart—it’s what lets new remotes (or car visor buttons) join the party. But finding it can require a bit of hunting.
Typically, the “Learn” button is on the back or side of your Overhead Door opener motor unit—the big box attached to the ceiling. You’ll probably need to pop open a little plastic cover, or just look for a colored button labeled “Learn,” “Smart,” or something similar. It might be red, orange, or yellow.
Don’t confuse it with the plain old reset button or any wires. Pressing “Learn” puts the opener into pairing mode for about thirty seconds. This is your window to sync the new remote or car button. If you wait too long, the opener will give up and you’ll need to hit “Learn” again.
If you’ve ever lost at musical chairs, you know about moving fast—same deal here. When you press “Learn,” be ready to jump up and finish the next step before the opener times out.
Step-By-Step: How To Pair Overhead Door Garage Remote With Car Visor Button
Let’s get to the good stuff. Pairing your visor button basically involves two steps: teaching the button, then syncing it to your opener. Here’s how it usually goes:
1. Clear the visor button (if needed)
If your car’s visor button has been set up before, hold it down for about 20 seconds until it starts flashing rapidly, then let go. This wipes any old code. Not every car needs this, but it saves headaches down the line.
2. Teach the visor button the remote’s signal
Hold the Overhead Door remote a couple of inches from your visor buttons (usually under the rearview mirror). Press and hold both the remote button and the desired visor button at the same time. You’ll notice the visor light slowly blink, then speed up. When it changes speed, release both buttons. This means the visor button has “learned” the remote’s basic code.
3. Pair the visor button with your garage opener
Now, climb your ladder and press the “Learn” button on the opener. You’ll have 30 seconds. Hop back in your car, and press the visor button you just programmed. Hold for two seconds, release, and repeat two or three times. If the opener light flashes or you hear the motor click, you’re paired!
4. Test the pairing
Press the visor button again. The door should open or close. If nothing happens, don’t panic—try the pairing step a couple more times or reset and start again.
Pro tip: Some cars need you to turn the ignition on—no need to start the engine, just power on the electronics—while programming.
Troubleshooting Common Pairing Problems With Overhead Door Remotes
You might be wondering, “Why isn’t this working?” Don’t take it personally—these systems can be finicky, like a pet cat refusing to come inside. Let me walk you through the most common speed bumps and how to clear them.
Dead batteries are the classic culprit. If your remote’s light is weak, everything else will drive you in circles. Always swap in a fresh battery first if things get weird.
Too far apart? Sometimes, if the remote and visor are more than a couple inches apart during the “teaching” phase, the signal doesn’t go through. Get them cozy—almost touching.
Wrong button or too slow? Hit the “Learn” button and move fast! If you let more than 30 seconds slip by before pressing the visor button, the opener forgets what it’s doing. Hit “Learn” again and retry—all part of the process.
If you’ve got a newer Overhead Door remote with extra security features, the instructions may be a bit different. Some require double-pressing, or holding the buttons for a precise length of time. That’s when your vehicle’s manual, or the opener’s, earns its keep.
Comparing HomeLink Vs. Universal Garage Door Remotes
A lot of cars now use HomeLink, but not every system is created equal. Here’s a quick look at the differences—so you know what’s what.
- HomeLink: Built into many newer cars, usually on the visor or overhead console. Works with most rolling code systems (like Overhead Door), but sometimes needs a compatibility bridge for fancy openers.
- Universal remotes: Separate clickers you can buy that claim to pair with almost any opener. Handy if your car doesn’t have HomeLink, but you’ll be left juggling another device.
- Car2U: Another built-in system found mostly in some Fords, Chevys, and GMs. Similar process to HomeLink, but instructions can differ slightly—check your manual!
Honestly, if your car already has HomeLink, it’s worth the ten minutes to set things up. No scrambling for a remote. No frantic searching under the seat.
When To Reset Or Re-Sync Your Garage Door Remote System
Sometimes, you have to reset and start over. Maybe you sold your old car, bought a new remote, or—let’s be real—just forgot everything you programmed. A reset clears the old codes and lets you start fresh.
To reset your Overhead Door opener, hold the “Learn” button down for about 6–10 seconds until the LED light turns off. This wipes all remotes and visor buttons from its memory. Every device will need to be re-paired after this.
Why bother? If you’ve moved into a house and don’t know who has copies of the remotes, or if things just start acting buggy, a reset is like a digital spring cleaning. You might lose a few minutes setting up again, but it’s worth it for peace of mind.
Just remember, after a reset, not even your old remotes will work until you go through the pairing process again.
How To Maintain And Care For Your Garage Door Remote System
Think about your garage remote like your TV remote—it needs a little love to keep working year after year. Where should you start?
Battery checks: Even if things are working fine now, change the battery every year or so. If you live somewhere with cold winters, low temps can zap battery life fast.
Keep the remote clean: Dust and debris love to sneak into those tiny crevices. A gentle wipe with a soft, dry cloth goes a long way. Don’t use water or harsh cleaners, especially near the buttons or battery compartment.
Check for interference: Wireless devices, LED bulbs, or even certain home security gadgets can sometimes mess with your signal. If pairing suddenly fails or is spotty, try turning off nearby electronics and see if that helps.
Over time, your remote (or the built-in car button) may lose its sync with the opener. If that happens, just re-pair using the steps above. It’s an easy fix, and no, you don’t need to call the garage door company just yet.
Upgrading Or Replacing Your Overhead Door Garage Remote
Sometimes, you’re working with ancient tech. Maybe your Overhead Door opener is old enough to remember dial-up internet. If the remote refuses to pair with your car’s visor, check the opener’s model. Some really old models may not be compatible with modern HomeLink or rolling code standards.
In these cases, you’ve got a couple options:
- Buy a newer universal remote—just make sure it’s compatible with Overhead Door openers running a rolling code system.
- Add a HomeLink bridge—a little device that helps older openers talk to modern car systems.
- Upgrade the opener itself—pricey, but sometimes worth it if you want smart features or better security.
If you’re not sure, jot down your opener’s model number and call the manufacturer’s support line. They’ll tell you what works best so you aren’t stuck guessing.
Wrapping Up: Enjoying Seamless Garage Access
Pairing your Overhead Door garage remote with your car visor button might feel like a puzzle at first, but once you know the routine, it’s surprisingly straightforward. No more fumbling for a lost remote in the dark or worrying about dead batteries right when rain starts to pour. Take it step by step, keep those remotes and batteries in good shape, and you’ll enjoy easy, one-touch access every time you come home. Here’s to smooth arrivals and less daily hassle—your garage and your car are finally on the same team.