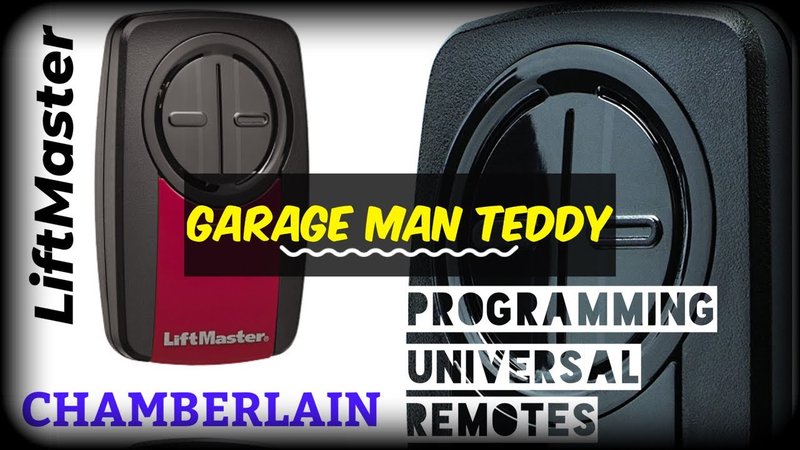
Most Chamberlain remotes use a simple code-based pairing process, and their lift system — that’s the motorized box mounted up on your garage ceiling — just needs to “meet” your remote for everything to work. You might be flashing back to programming an old VCR, but honestly, this is way easier. Let’s walk through it, step by step, and clear up any confusion.
Understanding Your Chamberlain Garage Door Remote and Lift System
Before diving into presses and beeps, it helps to know what you’re working with. Chamberlain is a big name in the garage-door world. Their remotes aren’t universal gadgets — they’re specifically designed to “pair” with Chamberlain openers. The lift system is really just the technical term for your garage door opener itself, the motorized unit that does all the heavy lifting (literally).
Most Chamberlain lift systems and remotes use “rolling code” technology. That’s a fancy way of saying the opener and remote speak a secret digital language that changes every time you press the button, making it extra secure. If you’ve ever worried that a neighbor might open your garage by accident, this feature pretty much solves that issue.
You’ll usually find your remote and lift system models listed somewhere on the devices themselves — the remote will have a model number inside the battery compartment, and the opener often hides its label somewhere on the side or bottom. If you’re not sure which model you have, it’s worth checking, since the steps for pairing can be a little different depending on the year and type.
Gathering the Right Tools and Preparing for Pairing
Here’s the thing: pairing isn’t just about pushing a button. You need to set the scene for success. First, grab a sturdy ladder so you can safely reach the opener mounted on your ceiling. Whether your garage is spotless or packed to the gills, give yourself enough space to move around and see clearly.
- Fresh batteries: Swap in new ones for your remote to avoid weird glitches, weak signals, or failed syncs.
- Clear access: Move bikes, boxes, or anything else blocking your path to the opener (trust me, it’s easier now than mid-process).
- Know your “Learn” button: Most Chamberlain lift systems have a colored “Learn” button near where the wires connect to the opener. It could be yellow, purple, red, or green — and the color sometimes matters.
If this is your first pairing, keep the manual handy for quick reference. For older openers or if you’re replacing a lost remote, jot down the opener’s model number and any visible codes on the remote you’re pairing. Being prepared saves you a ton of frustration if something doesn’t go as planned.
Step-by-Step: How To Pair Chamberlain Garage Remote With Lift System
Let me explain the process as if we’re standing in your garage together, tools in hand. Here’s how it usually goes:
- Find the “Learn” button: Climb your ladder and look for the “Learn” button on the lift system, often behind a small light cover or next to the wiring. The color can tell you what pairing method to use.
- Press and release “Learn”: Don’t hold it down for too long — a quick one-second press is all it takes. If you hold it for several seconds, you might accidentally reset all remotes (awkward, but fixable).
- Within 30 seconds, press your remote button: Now, grab your Chamberlain remote and press the button you want to use to open the door. Hold it for a couple of seconds, then release.
- Listen and watch for signs: The garage door opener’s light should blink, or you might hear a soft click. That’s the opener’s way of saying, “Hey, I recognize this remote.”
If you mess up the timing, don’t panic. Nothing is broken — just press “Learn” again and retry with the remote. The process is pretty forgiving.
Common Problems When Pairing Chamberlain Remotes
You might be wondering — what if it doesn’t work the first time? Honestly, most people run into a hiccup or two. Sometimes the remote just blinks, or the light on the opener doesn’t flash. Here are a few things to check:
- Dead or weak batteries: A remote with old batteries might “light up” but can’t send a strong enough signal to pair.
- Wrong button or timing: Maybe you pressed “Learn” too long or waited too long to press the remote. Quick timing is key.
- Interference: If you keep electronics or metal items near the opener, signals can get scrambled. Try pairing again with the area clear.
- Model mismatch: Double-check that your remote is compatible with your opener’s year and model.
If you suspect your remote is broken, try pairing a second remote or resetting the opener (most have a way to wipe all paired remotes and start fresh). Sometimes, a stubborn opener just needs a full reset.
When To Reset or Clear Codes on Your Chamberlain Lift System
Some situations call for a clean slate. Maybe you lost a remote, moved into a house with someone else’s remotes still paired, or just want to double-check your security. Clearing all codes from your Chamberlain lift system isn’t hard:
- Press and hold the “Learn” button on the opener for 6–10 seconds, or until the indicator light turns off.
- Release the button — this wipes out *all* paired remotes, so you’ll need to re-pair any remote you want to use afterward.
Clearing codes is a bit like hitting “reset” on your Wi-Fi router after a password change — it boots out anyone you don’t want connected and asks you to set up new devices.
This is a great move if you’re worried about security, or if your remote pairing attempts just aren’t sticking. Sometimes the only way forward is to start over from scratch.
Comparing Chamberlain Remotes and Universal Remotes
Chamberlain’s remotes are specifically tailored for their own lift systems, but you’ll see lots of “universal” options online. Here’s what sets them apart:
- Chamberlain remotes: Designed for Chamberlain systems, reliable, and easier to pair, especially with rolling code technology.
- Universal remotes: Can work with many brands if you follow the pairing instructions, but may not support all Chamberlain features.
If you’re tempted by a universal remote, check the packaging for compatibility with your Chamberlain opener’s frequency (often 315MHz or 390MHz) and rolling code tech. You might need to enter a “code” or toggle switches inside the remote, depending on the model, and honestly, it can be a bit more finicky compared to the built-for-purpose Chamberlain remotes.
If you want the smoothest experience, stick with a Chamberlain-branded remote. Universal options are good for backup or if you have multiple brands to control, but pairing can involve some trial and error.
Troubleshooting: What To Do If Pairing Fails
Let’s say you’ve followed every step, but nothing is working. Here’s a quick troubleshooting checklist:
- Try a “hard reset”: Unplug the lift system for 30 seconds, then plug it back in. Sometimes all it needs is a power cycle.
- Recheck your remote battery: Even new batteries can be duds. Test with another battery if in doubt.
- Inspect for physical damage: A remote that’s been dropped or got wet might look fine but have hidden problems inside.
- Test the opener: Use the wall button to confirm the lift system itself is working. If not, the issue might be with the opener or its wiring, not the remote.
- Check for lock mode: Some openers have a “lock” setting that blocks remote operation — look for a lock button or indicator, and turn it off if necessary.
If everything checks out and pairing *still* fails, call Chamberlain’s support with your model numbers in hand. Sometimes you hit a weird compatibility issue or need a firmware update, but most problems boil down to battery, signal, or timing.
Maintaining and Replacing Your Chamberlain Remote
Garage remotes take a beating — getting dropped, lost, or left in hot cars. Honestly, most pairing issues come from old, worn-out remotes or dead batteries. Here’s how to make yours last:
- Swap batteries once a year (or at the first sign of weak performance).
- Keep the remote clean: Dust and grime can gunk up the buttons, so wipe it down now and then.
- Label your remotes: If you have more than one, use a sticker or marker to know which is paired to which door — future you will thank you.
If your remote is lost, stolen, or just not working right, replacing it is straightforward. Just get a Chamberlain-compatible remote (double-check the frequency and rolling code support), and follow the same pairing process.
Staying Secure With Your Garage Door System
You might not think about it often, but your garage is one of the easiest ways into your home. That’s why the pairing process matters — and why it’s smart to reset your codes if a remote goes missing or you move into a new place. Chamberlain’s rolling code system helps keep hackers (and nosy neighbors) out, as long as you don’t leave old remotes floating around.
If you want even more control, some Chamberlain models work with smart home systems or have app-based access. That’s a topic for another day, but if you’re ever in doubt about security, clearing and re-pairing remotes is a solid move.
Think of your garage remote like a house key — treat it with care, and update your “locks” whenever you’re not sure who has access.
Pairing a Chamberlain garage remote with a lift system sounds techy, but it’s really about understanding the steps and keeping your gear in good shape. Once it’s set, you’ll wonder why you ever worried about the process. If you hit snags, slow down, check your batteries and timing, and remember — patience usually wins the day. Your perfectly synced garage door awaits.
