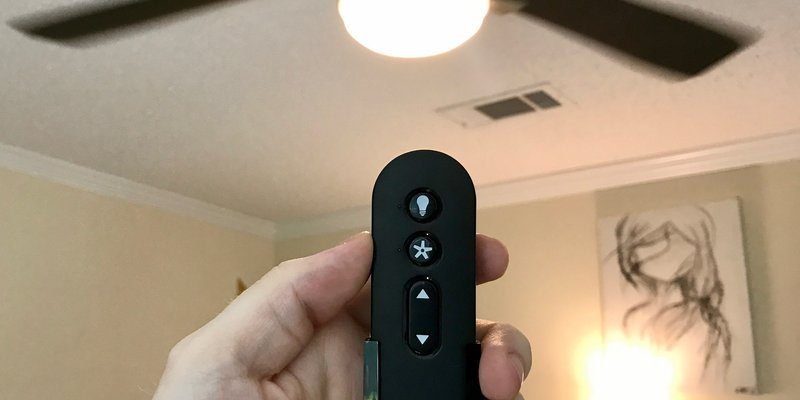
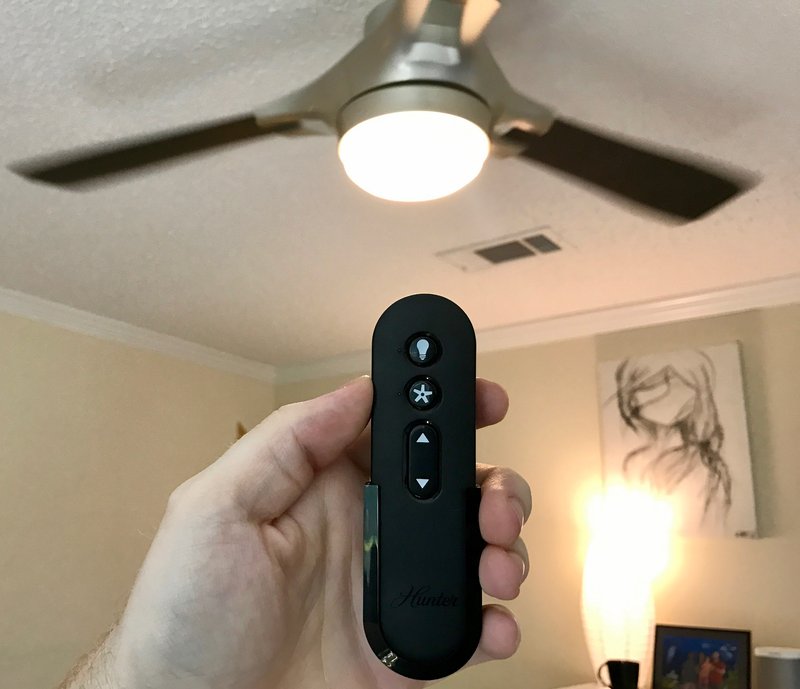
Mounting or storing your Hunter ceiling fan remote doesn’t have to feel like rocket science. Think of it like finding a good parking spot: the right location makes all the difference, and a bit of planning means you won’t wander around frustrated later. Hunter remotes, whether you have their standard model with its simple light and fan controls or the more modern version with dimmer and programmable settings, are designed for convenience—but only if you can actually find them when you need them. Let’s talk about the best ways to keep your remote secure, easy to access, and out of harm’s way.
Why You Should Mount or Store Your Hunter Ceiling Fan Remote
Here’s the thing: remotes are small, lightweight, and a little too easy to misplace. Most Hunter fans come with a dedicated remote that controls speed, direction, and lighting. If you’re constantly hunting for it, you’re not alone. But mounting or storing your remote isn’t just about organization. It’s about protecting your investment and making your day-to-day living smoother.
Convenience is the big one. Imagine reaching for your remote on the wall by the doorway, rather than crawling on your hands and knees just to change the fan speed. You’ll also cut down on those moments when you sheepishly blame your kids, partner, or even the dog for losing it.
Durability matters, too. Remotes take a beating when dropped or spilled on. Keeping them up and off surfaces like tables or counters can prevent accidental damage or sticky messes. And let’s not forget battery life—remotes that get left on couches often have their buttons pressed by accident, which drains the battery faster.
Lastly, if you ever need to reset or pair your remote (say, after a battery change or code update), knowing exactly where it is will save you from a world of frustration. Honestly, it’s all about bringing a bit of calm into an often-chaotic home routine.
Choosing The Best Spot To Mount Your Hunter Ceiling Fan Remote
Picking the right location for your remote is almost like choosing a favorite seat at the dinner table—some spots just make sense. Start by scoping out your usual traffic patterns. Where do you stand when entering the room? Do you typically adjust the fan as soon as you walk in, or do you use it mostly from your favorite chair?
Wall mounting is the most popular choice. Most Hunter remotes come with a wall cradle or bracket. Look for a spot that’s eye-level, near the entrance, but not so close to the switch that it gets lost in a jungle of other controls. If the remote is shared by the whole family, pick a common area that’s easy for everyone—even kids—to reach.
If wall mounting isn’t your thing, tabletop storage is another solid option. Maybe you have a side table or shelf that’s always within arm’s reach. Just make sure it’s not too close to high-traffic areas where it could get knocked over or buried under magazines.
And here’s a tip: Avoid placing your remote in direct sunlight or near heat sources, since this can mess with the electronics and drain the battery faster. Also, don’t stash it somewhere so hidden that you end up back at square one, searching frantically every time you need it.
How To Mount Your Hunter Ceiling Fan Remote: Step-by-Step
If your Hunter remote came with a wall mount, installing it is actually easier than hanging a picture frame. You’ll only need a screwdriver, a pencil, and maybe a level if you’re a stickler for straight lines.
- Step 1: Pick Your Spot. Hold the remote cradle against the wall where you want it. Make sure it’s within easy reach, and there’s nothing behind the wall (like pipes or electrical wiring) that might make drilling dangerous.
- Step 2: Mark the Holes. Use a pencil to mark where the screws will go. Don’t worry if it’s a little off—you can adjust before you actually drill.
- Step 3: Drill Starter Holes. For drywall, use the right size drill bit. If you’re mounting onto wood, a hand screwdriver might be enough. Use anchors if you want it extra sturdy.
- Step 4: Attach the Mount. Screw the cradle into the wall, double-checking that it sits level. Place your remote in the holder to be sure it fits snugly.
If you’re renting or just not ready for holes in the wall, removable adhesive strips are a great alternative. Just press the cradle on and wait a few seconds. Keep in mind, heavy use or kids tugging on the remote can weaken adhesive over time, so check every now and then to make sure it’s still secure.
Wall mounting keeps your remote visible and accessible, turning frantic searching into a distant memory.
Storing Your Hunter Ceiling Fan Remote Without Mounting
Mounting isn’t always the answer. Maybe you move your remote around a lot, or just can’t commit to a single spot. No shame in that! Storing your Hunter ceiling fan remote smartly can still keep it safe and close at hand.
First, pick a consistent spot. It could be a small tray on your coffee table, a bowl by the door, or even a drawer with a designated section for remotes. The trick is training yourself (and everyone else) to put the remote back after every use. Sounds simple, but let’s be honest—habits are tough to build. Some folks put a Post-it note or tiny sticker as a reminder for the first week or two.
You might be wondering about multi-purpose remote holders. These are little organizers or caddies you can buy that sit on a table or shelf and hold several remotes at once. Perfect if you have a ceiling fan, TV, and maybe a soundbar—less clutter means fewer lost gadgets.
Lastly, avoid putting the remote somewhere damp (like near a kitchen sink or bathroom), as moisture can damage the internal electronics. And don’t store it with heavy objects on top, since repeated pressure can jam the buttons or crack the casing.
Keeping Your Hunter Remote Safe: Battery, Code, and Pairing Tips
Let me explain why proper storage and mounting isn’t just about convenience. Hunter ceiling fan remotes need a little TLC to perform their best, and that includes paying attention to batteries, pairing, and even the code set for your fan.
Battery life suffers if buttons are pressed accidentally—common if you leave the remote on a couch or in a crowded drawer. Most Hunter remotes use coin or AAA batteries. If you notice short battery life, double-check the storage spot. Is something pressing the buttons when you’re not looking?
When it comes to pairing or syncing your remote, you’ll need to press and hold specific buttons—sometimes in a certain sequence. Storing your remote where you can quickly grab it helps when you need to reset or reprogram after a power outage or battery swap. Check your Hunter manual for the exact code or steps, but a consistent storage spot means you won’t be fumbling when it’s time to troubleshoot.
And if you ever run into trouble—like the fan not responding or lights flickering—a quick reset often solves the problem. Again, knowing exactly where your remote lives saves you time and keeps frustration at bay.
Mounting Cradle vs Universal Remote Holders: What’s Best?
You might be debating: should you use the cradle that came with your Hunter fan, or look for a universal remote holder? Honestly, it depends on your style and needs.
The Hunter-provided cradle fits the remote like a glove. It’s sleek, simple, and usually matches the fan’s design, so nothing looks out of place. Installation is straightforward, and you won’t have to worry about the remote rattling or falling out.
Universal holders, on the other hand, work if you have several remotes or want a one-size-fits-all solution. They’re not tailor-made for Hunter models, so sometimes the fit is a little loose or awkward. But if you’re already using a universal remote to control multiple devices—including your ceiling fan—this might be a better bet for your setup.
Here’s a quick comparison:
| Feature | Hunter Cradle | Universal Holder |
| Fit | Perfect, snug | Loose, may wobble |
| Installation | Quick, included hardware | May require extra tools |
| Looks | Matches fan design | May look mismatched |
| Versatility | For Hunter remotes only | Holds multiple/remotes of any brand |
So if looks and fit matter most, use the cradle. But if you’re more about function and have several gadgets, a universal holder is worth considering.
Common Mistakes When Mounting or Storing Remotes (And How to Avoid Them)
Honestly, even with the best intentions, it’s easy to mess this up. The most common mistake? Mounting the remote too high, too low, or in a spot that’s just inconvenient for everyday use. You might think out of sight means out of mind—and it kind of does, except when you’re frantically searching.
Another blunder is skipping the wall anchors, especially if you have kids or just tend to misjudge your own strength. A loose mount leads to constant repairs and sometimes a broken remote if it gets yanked off the wall.
Storing the remote in a cluttered drawer or on a wobbly table might seem harmless, but over time, it’s a recipe for sticky buttons, cracked cases, or even lost remotes altogether.
And here’s a pro tip: If you ever reset or pair your remote, always test it while standing in the same spot where you’ll usually use it. That way, you avoid dead zones and guarantee the remote actually works where you need it most.
A little thought now saves you from big headaches (and many lost remotes) later.
Tips for Families, Renters, and High-Traffic Homes
If your home is bustling with kids running circles or you’re sharing space with roommates, mounting your Hunter ceiling fan remote becomes even more important. High-traffic means more hands, more movement—and honestly, more opportunity for things to go missing.
For families, mount the remote at a height everyone can reach (except maybe toddlers on a button-pressing spree). If you’re a renter, removable adhesive mounting strips are your best friend—no holes, no angry landlords.
In living rooms or shared spaces, label the remote holder or stick a tiny sticker on the remote itself. It’s simple, but it trains everyone to return it after use. Got guests over often? Mention the remote’s spot when you give the house tour (right after pointing out the bathroom, of course).
If all else fails, have a backup plan—like a universal remote app (if your Hunter fan supports it), or at least a written note nearby with basic troubleshooting steps for pairing or resetting. That way, even if the remote goes on a little vacation, you won’t be left powerless.
Final Thoughts: Make Your Hunter Ceiling Fan Remote Hard to Lose
At the end of the day, mounting or storing your Hunter ceiling fan remote is about making your life just a little bit simpler. Give the remote a real home—on the wall, in a holder, or in a set spot—so you always know where it is. You’ll save time, protect your remote, and avoid those “where did I put that thing?” moments that eat up your patience.
Pick a spot, set the habit, and you’ll never have to do the remote shuffle again. Your Hunter ceiling fan, and your sanity, will thank you.