Honestly, getting into “setup mode” on your Optoma projector remote doesn’t have to feel like defusing a bomb. The whole process, once you know what every button means and why the sequence matters, is a little like unlocking a secret menu at your favorite burger joint. There’s a trick to it, but once you get the hang of it, you’ll wonder why you ever found it intimidating in the first place.
Below, I’ll break down how this works, step by step, using plain language. Whether you have the original Optoma remote or a universal stand-in, here’s everything you need to know about entering setup mode, from batteries to button combos. Let’s make you the unspoken hero of tech nights and movie marathons.
Getting Familiar With Your Optoma Projector Remote
Let me explain—before you tap a single button, you’ve got to know your tools. Optoma remotes might all blend together in a pile on your coffee table, but there are differences. Some have a dedicated “Menu” or “Setup” button right in the middle, while others tuck it away in a sea of symbols that look like hieroglyphics.
If you’re holding an original Optoma remote, you’ll likely see big, bold buttons like Menu, Enter, and those classic arrow keys circling a big “OK.” That’s your bread and butter. Universal remotes can work too, but sometimes the button sequences are, let’s just say, “quirky.” It’s a bit like using a house key on your neighbor’s lock—sometimes it turns, sometimes it just jiggles.
The important thing is that almost every Optoma remote, no matter how new or old, shares the same “logic” under the hood. They all send a code to the projector, telling it, “Hey! Time to wake up and show me the settings menu.” If your remote is missing the right button, or if it just refuses to communicate, you might need to pair it, reset it, or troubleshoot with fresh batteries. We’ll get to all that, but first, let’s get eyes on where the setup magic actually happens.
Powering Up: Check the Batteries and Connection
Here’s the thing—no matter how advanced your Optoma projector is, it’s only as smart as the batteries in your remote. If you’re pressing buttons and getting nothing but silence or the occasional sad blink from the LED, swap those batteries out pronto. I can’t tell you how many times I thought my projector was “broken,” only to discover the batteries were duds.
Pro tip: Always use fresh, high-quality batteries. Weak or mismatched batteries can cause your remote to send half-signals, making setup mode impossible to reach.
After you’re sure the batteries are good, check the line of sight. These remotes typically use infrared, which means you need a clear path between your remote and the projector’s IR sensor. If there are plants, books, or your dog in the way, signals might get lost. For Bluetooth-enabled models, make sure you’ve paired the remote (sometimes this needs to be done before setup mode will work).
If things still aren’t working, you might be dealing with a sync issue. That’s tech slang for “the remote and projector aren’t talking.” In this case, a quick reset—either pulling the remote batteries out for 10 seconds or pressing a tiny “reset” button (sometimes hidden inside the battery compartment)—can often bring everything back to life.
Entering Setup Mode: Step-by-Step Guide
Alright, let’s cut to the chase. Here’s how you actually get your Optoma projector remote into setup mode. (And no, it’s not as mysterious as a cheat code in Grand Theft Auto.)
- Turn on your projector. You want to see the splash screen, not a black void.
- Point the remote directly at the IR sensor. Usually, this is on the front or side of the projector.
- Press the Menu or Setup button. Hold for 2-3 seconds if nothing comes up right away. On universal remotes, you might need to press “Device” first, then “Menu.”
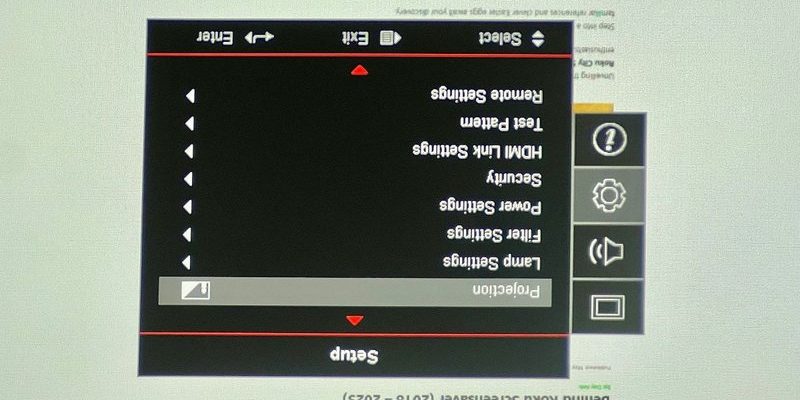
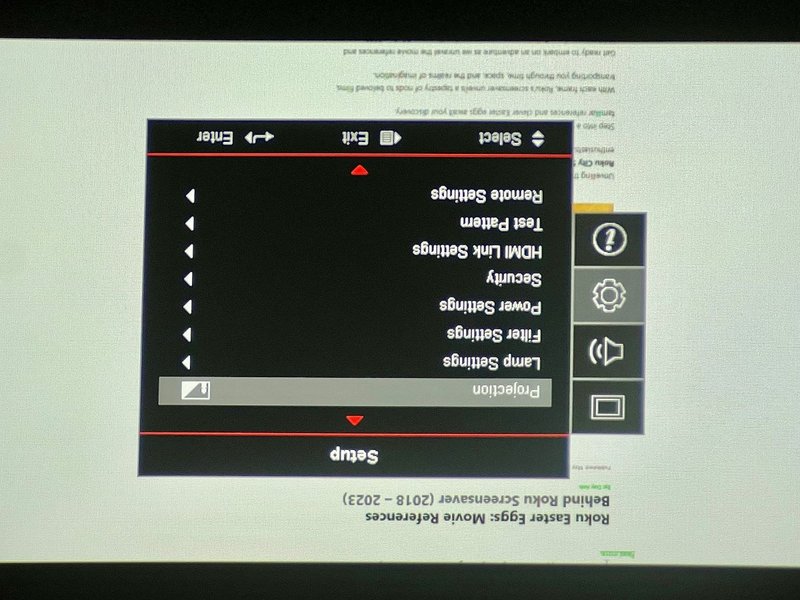
- Use the arrow keys to navigate. Once the menu appears, you’re officially in setup mode! Arrow around to find sections like Picture, Network, or System.
- Enter or OK confirms any choice. If you mess up, there’s usually a Back or Exit key.
If this doesn’t work, and you’re still locked out of menu land, consult your manual for a model-specific code. Sometimes, Optoma uses two-button combos (like pressing Menu and Power together for a few seconds) to enter a deeper setup or service mode. But for normal use, the Menu-Arrow-OK routine is your golden ticket.
Troubleshooting Common Setup Mode Problems
You might be wondering, “What if I do everything right and it still doesn’t work?” Trust me, I’ve had my share of projector drama. Remotes can be finicky, and sometimes the solution is less technical than you think.
First, if your projector doesn’t react at all, double-check for obstructions or “dead zones” in the room. Mirrors, sunlight, or even funky wallpaper can interfere with IR signals (no, really—my aunt’s glitter wall once sent my remote into chaos).
If you’re using a universal remote, you might need to re-enter the Optoma code. Every brand has a set of codes to sync and pair (these are usually found in your remote’s manual or on the Optoma website). Enter the code, wait for a blink, and test the Menu button again.
On rare occasions, the projector’s firmware can “freeze”—sort of like a computer crash. Unplug the projector from the wall for 30 seconds, plug it back in, and try again. If nothing works, you might actually need a factory reset, which wipes all settings (but let’s save that as a last resort).
Universal vs Brand-Specific Remotes: What’s Different?
Let’s be real—original Optoma remotes are great because they’re made for your projector. But if you lost it (hello, couch cushions) and bought a universal remote, you might have to try a few extra steps to enter setup mode.
Brand remotes tend to have a direct “Menu” or “Setup” button. Universal ones? They might require a combo—like holding “Device” and “Menu” together, or programming a code first. Some fancy universal remotes even let you program macros, but for most folks, just getting the basic functions to work is enough.
If your universal remote isn’t cooperating, check if it supports “learning” mode. That lets you teach it the Optoma “Menu” command by pointing both remotes at each other and following the setup instructions. It’s kind of like pairing two walkie-talkies—they need to speak the same language.
Not all universals are created equal. Some super-cheap models can’t send the right code to access setup mode on Optoma projectors. Check the packaging or ask the seller before buying if you aren’t sure.
Why Enter Setup Mode? Real-World Uses
Let me tell you, setup mode isn’t just there for tech geeks. It’s useful for everyone—from the grandma trying to adjust screen brightness, to the student connecting Wi-Fi for a streaming presentation.
A few everyday reasons you’ll want to know this trick:
- Changing picture settings. Maybe the colors look all washed out, or you need to switch from “Bright Room” to “Cinema” mode. All that happens in setup.
- Switching sources. Got a new gaming console? You’ll need the menu to switch HDMI ports and make sure everything syncs up.
- Wi-Fi & Bluetooth connections. New Optoma projectors let you pair to wireless networks and even Bluetooth speakers right from the setup menus.
- Resetting or troubleshooting. If something goes haywire, entering setup lets you restore defaults and (hopefully) avoid a frantic tech support call.
Honestly, once you realize how handy setup mode is, you’ll wonder how you lived without it. It’s like finding the “secret sauce” for your home theater.
Pairing, Resetting, and Updating: Extra Tips for Smooth Sailing
Even after entering setup mode, you might need to sync, pair, or reset your remote and projector for best results. Here’s what that looks like:
- Pairing: For Bluetooth or RF remotes, a “pairing” process might be necessary. Usually, there’s a button on the remote (sometimes hidden with a pinhole). Hold it down until a light flashes, then follow the projector’s onscreen instructions. This is especially true for newer 4K or smart Optoma models.
- Resetting: If nothing works, or buttons “stick,” remove the batteries, hold down the power button for 10 seconds, and reinsert. Some remotes have a tiny “reset” button—check your manual.
- Updating firmware: Occasionally, a projector update from Optoma will change how remotes interact with setup mode. If menus look different or buttons stop working, check if an update is available.
Think of these steps like clearing out old cobwebs—just a little maintenance so everything runs smooth the next time movie night rolls around.
When To Call For Help (And What To Expect)
Sometimes, despite your best efforts and all the button mashing in the world, that stubborn setup menu stays hidden. Don’t beat yourself up—it happens to the best of us. If you’ve checked your batteries, tried different codes, and reset everything, it’s probably time to reach out for support.
Optoma’s customer service usually asks for your projector model, when the problem started, and what troubleshooting you’ve tried. Be as specific as possible: “Remote won’t enter setup mode, tried new batteries, reset, no luck.” They might walk you through a different code or suggest a replacement remote if yours is kaput.
If your projector is under warranty, repairs or a new remote are often free—or at least discounted. If not, there are third-party remotes designed for Optoma that work almost identically. Just double-check compatibility before you buy, and make sure the all-important “Setup/Menu” button is there.
Don’t worry if you need help. Even the savviest techies sometimes call support. Setup mode can be tricky if you’re dealing with rare glitches or outdated hardware.
Wrapping It Up: Make Setup Mode Your Secret Weapon
At the end of the day, learning how to enter setup mode on your Optoma projector remote is like finally getting the hang of your grandma’s ancient TV—once you know the steps, you’ll never be stuck again. Whether you’re adjusting color, adding a new device, or troubleshooting weird glitches, setup mode gives you control.
I hope this breakdown took the mystery out of your remote and left you feeling a little more confident. The next time you need to tweak your projector—or impress someone with your tech know-how—you’ll be ready. So, go on… press that Menu button, and enjoy the view.