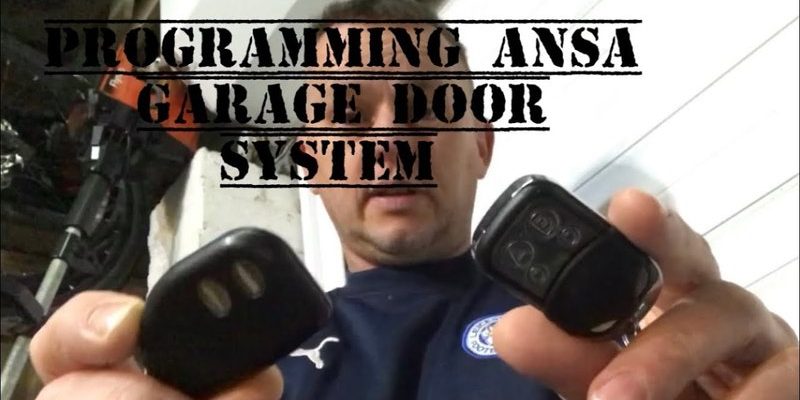
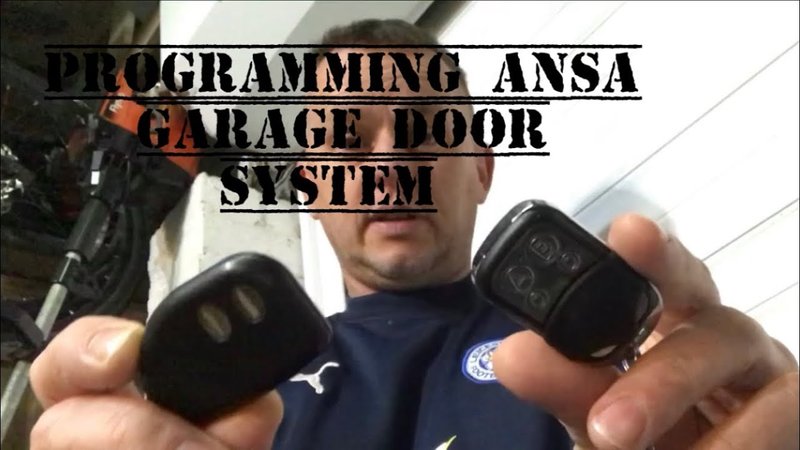
You don’t need to be a tech wizard to pull this off. Think about it like copying a key, but instead of scraping metal, you’re syncing up digital codes. Overhead Door garage remotes use a mix of old-school dip switches and newer rolling code technology. Some are a breeze to clone, while others need a few extra steps (and a bit more patience). Let’s walk through the basics, clear up the jargon, and make sure you don’t end up standing outside your garage with a pair of remotes and a confused look.
Understanding Overhead Door Garage Remotes
Every garage remote looks innocent enough: a button, a battery, a tiny LED. But behind that plastic shell, things get a bit more interesting. Overhead Door has been making openers and remotes for decades, so the tech inside your remote can vary. Some older models use fixed codes—essentially, a set of little switches (called dip switches) that match between the remote and the opener. Newer ones use rolling code technology, which means the code changes each time you push the button. This keeps your garage more secure but adds a twist to cloning.
If you flip your remote over, you might spot a model number or FCC ID. That little code helps you figure out what you’re dealing with. If you see a row of tiny switches, you’ve got a fixed code model. If not, chances are you’ve got a rolling code remote. This distinction really matters because not all remotes can be cloned the same way. Honestly, I can’t count how many people get tripped up thinking all garage remotes are created equal.
Here’s the thing: Overhead Door remotes are designed to pair (or sync) with specific openers, so you want to be sure you’re matching the right remote type for your system. Universal remotes exist, but they’re not always foolproof. Knowing your remote’s style is step one before you try to clone it.
Tools and Supplies You’ll Need to Clone a Garage Remote
Don’t worry, you won’t need a toolbox worthy of a mechanic. Most of the time, all you need is:
- Both remotes—your original Overhead Door remote and the new one you want to program.
- Fresh batteries for both remotes. Nothing kills cloning faster than a weak battery.
- A small screwdriver if your remote has a battery cover or dip switches inside.
- Access to the garage door opener unit, usually mounted above your garage door.
Some universal garage remotes will come with their own instructions. It’s a good idea to read those, too, because the steps sometimes differ a little. Pro-tip: Have a notepad handy in case you want to jot down dip switch patterns or codes if you’re working with fixed code models.
If you run into trouble, sometimes a reset (that is, clearing out old pairings) can help. Just remember—don’t rush. Garage door remotes aren’t complicated, but patience is your best friend here.
Step-by-Step Guide: Cloning a Fixed Code (Dip Switch) Overhead Door Remote
Let’s start with the easiest type. If you open up your Overhead Door remote and see rows of little switches, you’re in luck. These older models are straightforward to clone.
Here’s how you do it:
- Open the battery covers on both remotes. On most Overhead Door remotes, you’ll see dip switches inside—sometimes 8, sometimes 12.
- Look closely at the arrangement of the switches. Each switch can be up or down (sometimes marked + and -). The pattern creates the unique code your opener recognizes.
- Use the tip of a pen or a small screwdriver to match the dip switch pattern from your original remote to the new remote. Make sure to get every switch exactly right—one error, and the new remote won’t work.
- Put the covers back on and test the new remote by pressing the button near your garage door opener. If the door responds, you’ve cloned the code successfully.
It’s a little like copying a secret handshake. The opener recognizes the pattern, and you’re in business. If it doesn’t work, double-check those switches—sometimes the tiniest difference makes all the difference.
How To Clone a Rolling Code Overhead Door Remote
This is where things get more interesting. Rolling code technology means every time you press the remote, a new code gets transmitted. This keeps your garage secure, but it also means cloning isn’t as simple as matching switches.
To clone a rolling code Overhead Door remote:
- Start by grabbing your new remote—ideally, one that’s compatible with Overhead Door openers and rolling code systems. Typically, these are branded or high-quality universal remotes labeled as ‘rolling code compatible.’
- Press the ‘Learn’ button on your garage door opener unit (usually a colored button on the back or side of the opener). You might need a ladder for this. The indicator light should start blinking.
- Within 30 seconds, press and hold the button on the new remote you want to pair. The opener’s light will blink (or click) again to signal that the code has registered.
- Test your new remote. If the door opens or closes, you’re all set. If not, repeat the pairing process, making sure you’re within the time window after pressing ‘Learn.’
You might be wondering,
Can I just point my remotes at each other and copy the signal?
Not with rolling code systems, unfortunately. The codes shift with every use, so direct cloning won’t work. Instead, you’re syncing the new remote to the opener’s rolling code system, not to the original remote.
Pairing a Universal Remote With an Overhead Door Opener
Universal garage remotes sound magical: one remote to rule them all. In reality, they can be a little finicky, but they’re a solid alternative if you’ve lost your original or want a backup.
Here’s what to do:
- Buy a universal garage remote that lists Overhead Door compatibility on the package. Check the model numbers; if you’re not sure, write down your opener’s model and check online or in the manual.
- Install fresh batteries in the universal remote.
- Put the remote into ‘programming mode’—usually by holding down certain buttons until an LED starts flashing.
- On your opener, press the ‘Learn’ button (just like with rolling code remotes). Some remotes need you to select the brand code first—consult the remote’s guide for the exact steps.
- Within 30 seconds, press the button on the universal remote. If the opener’s light blinks or clicks, the sync is successful.
If you run into trouble pairing, check for interference—sometimes LED lights or nearby electronics can mess with the signal. Reset the remote and try again. Universal remotes are a lifesaver for households juggling multiple brands or older systems.
Troubleshooting Cloning and Pairing Problems
Honestly, this is where most people throw their hands up. Remotes are supposed to make life easier, but if your new one won’t pair, won’t code, or isn’t working at all, let’s slow down and check a few things.
- Check the batteries. Even new remotes can ship with weak batteries. Swap them out if in doubt.
- Model mismatch. Not all remotes work with all Overhead Door openers. Check your opener’s model number and make sure your new remote is listed as compatible.
- Learn button confusion. Some openers make you press and release, some want you to hold for a few seconds. Double-check your opener’s manual for the right timing.
- Too many remotes paired. Most openers have a pairing limit (maybe five or so). If you’ve hit the cap, you may have to reset your opener and remove all remotes—then pair only the ones you need.
If your remote is still stubborn, try standing closer to the opener—sometimes signal strength matters more than you’d expect. And if your opener is old (think late ’90s or older), it might just be time for a new remote altogether.
How To Reset or Erase All Paired Remotes From Overhead Door Opener
Sometimes the clutter of old, unused remotes is too much. Or maybe you’ve moved into a new house and want a clean slate. Erasing all codes and starting fresh is the answer.
Resetting your Overhead Door opener usually works like this:
- Find the ‘Learn’ button on your opener unit. Hold it down for at least 6–10 seconds until the LED goes out (not just blinking, but totally off).
- This wipes all paired remotes from memory. Let go of the button.
- Now, re-pair your current remotes using the steps from earlier (press ‘Learn,’ then press the remote button).
Important: After resetting, every remote will need to be reprogrammed—including any keypads or car-based openers.
If you’re selling your home or want to make sure a lost remote can’t be used, this is the safe way to go.
Comparing Overhead Door Remotes vs Universal Remotes: Which Is Better?
Deciding between sticking with an Overhead Door remote or jumping to a universal one depends on your priorities. Let me explain why neither option is perfect for everyone.
Overhead Door-branded remotes tend to offer the best compatibility, quickest pairing, and fewer signal issues. They’re made for your opener model, so troubleshooting is usually simpler, and tech support is more direct.
Universal garage remotes are all about convenience. If you’ve got multiple brands of openers (say, at home and at a rental), or you lose remotes often, they save you from rummaging through piles of different models. But some universal remotes don’t play nicely with all rolling code formats and may need updates as openers evolve.
Price-wise, universals are often cheaper, but they can be fussier to set up. If you’re someone who loves a quick fix, stick to the branded remote. If you enjoy tinkering or need flexibility, go universal—with a little patience.
Final Thoughts: Making Garage Remote Cloning Simple
Cloning your Overhead Door garage remote isn’t some cryptic tech ritual—just a matter of matching switches or syncing up with your garage opener. Whether you’re copying an old dip switch remote or programming a modern rolling code version, slow down, check your batteries, and trust the process. The worst-case scenario? You spend a few extra minutes troubleshooting and end up more familiar with your garage door than you ever thought possible.
Whenever you get stuck, go back to basics: fresh batteries, correct remote type, and careful attention to those little details. Most cloning and pairing headaches stem from small oversights. Once you get that satisfying click of your garage door opening with the new remote, you’ll know it was worth the effort—and you’ll never look at “just a button” the same way again.