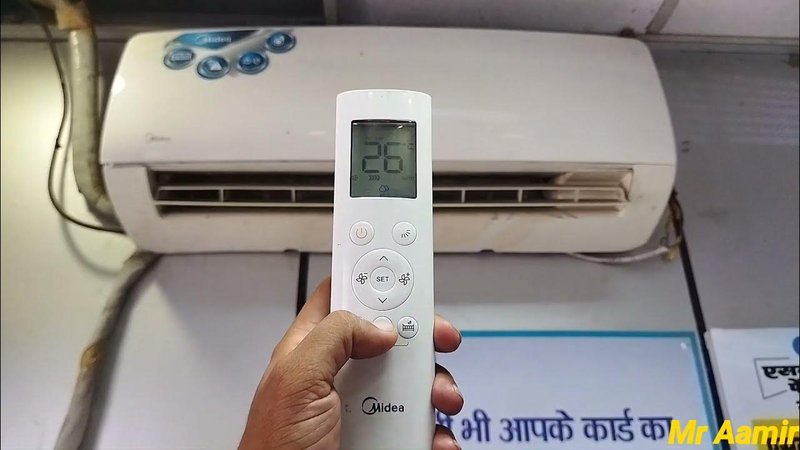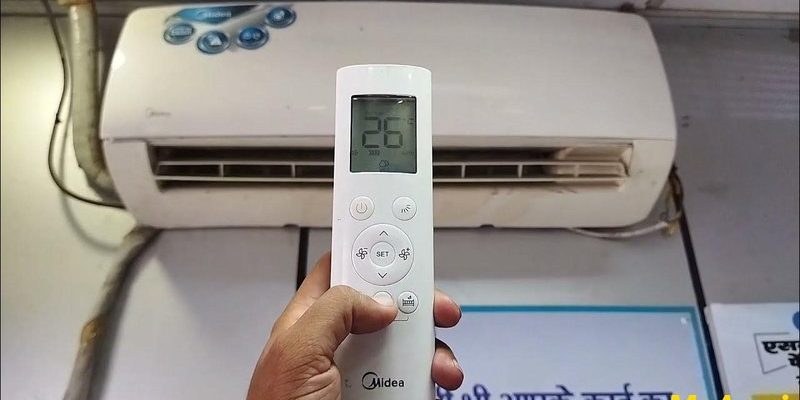
Now, if you’re picturing some high-tech laboratory with bubbling green liquids and lightning bolts, take a deep breath. Cloning a Midea AC remote to a new unit is way less dramatic. Most models have a built-in “learning” or “copy” function—kind of like teaching your dog a new trick, except your remote is the star pupil. You just need patience, a steady hand, and a couple of working batteries. Here’s what matters most: you don’t need to call a technician, and you don’t need to feel intimidated by codes and pairing instructions. I’ll break it down step-by-step, just like I did for my neighbor last summer (spoiler: her cat managed to hide the remote in the sofa).
Understanding How Midea AC Remotes Work
Let’s take a closer look at what’s actually happening under the hood with these remotes. Every Midea air conditioner remote talks to its unit using infrared (IR) signals. Think of IR like the AC’s secret handshake—when you press a button, you’re sending a specific code through invisible light, and your AC responds if it recognizes that code. If it doesn’t, well, nothing happens. You might feel silly repeatedly jabbing the “Power” button, but trust me, it’s not just you.
Why does this matter for cloning? The process relies on copying those exact IR codes from your working remote to the new one. It’s not just about having a physical duplicate; your new remote needs to speak the exact same “language” as your AC unit. If you’re using a branded Midea replacement remote, most of them have dedicated learning or pairing buttons. If you’re reaching for a universal remote, the process is a little different—more on that soon.
Here’s the thing: not all Midea remotes can be cloned with every universal remote out there. Some older units use proprietary coding or have unique button configurations. But for most modern models, especially the ones with “learning” or “copy” written somewhere in the battery compartment or on the box, you’re in luck.
What You’ll Need Before You Start
Don’t rush in empty-handed—it’s like baking a cake before you check if you have eggs. Trust me, I’ve been there.
Before attempting to clone your Midea AC remote, gather these things:
- Your original, working Midea remote (the one you want to copy).
- A new compatible remote—either another Midea remote with a ‘learning’ function or a universal remote that supports Midea ACs.
- Fresh batteries for both remotes. Low batteries can mess with the pairing process. It’s annoying, but it happens.
- A quiet, distraction-free spot with both remotes facing each other (you’ll see why soon).
Having the right tools ready makes the whole process smoother—and a lot less stressful. Imagine getting halfway through the sync, only for your remote to die. Not fun.
Step-By-Step: How to Clone Your Midea AC Remote
Let me explain the main process, which works for most Midea learning remotes and many universal models:
- Install fresh batteries in both remotes. This helps avoid weak signals or mid-process resets.
- Place both remotes head-to-head. Line up the IR transmitters (usually the “bulb” at the top of each remote) about 2-5 centimeters apart. They need to “see” each other, or the code won’t transfer.
- Put the new remote into ‘learning’ or ‘copy’ mode. Look for a tiny button labeled “Learn,” “Copy,” or sometimes “Set.” Hold it down until a light flashes. This means the remote is ready to receive codes.
- Press the button on your original Midea remote that you want to clone. For example, if you want to copy the “Power” button, press it while your new remote is in learning mode. The indicator light on the new remote should blink or stay solid to show it’s received the signal.
- Repeat for every button you want to clone. Yep, you have to do this for each function—mode, temperature, fan, etc. It’s a bit tedious, but you only need to do it once per new remote.
- Exit learning mode. Usually, you press the “Learn” or “Set” button again, or just leave the remote alone for a few seconds.
Here’s a real-life example: I helped a friend clone her Midea remote before a family gathering (her cousin’s toddler had pressed every button and, predictably, the original remote went missing). Following these steps, we cloned the power and temperature controls onto a universal learning remote. Honestly, it’s like programming a shortcut—it’s fiddly at first, but totally doable.
Pairing and Syncing Your Remote With the New Midea Unit
After the cloning process, you still need to make sure your cloned remote “talks” to your new unit. Most of the time, it works instantly, since you’ve copied the exact IR codes. But sometimes, things aren’t so simple—especially with newer or “smart” AC models.
Here’s what to try:
- Point your new remote at the AC unit and press the “Power” button. If the unit responds, you’re golden.
- If it doesn’t, check the user manual for “sync” or pairing instructions. Some Midea models have a reset or pair button on the AC itself—usually hidden under the front panel or a tiny pinhole on the remote receiver.
- After hitting “pair” on the AC unit (if available), try sending signals with your new remote again. Sometimes, the AC needs to be in standby mode or unplugged for a minute to fully reset.
Honestly, sometimes it feels like the AC is testing your patience. I’ve had units “wake up” only after a gentle unplug-replug routine. It’s part science, part magic, and a sprinkle of persistence.
Dealing With Common Cloning Problems and Troubleshooting
Things go wrong. Maybe your new remote keeps blinking or your AC refuses to listen. It happens, and it doesn’t mean you’ve failed the cloning process.
Let me run through some classic headaches:
- No response after cloning: Double-check your battery levels—weak batteries are the villain in most tech stories. Also, make sure you’ve correctly aligned the remotes during learning.
- Only some buttons work: You might’ve skipped a step or accidentally copied the wrong code. Reset the new remote (many have a tiny “reset” hole you can press with a paperclip) and try again, one function at a time.
- Remote only works up close: That usually means a weak infrared signal—again, fresh batteries or a clear line of sight are your friends.
- Unit was recently reset or synced with another remote: Sometimes, your AC holds onto old “pairings.” Unplug the unit for a few minutes to clear any memory, then try pairing again.
If you’re using a universal remote, make sure it actually lists Midea as a supported brand—every remote is different. Some require entering a code for Midea (check the manual or packaging), while others just use the learning method. It can be confusing, but following the instructions for your specific model is key. I once spent 20 minutes trying to clone a “Power” button, only to realize I’d used the Panasonic code instead of Midea’s. Oops.
Universal Remote Vs Original Midea Remote: Which Is Better for Cloning?
Let’s compare, because not all remotes are created equal. If you’ve lost your original remote, your main options are a genuine Midea replacement or a universal “learning” remote.
- Original Midea remotes: These are usually easiest to clone if your model has a learning or copy function. Plus, every button maps perfectly to your AC’s features: sleep mode, turbo, timer, swing, etc. The downside? They can be hard to find and a little pricey.
- Universal remotes: These are more affordable and work with tons of brands. Some let you enter a specific code for Midea, while others require you to manually “teach” each function from an original remote. The risk? Not every function will always transfer perfectly—sometimes timer or swing buttons just don’t map like you hoped.
- Smartphone IR blasters: Some Android phones have built-in IR blasters, letting you control your AC via an app. It’s cool for quick fixes, but honestly, not as reliable as a dedicated physical remote for everyday use.
If you only care about the basics—on/off and temperature—a good universal will do. If you want every feature (think: timers, sleep mode, fan speed), hunting down an original or high-quality replacement is worth it.
Resetting and Clearing a Remote Before Cloning
Here’s something people often skip: if your new remote has weird pre-programmed codes or stubborn old pairings, it’s smart to reset it before cloning. Think of it as wiping a whiteboard clean before writing something new.
Here’s how to reset most remotes:
- Look for a tiny pinhole or button labeled “Reset” or “Clear.” Press it with a paperclip and hold for 5–10 seconds—most remotes will flash or blink to show it’s reset.
- If there’s no reset button, try removing the batteries for a minute or two, then putting them back.
Once reset, your remote should be in its default “blank slate” mode, ready for cloning. I skipped this step once and ended up with a universal remote that randomly blasted the heater every time I pressed “Cool.” Not my finest hour.
Cloning Advanced Features: Codes, Modes, and Special Functions
You might be wondering, “Can I clone every single button—even the weird modes?” For most Midea remotes, yes, but there are exceptions. Some advanced settings (like “Sleep Curve,” “Turbo,” or multi-step timers) use more complex IR codes or digital syncing, and some universal remotes can’t handle these.
Here’s what you can usually clone:
- Basic controls—on/off, temperature up/down, mode (cool, heat, fan, dry), swing, fan speed.
- Simple timers and sleep functions, as long as the remote recognizes them.
Here’s where you might hit a wall:
- Very recent Midea “smart” remotes with WiFi or Bluetooth pairing. These often need app-level syncing and can’t be cloned with standard IR remotes.
- Certain legacy modes or diagnostics codes that don’t have regular buttons.
If you absolutely need advanced features, track down the exact remote model online or call Midea support. Otherwise, for most everyday needs, cloning covers all the basics.
Keeping Your Cloned Remote Working Smoothly
Once your new remote is up and running, here’s how to keep things smooth:
- Store a backup: If you have an extra universal remote, keep it programmed as a spare. The peace of mind is worth it—remote gremlins are real.
- Label your remotes: Use a piece of tape or a marker to jot down which remote matches which AC unit, especially if you live in a house with multiple units.
- Replace batteries regularly: Weak batteries can make the remote forget codes or “die” at the worst time. Set a calendar reminder if you’re forgetful (guilty as charged).
- Avoid direct sunlight and water: IR signals can be disrupted by sunlight, and electronics don’t love being wet. Store remotes on a shelf or table, not next to leaky plants or open windows.
Think of your remote like your house key: take a little care, and it’ll keep you comfy for years.
Cloning a Midea AC remote to a new unit isn’t rocket science—though I won’t blame you for feeling like a tech wizard when you pull it off. It’s a game changer if you’ve lost your original, need an extra, or want everyone in the house (yes, even the forgetful teenager) to have their own controller. The process is mostly about patience, the right batteries, and lining up those IR transmitters like you’re teaching your new remote to “speak AC.”
So, next time the remote disappears—or the cat decides it’s a chew toy—you don’t have to sweat it. Making a clone keeps you in control, saves you a call to the repair shop, and unlocks that satisfying click of cool air, right when you need it most.
