
Chamberlain is a big name in garage openers, and their remotes are the little magic wands that make the whole thing work. But when it’s time to clone or sync a Chamberlain remote to another remote (whether it’s another Chamberlain or a universal model), the details really matter. It’s not just about pushing buttons randomly and hoping for the best. If you’ve never done it, or you’re worried about messing up, don’t sweat it. Let’s walk through each part slowly—like we’re sitting at your kitchen table, remotes (and probably a cup of coffee) in hand.
Understanding Chamberlain Garage Remotes and Their Codes
Before jumping in, let’s talk about what makes Chamberlain remotes a bit unique. These gadgets don’t just send a simple “open” or “close” command. They use rolling codes—a security feature that changes the code with every button press. This keeps would-be hackers from copying your signal and sneaking into your garage like a tech-savvy ninja.
Rolling code technology means that, unlike those old-school fixed code remotes, you can’t just “clone” Chamberlain remotes with any cheap learning device. The technology inside is built specifically to keep things secure. That’s why the process of “cloning” Chamberlain remotes actually involves pairing or syncing the new remote with your garage opener, rather than copying a signal directly from one remote to another.
Here’s the thing: If you try to use a generic learning remote, you’ll probably hit a wall. Most compatible universal remotes are designed to emulate Chamberlain’s code system, but only if they’re listed as compatible. If you’re not sure, check the packaging for “rolling code” or “Security+” support, or peek at Chamberlain’s support site for an official list.
What You Need To Clone a Chamberlain Garage Remote
Trying to clone a Chamberlain remote isn’t a scavenger hunt, but you do need a few things lined up before getting started. The actual process only takes a few minutes if you’re prepared, but missing a battery or the right remote can turn it into an afternoon project.
- Your existing Chamberlain remote: This should be working and programmed to your garage opener.
- The new remote: Either another Chamberlain remote or a compatible universal model that supports Security+ rolling codes.
- Access to your garage opener motor unit: This is usually mounted on the garage ceiling, and you’ll need to reach the “Learn” or “Program” button.
- Fresh batteries: Don’t underestimate a weak remote battery! Dead batteries are the
Pro-tip: If your new remote isn’t Chamberlain branded, double-check that it specifically says it supports Chamberlain openers and rolling codes. If it doesn’t, honestly, you’re setting yourself up for trouble.
Step-by-Step: How To Pair and Clone Chamberlain Garage Remote
This is where the magic happens. Here’s the step-by-step process to clone (or more accurately, pair) a new remote to your Chamberlain opener. Picture yourself as a secret agent, except the only mission is to get your garage door opening smoothly.
Important: Most modern Chamberlain systems won’t let you copy codes directly from remote to remote. Instead, you’ll sync the new remote with the opener, which then recognizes both remotes equally.
Step 1: Get Ready
Have both remotes and fresh batteries nearby. Make sure your ladder is steady if you need to reach the opener. Don’t try this in a rush—losing your balance or dropping a remote isn’t fun.
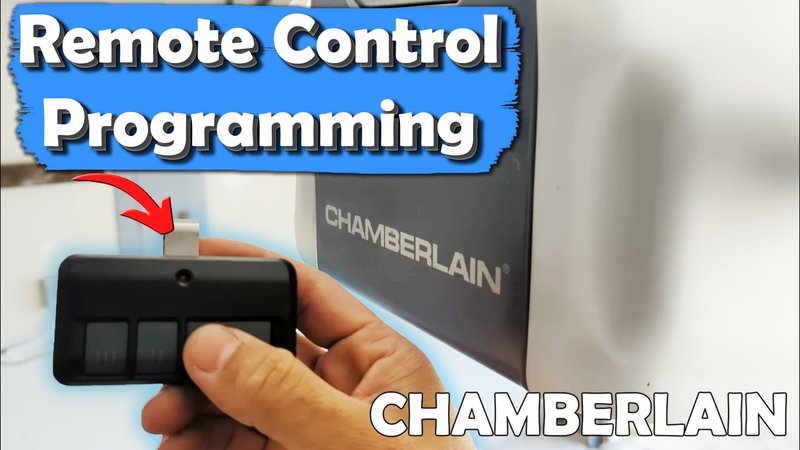
Step 2: Find the “Learn” Button
Look for the “Learn” or “Program” button on your Chamberlain garage door motor. It’s usually near the wire terminals on the back or side. The button color varies (yellow, purple, red, or green are common), and the LED light next to it will help guide you.
Step 3: Press and Release
Press and release the “Learn” button. The LED should light up and stay solid for about 30 seconds. This opens a pairing window—the opener is now listening for a remote.
Step 4: Press Your New Remote’s Button
Within 30 seconds, press and hold the button you want to use on your new remote. Hold it until you hear a click, see the opener light flash, or the LED on the opener blinks. That’s your confirmation handshake. The remote is now paired.
Step 5: Test Both Remotes
Try both your old and new remotes—each should open and close the garage. If one doesn’t, repeat the steps. And if nothing works, check your batteries or try moving closer to the opener while pairing.
Why Cloning Doesn’t Always Work With Chamberlain Remotes
Here’s the kicker: Cloning a Chamberlain remote by “copying” isn’t usually possible due to the rolling code system. If you’re used to fixed-code systems (often those older dip-switch remotes), you might expect to just copy the code signal, but that’s not how it works anymore.
Security+ and rolling codes are designed to keep your garage safe from code grabbers. Every time you push the button, the code changes, so even if someone recorded the signal, it would be useless. That’s great for peace of mind, but it does mean you can’t just use a “learning” or “cloning” remote unless it’s made to support Chamberlain’s tech.
If you see universal remotes advertising “code cloning” or “copy remote functions,” check the fine print. Does it say it works with newer Chamberlain openers and rolling codes? Many only work with the older, fixed-code systems. For Chamberlain, stick to pairing via the Learn button whenever possible.
Troubleshooting Cloning or Pairing Issues
Remotes have a knack for making things complicated when you’re in a hurry. If pairing your Chamberlain garage remote to another remote isn’t working, don’t panic—most issues have straightforward fixes.
- Weak or dead batteries: Even new remotes sometimes ship with low batteries. Always swap in fresh ones before pairing.
- Range problems: Get as close as you can to the opener when pairing. Thick garage walls or interference can block the signal.
- Wrong remote type: Universal remotes are not all created equal. Make sure yours supports Chamberlain’s rolling code system by checking compatibility notes.
- Too many remotes: Most openers can only remember a handful of remotes at once (usually 5-7). If you’ve hit the limit, try erasing old remotes using the “Learn” button (holding it down for 6-10 seconds resets all codes), then pair the new one.
If all else fails, reset the opener’s codes and start from scratch, but know this will disconnect every existing remote—including built-in car openers—so you’ll have to pair them all again.
Universal Remotes vs. Chamberlain Brand: Which Is Best?
Choosing between a genuine Chamberlain remote and a universal one can get confusing—like picking between your favorite brand of cereal and the generic on the bottom shelf.
Chamberlain remotes almost always work with Chamberlain openers and ensure full compatibility. They’re a safe bet, especially if your opener is newer or uses advanced rolling code features.
Universal remotes can save money and simplify your life if you have multiple openers (from different brands or generations). Many universal remotes, like the popular Clicker or Genie models, advertise Chamberlain compatibility. But—and here’s the catch—not every universal remote supports the latest rolling codes. Always check for a list of supported opener models, code types (Security+), and frequencies.
If you’re aiming for a smooth pairing process, I’d go with Chamberlain’s official remotes. Universal remotes are fine if you double-check compatibility, but they add a layer of troubleshooting that the genuine article skips.
Resetting and Syncing Multiple Chamberlain Remotes
Let’s talk about what happens when you want to add several remotes, or you need to reset because something went haywire. Maybe you just moved in and have a pile of random remotes, or you’ve got new drivers in the house.
Here’s how it works: Each time you add a remote using the “Learn” button, the opener memorizes that remote’s code. You can pair several remotes this way, one at a time. But if you ever need to wipe the slate clean—for instance, if you lost a remote or just want to start fresh—hold that “Learn” button down for 6-10 seconds. The LED should go off, signaling a full reset.
After a reset, none of the remotes will work until you pair them again. It’s a bit of a hassle if you have several, but it’s the best way to keep things secure if a remote goes missing or you worry about someone having unwanted access.
Syncing multiple remotes? Just repeat the pairing process for each one, using the “Learn” button before every new addition. Test each remote as you go to make sure they’re all linked up correctly.
Common Situations: When To Clone or Sync A Chamberlain Garage Remote
There are plenty of reasons you might need to clone or sync a Chamberlain remote. Here are a few everyday examples:
- New family member or roommate: Someone joins the household and needs their own remote. Syncing a new one is fast and private.
- Lost or broken remote: Replace it by pairing a new remote to your opener in minutes.
- Switching vehicles: Cloning gives you a remote for each car, so no more juggling or leaving remotes in unsafe places.
- Airbnb or guest setup: Temporary remotes for visitors are easy to pair and erase later for security.
Honestly, having spares saves the day more often than you’d think—no more late-night struggles in the rain while someone else hogs the only remote.
Final Thoughts: Keep Your Chamberlain Garage Remote System Smooth and Secure
Cloning or syncing a Chamberlain garage remote to another remote is all about following the steps, checking compatibility, and having a bit of patience. These remotes are designed for security, so the process is less about “copying” and more about letting your opener recognize a new teammate. If you hit a snag, it’s usually down to a battery, range, or compatibility glitch.
Take your time, keep your remotes organized, and don’t hesitate to reset and start over if things get messy. A little upfront effort saves a ton of frustration down the line—plus, it keeps your garage (and everything inside it) that much safer. The feeling of pressing a button and watching your garage door glide open, no matter which remote is in your hand, is worth every minute spent setting things up right.