Here’s the thing: your fan and remote are meant to “talk” to each other using a specific signal, kind of like a secret handshake. If one of them forgets the handshake—or if a neighbor’s fan is using the same “code”—you end up with a remote that’s about as useful as a potato. So, let’s pull back the curtain on how those tiny switches (called DIP switches) work, why frequencies matter, and how to check frequency settings on your Westinghouse ceiling fan remote.
If you’ve never poked inside a fan remote before, don’t worry. Most Westinghouse fans use the same type of remote, often with a simple set of switches or buttons inside. It’s not exactly rocket science, but the process can feel like opening a safe if you’ve never tried before. We’ll go through everything you need, one step at a time.
Understanding How Westinghouse Ceiling Fan Remotes Use Frequency Settings
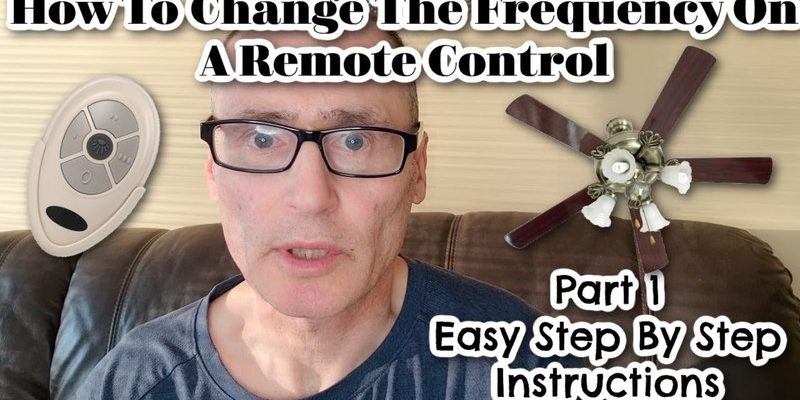
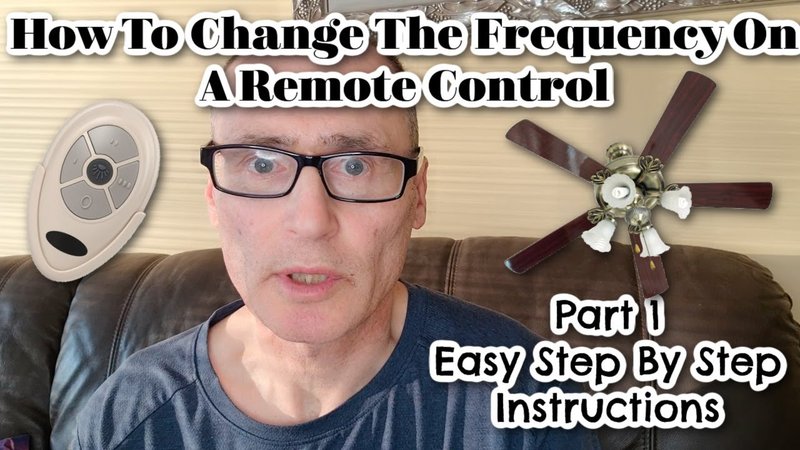
Before you even pop open the remote, it’s helpful to know what’s going on behind the scenes. Imagine your fan and remote are walkie-talkies. Each one needs to be set to the same channel (or frequency) to communicate. This “frequency” is set using a series of tiny switches called DIP switches—usually found inside both the remote and the receiver unit in the fan canopy.
Honestly, most people never touch these switches after the fan is installed. But if you’re experiencing things like your fan turning on by itself, nothing responding, or even your neighbor’s remote changing *your* settings, there’s a good bet you have a frequency conflict. Westinghouse ceiling fan remotes are made this way to avoid interference, but sometimes the original setup gets scrambled—or just needs to be checked.
The process is about matching the switch positions between the remote and the receiver. Sometimes, frequency settings can also be called “codes” or “pairing settings.” If you’re seeing words like “sync remote,” “reset,” or “pair remote,” it usually means adjusting or checking the frequency.
When To Check Frequency Settings On Your Westinghouse Remote
You might be wondering, “Why would I ever need to check this?” Here are the most common situations:
- The fan suddenly stops responding: Batteries are new, but pressing any button gets you nowhere. It could be a frequency mismatch.
- Your remote controls a neighbor’s fan (or vice versa): Homes and apartments can have similar-frequency fans, leading to accidental cross-talk.
- After replacing batteries or the remote: Sometimes, removing batteries or swapping in a new remote resets or changes the settings. The frequency code might need to be set again.
- Installing a universal remote: If you switch to a generic or universal fan remote, you’ll need to make sure it matches your fan’s receiver.
In all these cases, checking the frequency is a logical first step before jumping to bigger (and often pricier) troubleshooting fixes. It’s also a useful skill to avoid issues when you move, renovate, or just want to prevent future headaches.
What Tools You’ll Need To Check and Adjust Frequency Settings
Let me explain something a lot of guides forget: checking the frequency settings is both easy and hands-on. You don’t need to be an electrician (or have a PhD in ceiling fans) to do this, but you do need a few basics:
- A Phillips-head screwdriver: Most remote battery covers and fan canopy covers are secured with these.
- The ceiling fan remote itself: Whether it’s a Westinghouse-branded model or a universal remote, have it handy.
- A small ladder or sturdy step stool: To reach the fan’s ceiling canopy safely.
- Fresh batteries: Before you go looking for “deeper” problems, make sure your remote isn’t just running low on power.
- Patience and a little curiosity: Working with small switches takes a steady hand and a calm approach.
You don’t need any fancy testers, code readers, or specialized tools. Everything is right there in the remote and the receiver. If you’re ever in doubt about safety, especially with power to the fan, turn the circuit breaker off before poking around inside the canopy—that little bit of caution goes a long way.
Step-By-Step: How To Check Frequency Settings On Westinghouse Ceiling Fan Remote
Here’s the part you probably came for—the practical, slow-burn instructions. I’m going to break this down into clear steps, so you don’t miss anything.
1. Remove The Remote’s Battery Cover
Most Westinghouse ceiling fan remotes have a battery cover you simply slide off. Sometimes there’s a tiny screw holding it in place. Under the battery, you’ll see a small row of tiny switches (usually four). These are the DIP switches that set your remote’s *frequency code*.
2. Find The Receiver In The Ceiling Fan
Carefully get up on your ladder and look for the fan’s canopy at the ceiling (the part hiding the wiring). With the power off, unscrew the canopy. Inside, you’ll find a small, rectangular receiver box. On this box, look for the same row of 4 DIP switches.
3. Compare The DIP Switch Settings
Here’s the key: The DIP switch positions in the remote and the receiver must match exactly. Each switch can be up or down. Sometimes, the pattern is set at the factory, but it can change with battery swaps, new remotes, or power surges.
4. Adjust DIP Switches If Needed
If the switch patterns don’t match, use a tiny screwdriver or a pen tip to gently flip the switches so the remote and receiver match. Pick any pattern you like, as long as both devices are identical. This step is basically “pairing” your remote to the fan’s receiver with a physical code, not a digital one.
5. Re-Assemble And Test
Put the batteries back in the remote, close up the ceiling canopy, and restore power. Now, press the buttons on your remote. If the frequency settings match, the fan and light should respond normally. If not, double-check your switch positions.
“Most frequency issues with Westinghouse ceiling fan remotes come down to tiny switch mismatches or a simple battery problem. Take your time, and don’t force the switches—they’re surprisingly sturdy for something the size of a sesame seed.”
Common Problems: Why Your Westinghouse Remote Frequency Matters
You might be thinking, “Can’t I just replace the batteries and get on with my day?” Sometimes, yes. But frequency codes are what keep your system working—and private. Here’s what can go wrong if frequency settings are off:
- Unresponsive fan: The remote talks, but the fan’s not listening—classic frequency mismatch.
- Interference from other remotes: Ever switched on your neighbor’s fan by accident? That’s a matching frequency at work.
- Random fan or light activation: If your DIP switch pattern isn’t unique, stray signals from other remotes in your building can trigger your fan without warning.
- Failed “pairing” after remote replacement: When buying a new or universal remote, the DIP code must be set to match the receiver in your fan.
Honestly, it feels a little old-school compared to modern Bluetooth or WiFi gadgets, but the reliability of physical switch codes is part of why these fans last so long.
Troubleshooting: What If Checking Frequency Settings Doesn’t Solve The Problem?
If you’ve checked, double-checked, and the fan still isn’t listening, don’t panic. Here are a few things to consider before calling in a professional:
- Dead batteries: Sounds silly, but weak batteries can make the remote misfire. Always try new ones before anything else.
- Faulty remote: If possible, test your remote with a compatible fan, or try a different Westinghouse remote set to the same code.
- Receiver issues: Sometimes the receiver in the fan just gives out. If every other step checks out, this part might need to be replaced.
- Obstructions or interference: Large metal objects, thick ceilings, or signal-blocking devices can sometimes cause problems, but this is rare with ceiling fans.
- Compatibility: If you switched to a universal remote, double-check the instructions and verify it supports Westinghouse models.
If you’re still stuck, Westinghouse customer support is an option—just have your model number handy, and let them know you’ve already checked the frequency settings.
Comparing Westinghouse Remotes And Universal Remotes
Maybe you’ve seen “universal ceiling fan remote” kits at the hardware store, and you’re curious if they’re any easier. Here’s my honest take: universal remotes can be a lifesaver if you’ve lost your original Westinghouse remote, but they still use the same DIP switch coding system for compatibility.
- Westinghouse remotes: These are factory-matched to your fan, and setup is typically easier. You get labeled buttons, battery covers, and a direct fit.
- Universal remotes: More flexibility, but you must set the correct code. Sometimes, pairing instructions are less clear, and not all models are fully compatible with Westinghouse fans.
So, even with a universal remote, you’ll need to check and match the frequency code to the receiver in your fan. It’s not “plug and play,” but it’s not rocket science either.
Safety Tips And Best Practices When Checking Ceiling Fan Remote Frequencies
One last thing: whenever you’re poking around ceiling fans or remotes, it’s worth slowing down for a second. Here’s what I always keep in mind:
- Turn off power at the circuit breaker before removing the fan canopy. Even if you’re just checking a code, better safe than sorry.
- Don’t force DIP switches. They’re tough, but a gentle touch keeps the mechanism working smoothly.
- Label your frequency code somewhere safe. Write it on the remote battery cover or your phone’s notes, in case you need to reset things later.
- Double-check switch positions before reassembling everything. A single mismatch will cause more headaches than you’d expect.
- Always use the right remote type, matching your fan model. Not all remotes are cross-compatible, even between different Westinghouse fans.
“Taking five extra minutes to get the frequency settings right saves hours of frustration and awkward moments when your lights turn off during dinner.”
Wrapping Up: Getting Your Westinghouse Ceiling Fan Remote Back In Sync
Fixing a non-responsive Westinghouse ceiling fan remote often boils down to those tiny DIP switches—matching the frequency settings between your remote and your fan’s receiver. Once you know where to look and what to check, it’s a skill that pays off every time power blips, batteries die, or remotes wander off.
So next time your fan ignores you, remember: patience, a steady hand, and a careful eye for those switches are all you need. With the right frequency settings, you’ll be back to breezy comfort and quiet control in no time. And hey, if you ever do have to explain it to someone else, you’ll be the frequency wizard in the room.