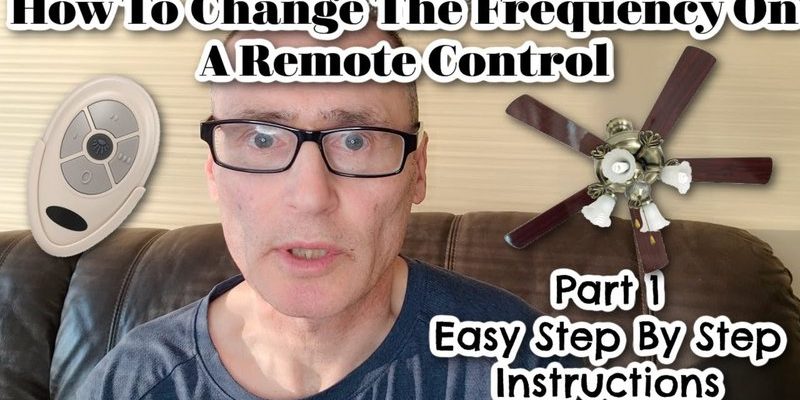
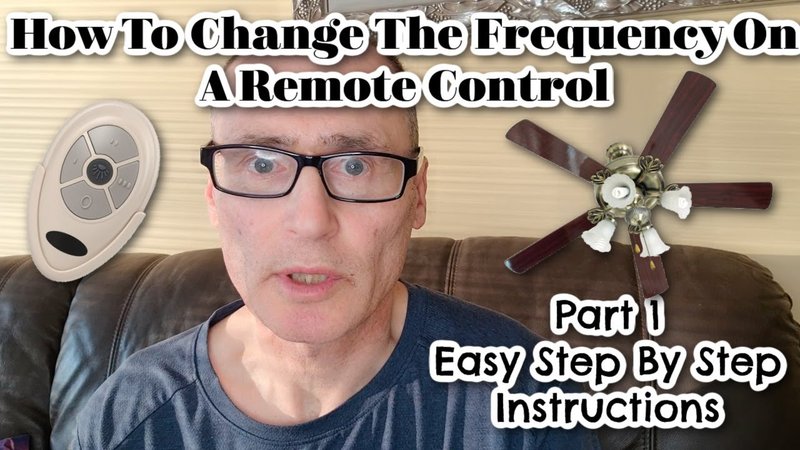
Many people grab a Lutron ceiling fan remote, pop in the batteries, and hope the rest will work out. But when you start running into random glitches—fans that won’t respond, mysterious on-off cycles, or a brand new remote that completely ignores your commands—the first thing to check is the frequency settings. It sounds more complicated than it is, I promise. A few minutes, a screwdriver, and a bit of patience go a long way.
Understanding Frequency Codes on Lutron Ceiling Fan Remotes
Every Lutron ceiling fan remote uses a specific radio frequency to “talk” to the fan unit. This isn’t Wi-Fi or Bluetooth; we’re dealing with straightforward RF (radio frequency) codes here—think walkie-talkie, not smartphone. And just like walkie-talkies, if two devices are set to the same frequency, one can accidentally command the other.
Why do frequency codes matter? Because ceiling fans are everywhere—apartments, condos, houses, offices. If you and your neighbor both have Lutron fans set to the same frequency, you could find yourself in a mini tug-of-war over whose fan gets to run. That’s where checking—and sometimes changing—your frequency settings comes into play.
The frequency is usually set via tiny DIP switches (think tiny, plastic toggles) inside both the fan receiver (in the ceiling) and the remote control. Matching these codes ensures your remote only talks to your fan, not someone else’s. It’s not rocket science, but it is a bit fiddly.
When You Should Check Your Lutron Remote Frequency Settings
You might be wondering—how do you even know when it’s time to check the frequency settings? There are some classic signs:
- Unresponsive Fan: Maybe your Lutron remote suddenly stops working, or the fan only responds from a certain spot in the room (or not at all).
- Cross-Talk: Turn your fan on and your neighbor’s lights flash? Maybe someone else is controlling your fan with their remote—it happens more than you’d think in apartment buildings.
- New Remote or Receiver: If you’ve replaced your ceiling fan, remote, or the receiver unit above the fan, it’s almost guaranteed you need to check or set the frequency switches.
- Random Speed Changes: If the fan randomly switches speeds or turns on/off on its own, don’t blame ghosts—think frequency interference.
Honestly, any time things get weird with your Lutron fan, frequency settings should be high on your troubleshooting checklist. It’s a quick fix once you know where to look.
Tools and Supplies You’ll Need to Check Frequency Codes
Let me explain—before you start poking around, gather your basic tools. You don’t need a whole toolbox, but a few essentials help keep things smooth:
- Small Phillips screwdriver (for most battery covers and remote cases)
- Ladder or step-stool (especially if you’re short like me; those ceiling fans aren’t getting any closer on their own)
- Your Lutron remote (obviously)
- Fresh batteries (because dead batteries can pretend to be frequency problems and waste your time)
- Notebook and pen (to jot down the original code, just in case)
Pro tip: You’ll be looking for tiny switches or jumpers—don’t wear your baggy sleeves or let pets “help.” It’s easy to lose a small part.
Step-By-Step: How To Check Frequency Settings on a Lutron Ceiling Fan Remote
Here’s the thing—don’t stress. The process is straightforward if you take it one step at a time.
1. Turn Off Power Before You Start
Safety first: Go to your circuit breaker and switch off power to the fan. This isn’t just for your safety—sometimes, the fan can “wake up” during changes and surprise you.
2. Open the Remote Battery Compartment
Most Lutron ceiling fan remotes have a battery cover on the back. Pop it off with your thumb, or use that screwdriver. Look inside—sometimes the DIP switches are visible in the battery compartment. Other times, you’ll need to unscrew another tiny panel.
You’ll see a row of 4 or 5 tiny switches. Write down their pattern or snap a quick phone photo. This is your current frequency code.
3. Find the Receiver in the Ceiling
This next part takes a bit of effort. Use your ladder to reach the fan’s canopy (the dome at the ceiling). Undo the screws holding the canopy in place (careful! Hold onto them). Inside, you’ll find the receiver—usually a small plastic box with wires running to the fan.
Look for matching DIP switches or a row of tiny toggles—sometimes labeled “code” or “frequency.” Compare the pattern to the one in your remote.
4. Match Both Codes
The codes must match exactly: up is up, down is down. If the switches in the receiver and remote don’t match, use a non-metal tool (a toothpick works) to flip the switches in one so they match the other.
5. Replace Covers and Restore Power
Close up the ceiling canopy, put the remote back together, and pop in fresh batteries. Turn the breaker back on. Test the fan and remote. If everything works, congrats—you’ve just synced your Lutron ceiling fan remote to the correct frequency code.
Troubleshooting Common Lutron Remote Problems
If your fan is still misbehaving after syncing the frequencies, don’t panic. There are a few extra things to check before giving up.
- Weak or Dead Batteries: Even slightly drained batteries can cause the remote to lose connection or behave unreliably. Always use fresh ones when testing.
- Obstructions or Range Issues: Radio frequency remotes need a clear path. Large metal objects, thick beams, or appliances near the fan can block or weaken the signal.
- Receiver Faults: If you’ve matched the switches and installed new batteries but the fan still ignores you, the fault might lie with the receiver unit in the ceiling. These can fail over time, especially after power surges.
- Interference From Other Devices: Sometimes, other RF devices (garage door openers, older wireless security systems) can cause interference. Changing the DIP switch code to something unique often solves this.
If you run through these steps and still see problems, it may be time to replace the receiver, remote, or both.
How Lutron Frequency Settings Compare to Universal Remotes
Let’s say you’ve considered ditching your Lutron remote for a universal fan remote. Here’s what you need to know:
- Lutron remotes are built to work seamlessly with their own fan receivers. The pairing process is predictable, and support is easier to find.
- Universal remotes can sometimes control multiple fan brands. But, frequency code setup varies, and features like dimming or multi-speed control might not work as cleanly.
In my experience, if you value reliability and “set it and forget it,” stick with the brand remote when you can. Universal remotes are handy if you lose your original, but syncing codes can be trickier. Always check that your universal model supports Lutron’s specific frequency and dip switch setup.
Keeping Your Lutron Ceiling Fan Remote Synced Long-Term
You’ve got your remote and fan working together. How do you keep things running smoothly?
- Label your codes: Jot down your DIP switch pattern and tape it inside the battery compartment. Future you will thank you when a battery change or move scrambles things.
- Avoid frequent code changes: Only update the frequency if there’s a real interference problem. The more you flip those tiny switches, the easier it is to make a mistake.
- Check batteries regularly: A weak remote signal can mimic frequency problems. Swap in fresh batteries every year (mark your calendar—it matters!).
- Keep the receiver area clear: Don’t jam extra wires or insulation around the receiver. Give those radio waves some room to breathe.
Sometimes the little details—like a single out-of-place switch—cause the biggest headaches. Take five extra minutes to document what you see. You’ll save future headaches, trust me.
What To Do If You Lose Your Lutron Remote or Can’t Access The Fan
Losing the remote happens. Maybe you moved into a place where the remote’s long gone, or you just can’t reach the fan (tall ceilings make things tricky). Here’s how you can still check or reset the frequency:
- Replacement Remotes: Order an exact-model Lutron replacement. Use a small screwdriver to open the battery compartment and set the new remote DIP switches to guess what’s in the fan—or trial-and-error until you find the code.
- Can’t Access Receiver? If you can’t reach the receiver above the fan safely, consider asking a pro for help. It’s better to pay for a quick service call than risk a fall or damage the wiring.
- Upgrade options: Some modern Lutron fans support app-based or wall controls. If you’ve lost the remote and don’t want to mess with codes, ask about upgrading to a new receiver/remote kit with easier syncing.
It’s a pain, but not the end of the world. With a little patience, you can almost always get your fan back on your “channel.”
Final Thoughts on Checking Frequency Settings on Lutron Ceiling Fan Remotes
Honestly, those tiny DIP switches might look intimidating at first, but they’re the key to a peaceful, glitch-free fan setup. Once you know where to look and what to match, checking or resetting your Lutron ceiling fan remote’s frequency settings is quick and painless.
If your fan’s acting up, don’t waste hours blaming faulty batteries or assuming it’s broken. Start by checking those codes—nine times out of ten, that’s where the fix is hiding. Take your time, label your codes, and don’t be afraid to ask for help if you can’t safely reach the receiver. You’ve got this—and next time someone’s fan starts acting wild in your building, you’ll be the local frequency expert.