The frequency, or “code,” is what tells your fan and remote how to talk to each other. If they’re not on the same wavelength (literally), it’s like two walkie-talkies set to different channels—nobody’s going to hear anybody. Let me explain how you can check those frequency settings, especially with Hunter remotes, and what to do when things go haywire.
The type of remote we’re talking about here is the standard Hunter ceiling fan remote—the compact, rectangular controller that comes bundled with most Hunter fans, or sometimes purchased as an upgrade. Whether your remote uses a little battery compartment or slides open from the back, the core idea is the same: frequency settings inside let you sync or pair the fan and the remote so they speak the same language, without interference from the neighbor’s fan or your own TV remote.
Understanding Frequency Codes On Hunter Ceiling Fan Remotes
Every Hunter ceiling fan remote uses a special frequency code to communicate wirelessly with the fan. This code stops signals from crossing, which might sound unnecessary—until your living room fan starts spinning whenever your neighbor turns on theirs. (It happens more often than you’d think.) Think of the frequency code like a secret handshake. Both your remote and fan need to agree on the same gesture, or nothing works.
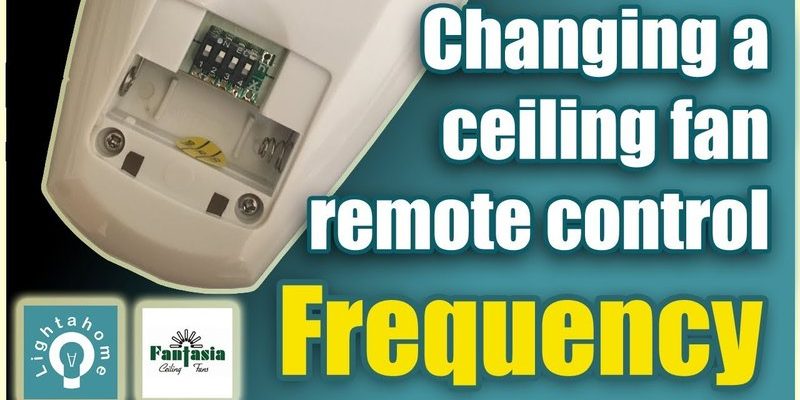
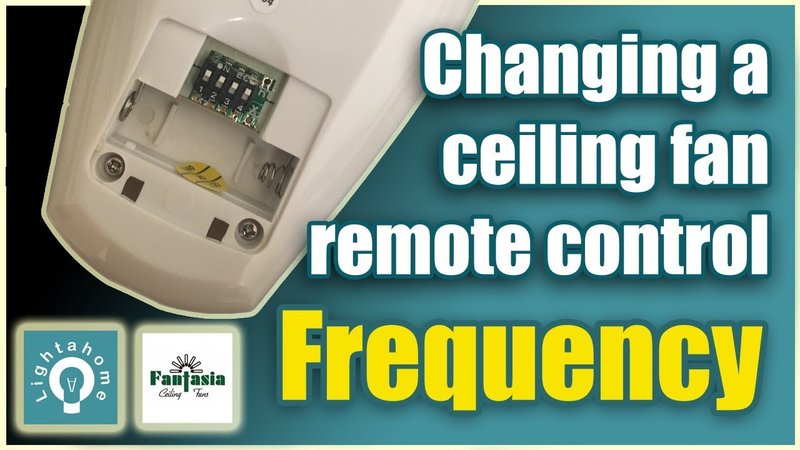
Inside most Hunter remotes, you’ll find a set of little dip switches. These are tiny plastic toggles that can be switched up or down, setting your custom code. Your fan’s receiver—the part hidden in the ceiling canopy of the fan—has the same set. If they match, you’re good to go. If not, you’ll run into issues like the fan not turning on, the light flickering randomly, or absolutely nothing happening at all.
The frequency settings don’t change on their own, but batteries can jiggle things loose, or maybe someone (probably not you, right?) took the remote apart and didn’t put it back the same way. Knowing how to access, check, and, if needed, reset these codes is crucial. It’s the beating heart of remote troubleshooting for Hunter fans.
Where To Find The Frequency Settings On Your Hunter Remote
You might be wondering, “Where are these mythical frequency switches hiding?” Honestly, they’re tucked away in places you wouldn’t check unless you knew what you were looking for. In most Hunter ceiling fan remotes, the dip switches hide behind the battery cover. Just slide or pop off the battery compartment, and you’ll see a row (often four) of tiny switches labeled 1, 2, 3, 4.
Here’s a step-by-step tweak:
- Turn the remote over and remove the battery cover.
- Take out the battery (just to be safe, so nothing shorts out).
- Spot those little switches—they’re usually right next to where the battery sits.
- Write down or snap a photo of the current switch positions. Trust me, you won’t remember in five minutes.
Now, don’t go flipping switches at random. Whatever you do on the remote, the receiver in the fan must match exactly. Otherwise, you’ll just be adding another problem to the pile.
The fan’s receiver isn’t always as easy to access. For most models, you’ll need to climb a stepladder, unscrew the canopy (the cover up at the ceiling), and look for a little box with its own set of dip switches. This is where patience comes in handy.
How To Check If Your Hunter Frequency Codes Are Synced
Let me walk you through how to tell if your remote and the fan are synced—or if they’ve gone out of tune. The best clue? If you press the power button and nothing happens, or maybe you get some mysterious blinking lights, your frequency codes probably don’t match. Here’s how to check:
- Check the remote first. Open the battery cover and look at the dip switches.
- Write down those positions (or take another photo if you’re forgetful like me).
- Turn off power to the fan at the breaker, just to stay safe.
- With a screwdriver, remove the canopy at the ceiling and find the receiver.
- Look for the dip switches on the receiver—they’re usually on the side or bottom.
- Compare the positions on the remote and receiver. If they’re not identical (up is up, down is down for each), that’s the culprit.
Even a single switch out of place breaks the code. Be patient. This part can feel like defusing a tiny, plastic bomb, but you’ve got this.
Checking the frequency code is almost always step one when troubleshooting a misbehaving Hunter ceiling fan remote. It’s simple, but gets overlooked all the time!
How To Change Or Reset Hunter Remote Frequency Code
So, you’ve discovered the codes don’t match, or maybe you want to reset everything to avoid interference. Changing the frequency code on a Hunter ceiling fan remote isn’t hard, but it does require a little focus.
- Pick a new code by setting your dip switches in a unique up/down pattern. Both the remote and receiver must match exactly.
- Use the tip of a pen or a small screwdriver to flip the dip switches. They’re delicate, so go slow.
- Once you’ve set a new code, put the battery back in the remote.
- Carefully secure the receiver back in the ceiling, making sure you don’t change any switch positions by accident.
- Restore power at the breaker and test the remote. If your fan spins or the light responds, it’s synced!
If it still doesn’t work, double-check that both sets of switches match exactly. It’s easy to mix up what’s “up” and what’s “down” when you’re upside-down under a ceiling fan. If you’re using a universal remote or a different Hunter model, the location and number of switches might vary, but the core process is the same.
Hunter Ceiling Fan Remote Troubleshooting: Batteries, Pairing, And Interference
Before you start swapping codes, remember that frequency issues aren’t always to blame. Sometimes it’s as simple as a dead battery—or a remote that lost its sync due to a power surge. If your fan randomly stops responding or only works from certain angles, don’t overlook the basics.
- Batteries: A weak battery can fail to send the frequency code clearly. Always start with a fresh battery before opening things up.
- Pairing Issues: Some newer Hunter remotes use a “pairing” button instead of dip switches. If that’s you, check your manual for instructions on entering pairing mode. This can look like holding a button down for ten seconds after power is restored.
- Interference: Wi-Fi routers, microwaves, and other remotes can create signal noise that messes with your fan’s performance. If you notice the fan working erratically, try moving other electronics or setting a new frequency code.
If all else fails and the remote just won’t control the fan—even after you’ve checked codes, batteries, and interference—it might be time to reset both the remote and receiver, or possibly replace one of them.
Comparing Hunter Remotes: Original Vs Universal Models
You might be stuck with a replacement Hunter remote or thinking about getting a universal remote. Here’s what matters: original Hunter remotes are designed specifically for certain models, so their frequency settings and sync features almost always match the receiver. Universal remotes, however, might require extra steps.
If you use a universal remote, you’ll often find more dip switches (sometimes up to six or more). The principle is the same, but matching the pattern may take a bit longer. Some universal remotes use a “learning mode” to copy the signals, in which case you’ll need to follow the pairing steps in the instruction manual.
Hunter’s own remotes are generally more straightforward, but if your model is older or discontinued, a universal can be a solid alternative. Just make sure it lists compatibility with your fan’s receiver and check that it has the right number of dip switches or a pairing button.
Why Frequency Settings Matter For Hunter Ceiling Fan Remotes
It’s tempting to brush off these little dip switches and codes as technical nonsense, but honestly, they’re what keep your home running smoothly (and quietly). Setting the wrong code or leaving switches mismatched can mean anything from no response, to your fan suddenly turning on in the middle of the night, to your neighbor’s remote controlling your lights.
Hunter uses these frequency settings instead of simple “plug and play” because homes are full of signals flying through the air. Matching codes protect you from signal overlap, random power cycling, or even weird electrical interference. It’s like having a password for your fan—without it, nothing works the way it should.
The process isn’t hard, but it does require patience. If you get the settings right, you’ll rarely need to revisit them unless you move or replace the remote. Getting comfortable with these little dip switches is one of those homeownership victories nobody talks about—but you’ll definitely notice the difference the next time you want to chill out under your perfectly synced fan.
Tips For Safe Handling And Long-Term Success With Hunter Fan Remotes
Messing around with anything electrical always calls for caution. Here’s what I’ve learned (sometimes the hard way): always turn off the power at the breaker before poking around in the fan canopy. Those wires aren’t meant to be friendly. Use a sturdy ladder, not a wobbly chair, and have a helper nearby if possible.
When checking or resetting frequency settings, patience is your best tool. It’s easy to drop a screw or knock a wire loose. Take photos at every stage—it’s amazing how much you forget by the time you’re putting the canopy back on. And keep the remote model number handy in your phone or taped inside the battery compartment. It will save you a ton of hassle if you ever need to hunt for replacement parts or troubleshooting tips down the road.
Getting the frequency code right is a little thing that makes a big difference. A smooth, silent, and responsive fan is its own kind of home luxury.
If you start having problems again, always circle back to the basics: fresh batteries, matching codes, and minimal electronic interference. With a little practice, checking frequency settings on your Hunter ceiling fan remote will feel less like guesswork and more like a skill you can count on.
Closing Thoughts: Keeping Your Hunter Ceiling Fan Running Smoothly
Managing frequency settings on a Hunter ceiling fan remote isn’t rocket science, but it does take a careful hand and a bit of patience. Once you’ve seen those little dip switches in action—and experienced the relief of a fan that responds instantly—you’ll understand why this small detail matters so much.
So the next time your fan acts up, start simple. Check the battery, peek at those frequency codes, and be methodical. You don’t need to be an electrician to troubleshoot most Hunter ceiling fan remote issues. Just a few steps, some confidence, and maybe a stepladder. Once you’ve got it right, you can put your tools away, grab your remote, and enjoy a breeze exactly when you want it—no crossed wires, no drama, just peace and comfort right at your fingertips.