The good news? Swapping out the battery in a Chamberlain remote is almost as easy as swapping out your TV remote batteries. You don’t need special tools or technical know-how. You just need to know what to look for, what to open, and which way the battery should face. Let me explain how this whole process works—step by step, in plain English. You’ll be back to opening your garage door like a pro before your coffee even gets cold.
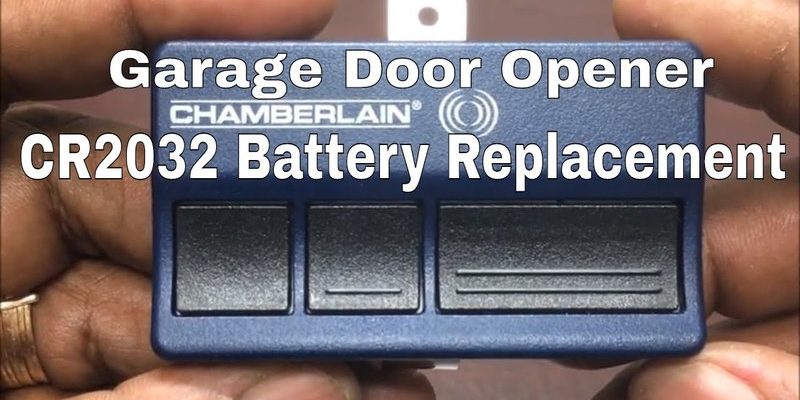
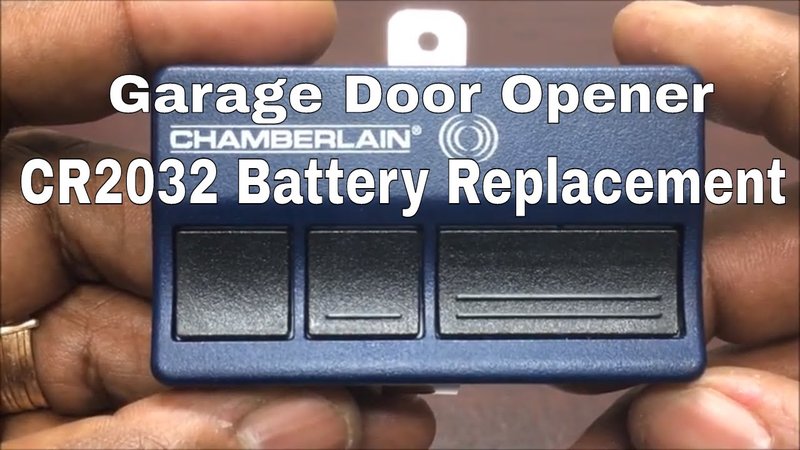
Understanding Your Chamberlain Garage Remote
Let’s start simple: not all Chamberlain garage remotes look the same. Think of them like the various shapes of car keys—some are basic rectangles, some are sleek and modern, and others have three or four buttons. But underneath, they all work on the same principle: a small battery sends a signal (with a coded message) to your garage opener, telling it when to open or close.
There are a few common Chamberlain remote models out there—the ever-popular visor-clip models, the compact keychain versions, and even some wall-mounted units. Most of these use a *coin cell battery* (like CR2032 or CR2016), though some older models might use a small AAA battery. If you’re not sure which you have, it helps to flip your remote over and check for a tiny screw or a sliding panel. Chamberlain likes to keep things user-friendly, but the exact way you open the battery compartment can vary a bit by model.
You might be wondering: why not just grab the first battery you see at the store? Here’s the thing—using the wrong battery size can actually cause your remote to glitch, fail to sync, or even drain faster. It’s always smart to check your remote’s label or owner’s manual before you start.
When Should You Change the Battery?
Most people don’t think about their garage remote batteries until the remote stops working. But there are a few telltale signs that yours is running out of juice, and catching them early can save you from getting locked out.
- Your remote works only when you stand right next to the garage door opener (range gets worse).
- It takes multiple presses to get a response.
- The indicator light on your remote is faint, flickers, or doesn’t turn on at all.
Honestly, if you’re having to guess whether your remote will work today, it’s time for a battery swap. Chamberlain remotes are designed to last a good year or more on a single battery, but variables like cold weather, frequent use, or a stuck button can shorten that lifespan.
Pro tip: Change all your garage remote batteries at the same time. It’s one less headache, especially if you have family members who always “forget” when their remotes die.
How To Open a Chamberlain Garage Remote Safely
Before you go prying things open with a butter knife, let’s slow down. Opening a Chamberlain garage remote is easy, but you want to avoid cracking the case or losing any tiny parts. Here’s how to do it safely:
- Look for a small screw on the back (some models have this near the clip or battery compartment).
- If you see a sliding panel or “open here” arrow, use that—not brute force.
- You might need a coin or small flathead screwdriver. Gently twist to pop the cover open if there are no visible screws.
A good trick: lay a towel down on the table before you begin. That way, if a little spring or button falls out, it won’t bounce away into garage oblivion (trust me, it happens!). Take note of which way the old battery is facing—usually the “+” side (positive) points up, but double-check to avoid putting the new one in backward. Snap a quick photo with your phone as a backup, just in case you forget during the swap.
Choosing the Right Battery for Your Chamberlain Remote
You might be tempted to use whatever coin battery is rattling around in your junk drawer, but here’s why you shouldn’t. Chamberlain remotes are designed for a specific battery voltage and size. Using the wrong battery can make your remote act flaky or stop working entirely.
Most Chamberlain garage remotes use one of these batteries:
- CR2032 (the most common, coin-sized)
- CR2016 (slightly thinner than CR2032)
- CR2025 (rare, but sometimes used)
- AAA (older, chunky models only)
Check the writing on your old battery for the correct specs, or look inside the compartment for a label. If you’re not sure, bring the old battery with you to the store and ask for help. Some hardware stores even recycle dead batteries for you—bonus points for being eco-friendly.
Insider insight: Buying batteries in bulk online often costs less, and you’ll have spares ready when someone else’s remote goes dark.
Step-By-Step Instructions: How To Change Batteries In Chamberlain Garage Remote
Let’s break this down into bite-size steps so you won’t get lost—or frustrated.
- Open the remote: Unscrew or slide open the battery compartment, using a towel to catch loose parts.
- Remove the old battery: Use your fingertip or a plastic tool—never a metal one, which could short the circuit.
- Check orientation: Is the “+” side facing up or down? Match it with your new battery.
- Insert the new battery: Press it gently but firmly in place. You should feel a subtle click or snug fit.
- Reassemble the remote: Close the compartment, screw it shut if needed, and try pressing your remote. The indicator light should shine bright again.
If your remote isn’t working after the battery swap, don’t panic. Sometimes, the contacts get dirty or the battery isn’t seated all the way. Pop it back open, wipe the contacts with a clean dry cloth, and try again.
Testing and Troubleshooting Your Chamberlain Remote
You’ve changed the battery, closed the case, and pressed the button, but… silence. Here’s how to figure out what’s up.
First, stand within 10 feet of your garage door opener and try pressing again. Garage remotes need a clear signal, and obstacles or interference can mess with the range. If it still doesn’t work:
- Check the battery orientation: Did you put the battery in upside down?
- Inspect the contacts: A little corrosion or lint can block the connection. Clean gently.
- Try a second new battery: Occasionally, fresh batteries are duds.
If your Chamberlain remote still refuses to cooperate, the next step is to *re-sync* it to your opener system. Sometimes, the code gets lost when you change the battery or if the remote hasn’t been used in a while. Look for a “learn” button on your garage door opener motor (usually under a light cover) and follow the pairing instructions in your user manual. It’s basically a quick handshake between your remote and the main unit.
If you hear a click or see a light flash on the opener after pressing the remote, you’re back in business. No light or sound? Time to double-check your steps—or consider if your remote has reached the end of its usable life.
How To Pair or Reset Your Chamberlain Garage Remote (If Needed)
Sometimes, a battery change “wakes up” old gremlins in your remote. If the garage door isn’t responding even though the remote’s light turns on, you might need a quick reset or pairing process.
- Find the Learn button: Usually a small square or circular button on the opener unit in your garage. It could be yellow, red, purple, or another color.
- Press and release the Learn button: Don’t hold it down (that erases all remotes). Just a quick press.
- Within 30 seconds, press the button on your remote: Hold it for a few seconds until you hear a click or see the opener’s light flash.
That’s it—no code entry needed. If you lost your manual, Chamberlain’s website has illustrated pairing instructions for almost every model. Honestly, this step only takes a minute but solves more problems than you’d think.
Heads up: Sometimes, universal remotes or older Chamberlain models need a full reset. If you’re stumped, it might be worth looking up your specific remote’s model number for extra help.
Alternatives and Universal Garage Remotes
If your current Chamberlain remote is showing its age, or you lost it altogether, you might be wondering if it’s time to switch to a universal garage remote. Here’s a quick comparison for you:
- Chamberlain brand remotes:
- Guaranteed compatibility with Chamberlain openers
- Easy code syncing and troubleshooting
- Often look and feel sleeker in design
- Universal remotes:
- Can control multiple garage doors from different brands
- Might need extra programming steps or code matching
- Not always a perfect fit for very old or very new Chamberlain openers
Honestly, if you just want a quick swap and reliable access, sticking with a Chamberlain-branded remote is usually the easiest path. But if you’re juggling three garage doors or lost all the originals, a universal remote is a decent bet—just be sure it lists Chamberlain compatibility on the packaging.
Why Reliable Garage Remote Batteries Matter
It’s easy to shrug off a weak garage remote, especially if you can still open the door from inside. But a dead battery can leave you locked out—or worse, fumbling on a rainy night with groceries. That small coin cell is the literal key to your home’s biggest door.
Keeping your Chamberlain remote powered up isn’t just about convenience. It’s also a safety and security thing. Weak remotes can send garbled codes, sometimes causing your door to open or close unexpectedly. That’s not a chance anyone wants to take.
If you’ve followed all these steps, you’ve just secured your access, your peace of mind, and probably saved yourself a service call. Nice work.
Final thought: Changing the battery in your Chamberlain garage remote is one of those easy home wins. Small effort, big reward.
So next time your garage door doesn’t open with a click, remember: the fix, more often than not, is as simple as a new battery and a few mindful minutes. Honestly, that’s about as low-stress as DIY gets.