Think of your Ecobee smart remote sensor like a weather reporter for your house. But if the reporter stands too close to a drafty window or clings to a sunny shelf, their “news” gets skewed. Calibrating these sensors is basically teaching them to report the real story, not just the draft or the sunbeam. If you’ve ever scratched your head, wondering why rooms feel off, calibration is your secret weapon.
Why Calibrate Ecobee Smart Sensors?
Let me explain why calibration even matters. Ecobee smart remote sensors measure temperature and occupancy in whatever room you set them. But here’s the thing—sensors aren’t born perfect. They can pick up false readings if they’re near air vents, electronics, or stuck behind a curtain. Suddenly, your home is fighting imaginary hot spots or chilly corners. That makes the entire thermostat system less efficient, and honestly, a little frustrating.
If you’ve set up your Ecobee and notice uneven comfort, you’re not alone. Many folks assume the sensors “just work,” but small tweaks can make all the difference. Calibrating helps ensure that the readings your Ecobee receives actually match what you feel. No more second-guessing why the heat kicks on during a warm afternoon or why the AC blasts at night when you’re wrapped in a blanket.
You might be wondering if calibration is really worth your time. Honestly? If you want your smart home system to deliver on its comfort promise (and save you on energy bills), calibration is a must. It’s a little like tuning an instrument—once set up right, the whole house feels “in tune.” That’s peace of mind you can actually feel.
How Ecobee Smart Remote Sensors Work
These sensors have a simple job: report room temperature and sense movement. Think of them as the “eyes” and “ears” for your Ecobee thermostat. Whenever someone walks in or sits down, the sensor notices, telling the system where the action is. The thermostat then prioritizes those readings, adjusting heating or cooling to match the rooms that matter most.
You might picture these as little weather stations scattered through your home. They use wireless signals (code and sync) to talk back to the thermostat. That’s how your Ecobee “knows” where people are and which rooms need attention. The sensors rely on small, replaceable batteries—pop in a new one every couple of years, and you’re set.
Here’s an important point: the spot you place your sensor totally changes how it reads a room. Put it in direct sunlight, above a heating vent, or right behind the TV, and you’ll get wonky data. That’s why calibration isn’t just a techie thing—it’s common sense for anyone who wants even comfort.
Recognizing When Calibration Is Needed
You might not realize your Ecobee remote sensor needs calibration until something feels… off. Maybe you keep bumping up the temperature in the bedroom, but it never gets warm enough. Or maybe the living room says “occupied” even after everyone’s left for work. These clues tell you the sensor is reading the world wrong.
Here’s what I usually look for:
- Temperature mismatch: If the room feels clearly hotter or colder than what the sensor reports, it’s time to calibrate.
- Delayed response: The system takes too long to heat/cool after you enter a room, or it keeps working after everyone leaves.
- Sensor lost or disconnected: If the Ecobee app says a sensor’s “offline,” you may need to reset or re-sync it. Poor battery or interference can cause this, too.
Sometimes, it’s just a gut feeling. If your rooms don’t feel right, trust your own comfort first. Sensors help automate things, but you’re still the best judge of what’s cozy.
How To Physically Place and Prepare Your Ecobee Sensor
Honestly, this is the step most people skip—and it’s the foundation of good calibration. Start with location. Don’t just stick your Ecobee remote sensor on a windowsill and hope for the best. Think about where people actually spend time. Place it at about chest height, away from direct sunlight, vents, or electronics.
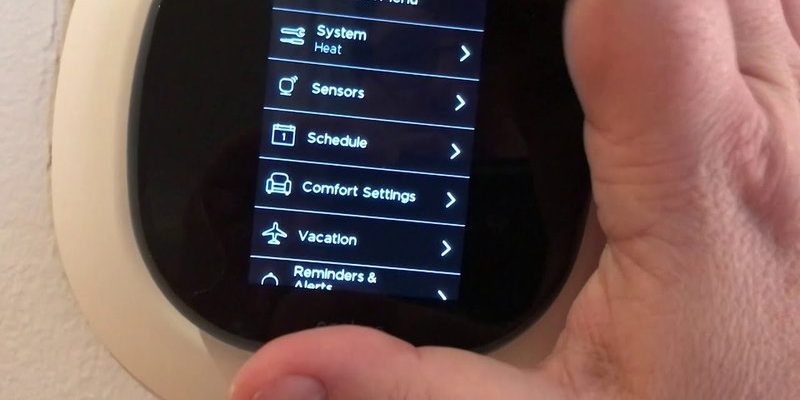
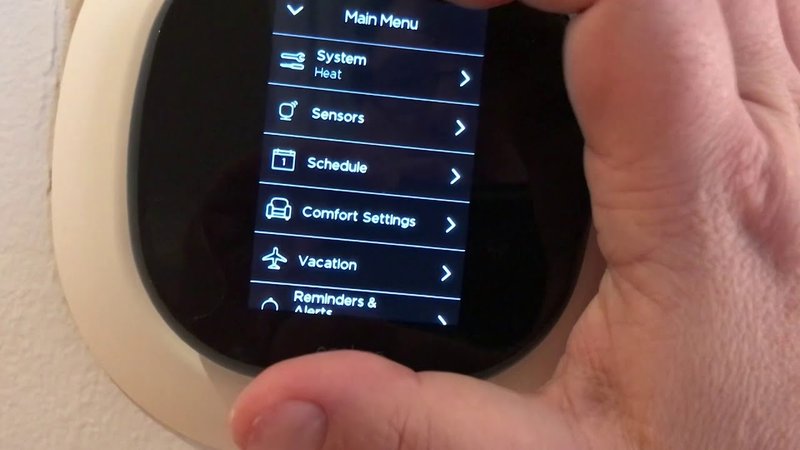
Before calibrating, make sure the sensor is paired and synced with your Ecobee thermostat. A quick check in the Ecobee app (under Devices or Sensors) confirms connection and battery health. If the battery is low, swap it out; a weak battery can mess with readings.
Here’s a little trick: walk around your room with the sensor. Hold it in different spots for a few minutes. See how the app shows the temperature. This helps you “see” what the sensor sees—and helps you pick the most accurate, representative place to mount it.
Step-By-Step: Calibrating Your Ecobee Smart Remote Sensors
Once you’ve placed your sensor, calibration is all about confirming that what it senses matches reality. Don’t rush—get this right, and the system works like magic. Here’s how I approach it:
- Let sensors acclimate: After moving your sensor or installing a new battery, leave it for 20–30 minutes. The sensor needs time to stabilize and read the room correctly.
- Compare readings: Use a trusted thermometer and stand right next to the Ecobee sensor. Compare the numbers. Is the sensor off by a degree or two? That’s normal. If it’s wildly off, something’s up.
- Adjust in the app: In your Ecobee app, head to Settings > Preferences > Temperature Correction. Enter a positive or negative number to align the sensor reading with your thermometer. For example, if the sensor says 72° but the actual temp is 70°, set correction to -2°.
- Sync and reset if needed: If changes don’t “stick,” unpair the sensor (Settings > Remove Device) and pair it again. This resets code and sync, clearing out bugs. Follow the prompts to re-add the sensor. Recalibrate once it’s back online.
Always recheck after a day or so. Rooms change during the day—sun, people, airflow. Tiny tweaks keep comfort in your control.
Troubleshooting Common Ecobee Sensor Calibration Problems
Sometimes, even with careful calibration, things go sideways. Don’t panic—troubleshooting is usually straightforward. If a sensor loses connection, check the battery first. A weak battery can cause drops, false reporting, or even total disconnect. Replace it and watch for improvement.
If the sensor still acts up, consider interference. Wireless signals get blocked by thick walls or too many nearby electronics. Try relocating the sensor slightly—sometimes just a foot to the left makes all the difference. If you keep getting strange occupancy reports (the system thinks someone’s there when the room is empty), check for pets or movement from curtains and fans. The sensor can be surprisingly sensitive.
When in doubt, resetting and re-pairing the sensor solves most issues. Unpair, take out the battery, wait a minute, and put it back in. Re-sync with your Ecobee thermostat through the app. It’s like giving the system a fresh start.
If all else fails, reach out to Ecobee support. Sometimes it’s a hardware fault, and they’ll help you out.
Comparing Ecobee Remote Sensors to Other Brands and Universal Remotes
You might be wondering how Ecobee’s sensors stack up against other options. Honestly, they’re pretty user-friendly compared to, say, Nest Temperature Sensors or universal smart remotes. Ecobee sensors don’t require much manual setup and usually just work with their own thermostat. They’re built to be plug-and-play, sync quickly, and offer temperature correction right from the app.
Universal remotes try to control many brands and devices at once. They’re great for TV or sound systems, but for smart thermostats, brand-matched sensors usually deliver the most accurate code and sync. That’s because they’re designed to work together, minimizing disconnect errors or battery drain issues.
If you’re thinking about mixing brands—like pairing a third-party sensor with Ecobee—it’s usually more hassle than it’s worth. Compatibility problems, glitches, and limited support are common. I always recommend sticking to native sensors for the most reliable comfort and the easiest troubleshooting.
Maximizing Comfort and Energy Savings With Proper Sensor Calibration
Calibration isn’t just about numbers—it’s about how your home feels and how much you spend. Well-calibrated Ecobee sensors keep the system efficient. Heating a room nobody’s in wastes energy, but so does over-correcting for a drafty spot. When your sensors are dialed in, you get comfort in the right place, at the right time, and save on bills.
Smart schedules and occupancy rules only work if the data is solid. After calibrating, you’ll notice the Ecobee seems to “think ahead.” It starts warming up rooms before you get home or cooling off busy spaces when friends drop by. This isn’t magic; it’s just good sync between sensor and thermostat.
Honestly, calibration is a small time investment for a big payoff. You’ll likely find yourself fiddling less and just enjoying the perfect temperature—no more thermostat arguments or wrestling with blankets.
When To Replace or Upgrade Your Ecobee Sensor
All tech has its limits. If you’ve calibrated, replaced the battery, reset, and still struggle, it might be time for a new sensor. Most Ecobee remote sensors last several years on a coin cell battery. If yours chews through batteries quickly or starts dropping connection more often, that’s a warning sign.
Sometimes, new models come out with longer range or better battery life. Upgrading can solve stubborn problems and open up new features, like faster sync or improved occupancy detection. Check your Ecobee app for compatibility before buying a replacement.
Here’s a simple rule: if you’re spending more time troubleshooting than relaxing, it might be time for an upgrade. An hour of setup saves you months of frustration.
Final Thoughts: Keep Your Smart Home Truly Smart
Calibrating Ecobee smart remote sensors isn’t rocket science, but it’s easy to skip—or rush. Take your time, trust your instincts, and remember the goal: comfort that matches how your home actually feels. When sensors and thermostat speak the same language, your living room isn’t just smart; it feels just right. If you keep things tuned and check in once in a while, your Ecobee will do most of the work for you. And honestly, isn’t that what we all want from smart tech?