Think of your pool’s remote system like a walkie-talkie. Your Intermatic controller is the main hub, and each remote is a buddy trying to tune into the same channel. To add a second remote, you need to sync (or “pair”) it so both can talk to the controller. This guide will walk you through each step, in plain English, no jargon or guesswork. Even if you’ve never touched your pool’s control box before, you’ll be able to follow along.
Let’s get into how you can add a second Intermatic pool remote to your controller and make your backyard a little more convenient for everyone.
Understanding Intermatic Pool Remotes and Controllers
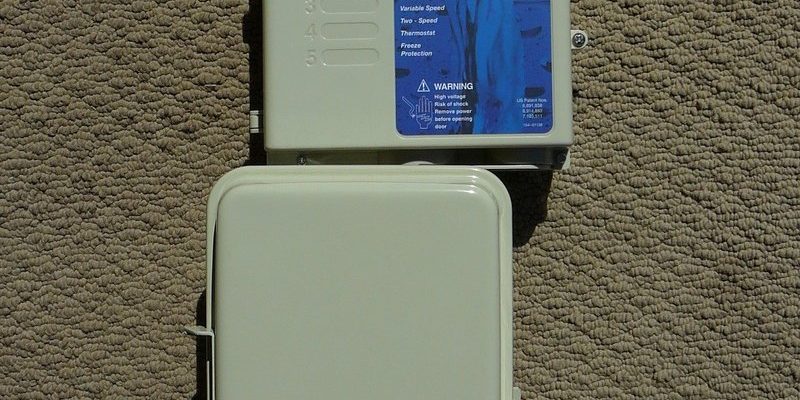
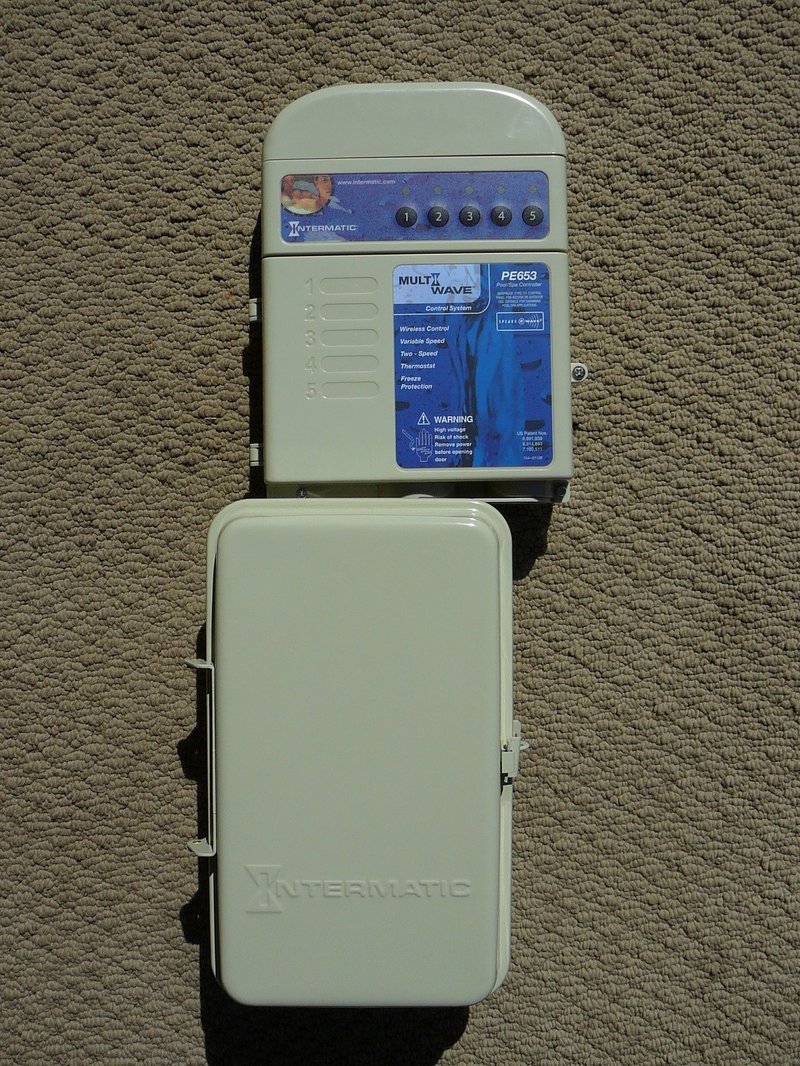
First things first—if you’re not super familiar with how Intermatic pool remotes work, let me break it down. Intermatic makes wired and wireless remote controllers that let you manage your pool equipment from a distance. Most homes use the wireless version, which usually comes in a handheld, waterproof case. The remotes talk to a central receiver (that’s your controller), usually located near the pool equipment.
Your pool controller is basically the “brain.” It receives signals from paired remotes and tells your pool pump, heater, or lights what to do. Each remote has to be on the same “wavelength” as the controller—literally. The remote sends a specific code, and the controller only responds if that code matches what it’s looking for.
The remotes themselves aren’t too complicated, but not all remotes are the same—even from Intermatic. You might have the PE953, which is a popular choice, or a slightly older model. Always check your remote’s model number before buying a new one or starting the pairing process.
Why Add a Second Intermatic Pool Remote?
You might be wondering, “Do I really need another remote?” Honestly, there are a few reasons a second one comes in handy:
- Convenience for the household: Maybe you and your partner both want control, or you like to keep a spare by the spa and another inside the house.
- Backup in case of accidents: If you’ve ever watched a remote take a dive into the pool, you know how quickly one can stop working. A backup saves the day.
- Hosting and parties: Hand off a remote to guests or family when you’re busy grilling burgers or wrangling kids.
- Wear and tear: If your original remote’s buttons are sticking or the battery drains quickly, a second one lets you swap out without missing a beat.
Let me put it this way: if you’ve ever lost TV remote privileges during a family movie night, you know the struggle. With a second pool remote, there’s less fighting—and more relaxing.
What You’ll Need Before You Start
Before you jump in, gather your supplies. Here’s a quick checklist to make sure you’re not running back and forth mid-project:
- Your existing Intermatic pool controller (usually installed near your pool equipment)
- Your original working Intermatic remote
- The new Intermatic remote you want to add (make sure it matches your controller’s frequency and model family—PE953 with PE653, for example)
- Fresh batteries for the new remote (swap them out even if it came with some pre-installed—old batteries can cause pairing headaches)
- Small screwdriver (for battery compartments or controller access)
- Optional: User manuals for both the remote and controller (these are handy, but not required)
Pro tip: Double-check the model numbers. Some Intermatic remotes look alike but use different codes or frequencies, which means they won’t sync up with your controller. Nothing’s more frustrating than spending an hour troubleshooting, only to realize you’ve got the wrong remote.
How to Pair a Second Intermatic Pool Remote to the Controller
Here’s the nitty-gritty part—actually adding the second remote. The process is a bit like introducing a new friend to your group chat. You want everyone on the same page, talking the same language.
Important: Always follow safety precautions. If you need to open the controller box, be sure the power is off to avoid any risk.
Step-by-Step Instructions
1. Install fresh batteries in your new remote. Trust me, it’s worth starting with full power so you don’t get weird pairing glitches later.
2. Put your controller into “Learn” mode. Look for a button labeled “Learn” or “Sync” inside the controller box (you might need your screwdriver to open it). This tells the system to accept a new code.
3. Activate pairing on the new remote. While the controller is in learn mode, press the main “On” or pairing button on your new remote (often it’s the same button you use for controlling equipment).
4. Wait for confirmation. The controller or remote will usually give you a sign: a beep, flashing light, or something similar. This means the sync was successful.
5. Test the new remote. Try turning on the pool pump or lights. If it works, you’re good to go! If not, repeat the pairing steps—sometimes timing can be finicky.
Pairing more than one remote is usually supported by Intermatic’s smarter controllers (like the PE653/PE953 combo). If you have a much older system, check your manual to see if multiple remotes are supported before you spend too much time troubleshooting.
Troubleshooting Common Problems
Honestly, even the best DIY projects can hit a snag. If your second Intermatic pool remote won’t sync, don’t panic. Most of these hiccups are pretty minor.
- No response after pairing: Make sure the batteries in the new remote are fresh and installed correctly. Old or weak batteries can block pairing entirely.
- Controller doesn’t enter learn mode: Double-check power to the controller. Sometimes, a tripped breaker or unplugged cord is the real culprit.
- Remote not compatible: As mentioned earlier, mismatched remote and controller models or frequencies won’t play nice together. Double-check those model numbers.
- Interference from other devices: Wireless interference (from nearby electronics or wireless networks) sometimes messes with the signal. Try moving other devices away just during the pairing process.
- Older controller already at max remotes: Some older Intermatic controllers can only handle a set number of paired remotes—usually two or three. If it won’t pair, check your manual for limits.
Quick reset tip: If all else fails, power-cycle the controller (turn it off, wait 30 seconds, turn it on) and try again. Sometimes a simple reset gets things unstuck.
How Intermatic Pairing Codes Work
Pairing may seem mysterious, but it’s all about the code. Your controller and remote talk to each other using a unique digital handshake—a code that keeps your pool commands private and secure. When you pair a new remote, the controller “remembers” its code, and the remote “remembers” the controller’s.
Here’s why this matters: If you ever need to reset your system or replace the controller, you have to pair all your remotes again. The code isn’t stored on the remote alone. Losing power unexpectedly? Sometimes the controller might forget your remotes, so don’t be surprised if you need to repeat the pairing process after a power outage.
If you ever see a “Code Error” or your remote flashes but nothing happens, it usually means the handshake failed. That’s when it’s time to revisit the pairing steps and maybe reset the system.
Universal vs. Brand-Specific Remotes: What’s Best for Your Pool?
Here’s the age-old debate: go brand-specific (like Intermatic-to-Intermatic) or try a universal pool remote? There are options out there that claim they’ll pair with any system, but honestly, it’s a toss-up with pool equipment.
- Brand-specific remotes (like another Intermatic PE953) are your best bet for seamless syncing, full feature use, and easy troubleshooting. Plus, Intermatic support can help you if something gets weird.
- Universal remotes might work for simple on/off functions, but you could lose advanced features (like temperature changes or light color cycling). Compatibility is always a gamble.
If you love everything working together with no headaches, stick with the same brand and model family. Mixing and matching only adds complexity—and nobody needs that with pool maintenance.
Tips for Keeping Both Remotes Running Smoothly
Once you’ve got two remotes paired to your Intermatic controller, life’s a lot easier. But a bit of basic maintenance keeps everything working effortlessly.
- Replace batteries once a season. Don’t wait until the remote dies—weak batteries can cause false errors, weak signal, or lost pairing.
- Keep remotes dry when possible. They’re often water-resistant, not waterproof. If one takes a plunge, pop out the battery and let it dry out for a day or two.
- Label your remotes if you have several—maybe a bit of tape with “Spa” and “Patio” written on them. Trust me, you’ll save yourself a lot of confusion.
- Store manuals and spare codes in a safe spot. If you ever need to reset, you’ll be grateful you kept the paperwork handy.
Remember, technology is awesome… when it works. A tiny bit of regular care saves big headaches later on.
Wrapping Up: Enjoy the Convenience of Multiple Remotes
Adding a second Intermatic pool remote to one controller might sound technical, but it’s really about making your backyard fun more accessible for everyone. If you’ve followed these steps—checking compatibility, syncing with the controller, and troubleshooting any tiny issues—you’re well on your way.
With both remotes paired, you can control your pool lights, spa, and equipment from wherever you want—no more arguments over who gets “remote privileges.” And if a remote ever gets misplaced or dunked, you’ve got a backup ready to go.
At the end of the day, convenience is king. Take the time to set things up, and you’ll spend less time fiddling with buttons and more time splashing, relaxing, and enjoying your pool. Isn’t that what it’s all about?