The world of garage remotes looks simple on the outside, but one wrong step can turn an easy project into a guessing game. You might wonder, “Will this remote even work with my opener? What if I accidentally erase all my old remotes?” That’s normal. Overhead Door remotes come in different models and frequencies, but the steps to add a new one to an existing opener are usually straightforward. Let’s walk through every part, from prepping your tools to that final satisfying click when your new remote works.
Understanding Your Overhead Door Garage Remote
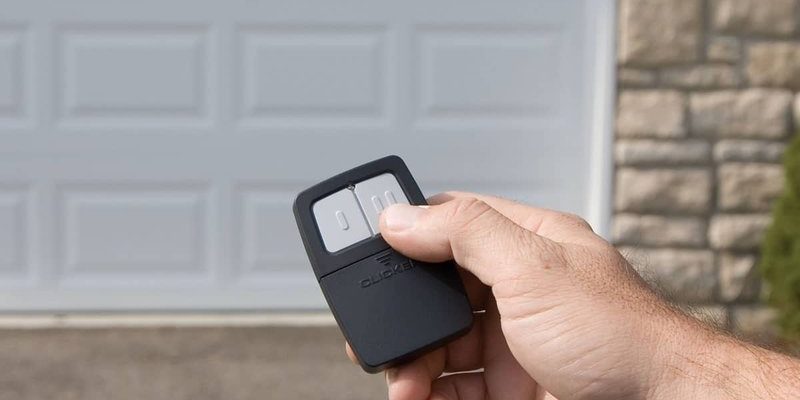
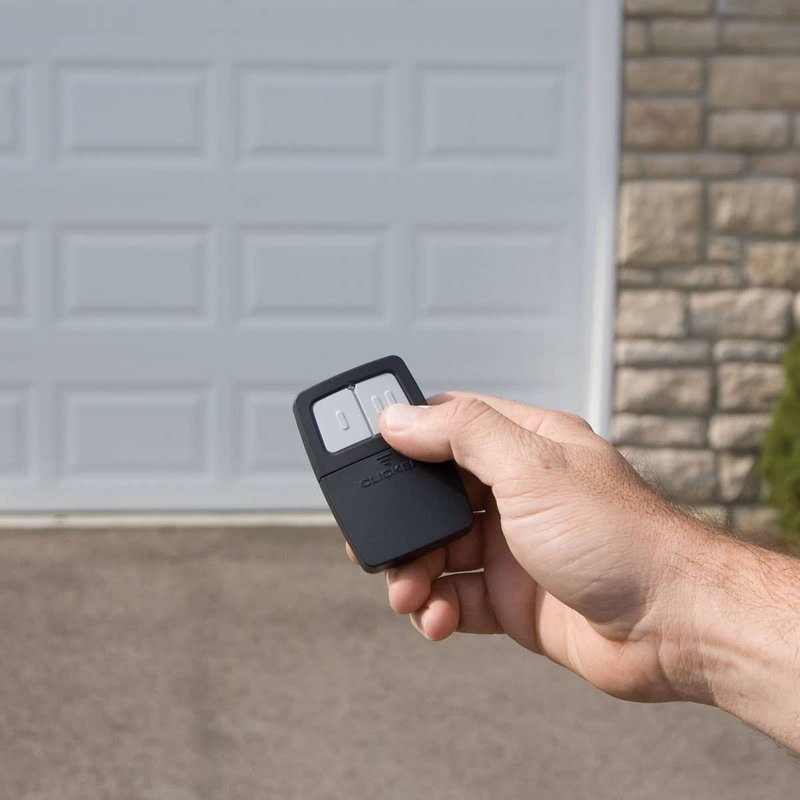
Before you press any buttons, it’s important to get familiar with your remote and opener. Garage systems aren’t too complicated, but details matter. For example, Overhead Door has different remote models—some have two or three buttons, some are compact keychain styles, and some look like chunky TV remotes. Each remote communicates with the opener using a specific frequency and security code.
Not all remotes are universal. Most Overhead Door remotes are brand-specific, designed to sync with openers from the same company. But even within the brand, models can vary by age and tech. If your opener was installed before the early 2000s, it may use mechanical DIP switches—a row of tiny toggles you line up to set the code. Newer models use a “learn” or “smart” button for digital pairing.
Here’s the thing: pairing the right remote to your opener is all about compatibility. Check your opener for a model number (usually on the back or side) and match it with your new remote’s packaging. If you’re still unsure, you can usually find a list of compatible models inside the instruction booklet or on the manufacturer’s website. Skipping this check leads to endless frustration and wasted time.
Gathering What You Need To Add a Garage Door Remote
You might think you can just unwrap the remote and start clicking away, but you’ll want to be prepared. Having everything ready makes the process smoother—and saves you from running into the house covered in garage dust because you forgot a screwdriver.
- Your new Overhead Door remote: Make sure it has batteries installed (often a CR2032 coin cell or AAAs).
- Access to your garage door opener unit: This is usually mounted on the ceiling near the motor.
- Step stool or small ladder: If your opener is hard to reach, don’t risk a wobbly stack of boxes.
- Good lighting: The “learn” button is often small and hidden behind a light cover. A flashlight helps.
Honestly, that’s about it. Most of the work is pressing buttons in the right order and timing things correctly. But trust me, having your tools set up avoids a lot of last-minute scrambling.
Locating the “Learn” or “Smart” Button on Your Opener
Here’s where most folks trip up the first time. The “learn” button is the magic key for syncing a new remote with your existing opener. You’re looking for a small, often colored button on the motor unit. Sometimes it’s red, yellow, green, or purple. Some models hide it under a light cover that pops off easily. Others tuck it behind a tiny panel.
Start by unplugging any distractions—kids, pets, or curious friends—so you can focus. It’s not dangerous, but you don’t want to rush. Look for the Overhead Door logo on the motor housing, then scan for a button labeled “LEARN” or “PROG.” You might see a small LED next to it that lights up when pressed.
If you still can’t find it, don’t panic. The learn button is sometimes hidden under the light lens. Gently slide or press the clips to open it. The button could be recessed, so use your finger or a pen to press it. If you see a bank of DIP switches inside the remote or opener, that means you have an older, manual setup, which needs a different approach (we’ll touch on this later).
Step-By-Step Instructions: Programming Your New Overhead Door Remote
Let’s get to the real action. Programming a new Overhead Door garage remote usually takes less than five minutes—if you go slowly and pay attention. Don’t worry if you need to try it twice; sometimes timing is fussy.
Step 1: Make sure your garage door opener has power, and your new remote has a fresh battery. This avoids random issues that can waste time.
Step 2: Climb up on your stool and press the “learn” or “smart” button on the opener. Press it once and release. An LED will usually blink or stay lit for 30 seconds—this tells you the opener is ready to pair.
Step 3: While the LED is lit, grab your new remote. Press and hold the button you want to use (usually the big one). Hold it for a few seconds until you see the opener’s light blink or hear a click.
Step 4: Wait a few seconds, then test your remote. Step down, back up, and press the button. The garage door should move. If not, repeat the process—sometimes it takes two tries to sync.
Here’s a tip: If you accidentally hold the learn button too long (usually more than six seconds), you might erase all paired remotes. That’s a pain to fix—you’d need to reprogram each one. Go slow and just press the button for a second or so.
Troubleshooting Common Remote Pairing Problems
You’ve followed the steps, but the door just sits there, stubborn as ever. Let me explain some common issues and how to fix them.
Dead battery in the new remote is the most frequent offender. Even new batteries can be duds, so swap it if you’re unsure. Sometimes the battery terminals get misaligned or corroded, especially if the remote’s been in storage.
Incorrect learn button timing is another sneaky problem. If you wait too long between pressing the learn button and the remote button, the opener exits pairing mode. Start over and be ready with the remote as soon as the LED comes on.
Compatibility issues can drive anyone up a wall. Double-check that your remote matches the opener’s frequency (e.g., 315 MHz or 390 MHz). If you have a universal remote, you’ll usually need to follow a different pairing process, sometimes with extra programming steps or provided codes.
If you accidentally erased all remotes by holding the learn button too long, you’ll need to re-sync each one. Just repeat the pairing steps for each remote you want to use.
Sometimes, radio signal interference can block the pairing—think Wi-Fi routers, LED lights, or even a neighbor’s opener. Move electronics away from the opener when syncing, just in case.
Resetting Your Overhead Door Opener and Remotes
Sometimes, you need a true fresh start. Maybe all your remotes stopped working, or you’re worried an old tenant still has one. Resetting clears all programmed remotes from the opener, so you can start from scratch.
To reset, press and hold the “learn” button on the motor unit for about six to ten seconds. The indicator light should turn off or blink rapidly. This wipes every paired remote from memory—so only do this if you want a clean slate.
After a reset, you’ll need to reprogram every remote you want to use. This can feel tedious, but it gives you peace of mind knowing exactly who can open your garage.
Insight: If you’re replacing an old, glitchy remote that won’t erase or sync, try resetting both the opener and the remote. Sometimes static or a stuck button can lock things up. A full reset usually fixes these headaches.
Pairing a Universal Remote vs. Overhead Door Brand Remote
Here’s something people rarely talk about: not every universal remote plays well with every opener. Universal garage remotes promise to work with most brands, but sometimes there are quirks—extra codes, multi-step processes, or partial compatibility.
An Overhead Door brand remote will almost always sync with an Overhead Door opener using the learn button or DIP switches. Universal remotes ask you to select a brand or enter a code, often by holding a combo of buttons or matching a flashing sequence. This can be a little trickier, but instructions come with the universal remote.
If you want the easiest path, stick with an official Overhead Door remote. If you’re juggling multiple garage doors or brands, a universal remote offers convenience. Just be ready for a little extra programming and a troubleshooting step or two.
When To Replace a Garage Door Remote Or Opener
Sometimes, no amount of pairing or resetting will fix a stubborn remote. Here’s the truth—remotes and openers wear out over time. Springs inside remotes can lose flexibility, buttons can wear down, and opener electronics can develop faults.
If your Overhead Door remote only works when pressed at a weird angle or needs superhuman strength to activate, it’s probably time for a replacement. The same goes for openers that grind, hum, or fail to recognize any synced remotes even after a reset. At that point, upgrading to a new remote or opener system is the practical move.
A quick tip: Keep a spare remote on hand, especially if you share access with housemates or family. It’s a small insurance policy against getting locked out during a busy week.
Final Thoughts: Enjoying Reliable Garage Access
Adding a new Overhead Door garage remote to your existing opener doesn’t need to be intimidating. It’s a quick project, like syncing a new phone to your car, but with bigger rewards—easy, stress-free access to your home. Take your time, follow the steps, and you’ll avoid most headaches. And if things get tricky, a little patience (and maybe a reset) usually solves it.
At the end of the day, having a working garage remote is about more than convenience. It’s about security, comfort, and those tiny moments when technology just works the way it should. So, grab that fresh remote, find your learn button, and unlock a smoother start to every day.