Picture this: you just bought a shiny new LiftMaster remote. Maybe you’re adding a spare for a partner, or maybe you picked up a universal style because the dog chewed the original. Either way, the process of pairing a new remote with your existing opener is the same idea—a bit like teaching a new friend the secret knock to your clubhouse. Let me explain exactly how it works, step by step, so you’re not left staring at blinking lights and wondering if you triggered a garage door apocalypse.
Understanding Your LiftMaster Garage Door Remote And Opener
Before jumping in, let’s get cozy with the basics. LiftMaster has been making garage door openers and remotes for decades, but every model isn’t a carbon copy of the last. The opener—the motor unit up on your garage ceiling—stores a security code that syncs with your compatible remotes. That’s why you can’t just grab any random clicker from the hardware store and expect it to work.
There are two main types of remotes: brand-specific (like the classic LiftMaster 893MAX) and universal models meant to pair with different brands. If possible, go with the same brand as your opener. Honestly, it saves a ton of troubleshooting headaches down the road. Universal remotes *can* work, but sometimes require extra code or dipswitch configuration, which gets fiddly.
It helps to check the back of your opener for a model and a “Learn” or “Program” button—it’ll usually be red, yellow, purple, or green. The color actually matters, since it signals the frequency and rolling code system used. Write down your model number and button color; it’s your secret garage handshake.
Gather The Right Tools And Prep For Programming
You don’t need a toolbox, but being prepared makes things smoother. Start by grabbing:
- The new LiftMaster remote you want to add
- Any instructions that came with your remote (they’re not just fine print!)
- A sturdy step stool or ladder to reach the opener on the ceiling
- A flashlight so you can clearly see the Learn button
- Fresh batteries (either installed in your new remote or as a backup—weak batteries cause pairing fails more than you’d think)
Here’s the thing: safety matters. Unplugging the opener isn’t necessary, but make sure there’s no one standing in the path of the garage door during pairing. A quick test open/close beforehand helps spot any issues, like bad wiring or dead sensors. If your opener is ancient or crusty, or the Learn button is hidden behind a cover—don’t pry with a screwdriver. Most covers just slide open with a little nudge.
Pro tip: If you’re using a universal remote, check if your LiftMaster opener model supports “Security+” or “Security+ 2.0″—you’ll save yourself a pairing headache later.
Locating The Learn Button On Your LiftMaster Opener
Finding the Learn button is where most beginners get tripped up. Every LiftMaster opener has one, but it can play hide-and-seek, especially if your garage ceiling isn’t sparkling clean.
Look for a small, usually square button on the motor head. Sometimes it’s under a plastic light cover that swings open. The color tells you the type of code system—yellow or purple usually means newer Security+ codes, while red or green indicate older styles. This button is your “reset” and “program” all-in-one.
Once you spot it, don’t press it just yet. Pressing the Learn button for 1 second puts the opener into pairing mode. Pressing and *holding* it (longer than 5-6 seconds) actually wipes all paired remotes, which is NOT what you want unless you’re starting totally fresh. Remember: tap, don’t hold.
If there’s grime or dust, give the button a gentle wipe. No need for WD-40 or intense cleaning—just enough so you’re not working blind.
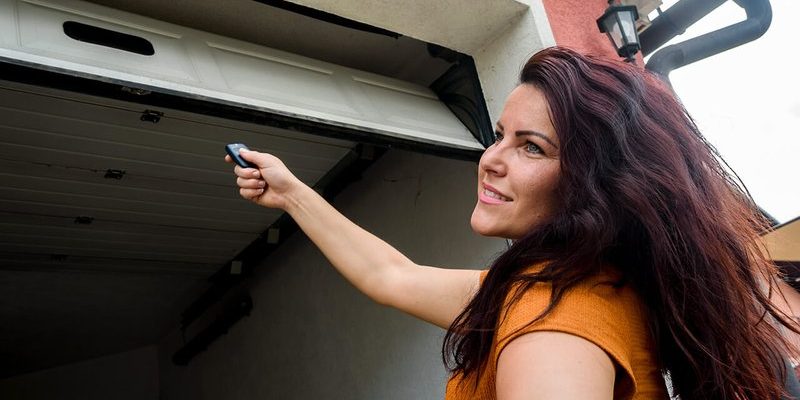
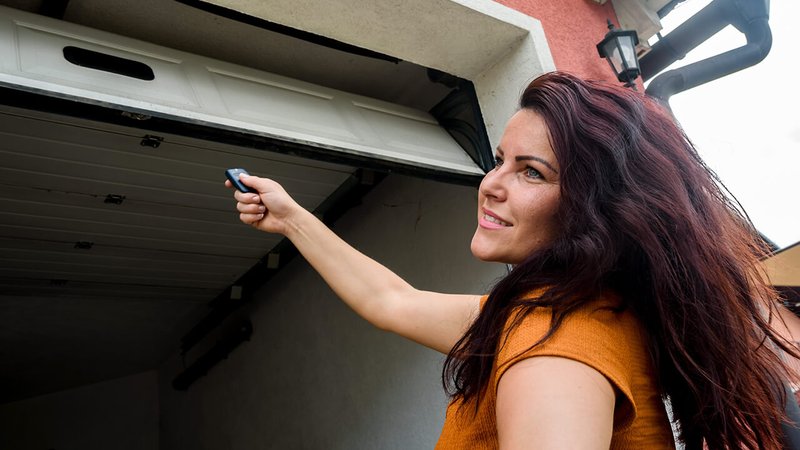
Step-By-Step: How To Add Your New LiftMaster Remote
Here’s the main event. The steps to pair your LiftMaster garage remote are surprisingly simple, but timing matters. Read the steps through first before you touch any buttons.
-
Press the Learn button once.
Your garage opener’s LED light will turn on or start blinking. That means pairing mode is active. You have about 30 seconds to finish the next step. -
Press the button on your new remote.
Hold the remote close to the opener (a few feet away is fine). Press and hold the main button you want to program. Some models have multiple buttons—pick one and stick to it for consistency. -
Wait for confirmation.
If pairing works, you’ll usually see the opener light blink or hear a soft click. That’s the opener saying, “Got it! New remote code accepted.” Release the remote button right after confirmation. -
Test your new remote.
Step down from your ladder and try the remote from a normal distance (not just right under the opener). If the door moves, you’re set. If not, repeat the process or swap in a fresh battery.
Honestly, most people mess up the timing and end up with a non-responsive remote. If that happens, don’t panic—just press the Learn button again and repeat. It usually takes one or two tries, especially if you’re juggling a flashlight or working solo.
Troubleshooting Common LiftMaster Garage Remote Issues
You might be wondering, “What if my new remote won’t sync, no matter what?” Don’t worry, you’re not cursed. There are a handful of classic pairing snags that beginners (and even garage door pros) run into:
- Dead remote battery: New remotes don’t always ship with a strong battery. Swap in a fresh coin battery (like CR2032) and try again.
- Outdated opener firmware: Some old openers can’t talk to newer Security+ 2.0 remotes. Double-check your opener’s model and code compatibility.
- Too many paired remotes: Most openers only remember a handful of remotes/buttons (usually 5–8). If you’ve reached the limit, you’ll need to reset and re-pair the remotes you want.
- Wrong pairing sequence: Did you hold the Learn button instead of tapping? Did you wait too long? Honestly, the process is picky about order and timing.
If you’re working with a universal remote, make sure you programmed it for the correct brand and code system (check the instructions). Sometimes you’ll have to set a dipswitch or enter a brand-specific code before pairing.
Insight: Distance matters during programming. If your remote is rated for 1,000 feet but won’t work from the driveway, try syncing closer to the opener first, then test farther away.
Resetting LiftMaster Remotes And Clearing Memory
Sometimes, you want a totally fresh start—say you moved into a new house or your remote was stolen. In that case, you’ll need to reset your LiftMaster opener’s memory before adding new remotes.
Here’s how:
- Press and hold the Learn button for 6–10 seconds. The LED will initially light up, then turn off. That erases all paired remotes and keypads—*all of them*, even the ones you want to keep.
- Re-pair each remote separately. Follow the normal pairing steps for each remote. There’s no way (yet) to bulk-add or “clone” them—each clicker gets its moment to shine.
- Test each remote after programming. Don’t just assume they all work. Test from outside, inside, and right at the driveway for peace of mind.
If you accidentally wipe the memory, it’s not the end of the world. Just go through the pairing sequence for every remote you want to keep. It’s a hassle, but it’s also the safest way to ensure no old or lost remotes still have access.
Comparing LiftMaster Remotes: Universal Vs. Brand-Specific Options
You might be tempted by the lure of a universal garage remote—they’re often cheaper and promise “works with everything.” But honestly, LiftMaster-branded remotes almost always sync up faster and with fewer headaches.
Here’s what you should know:
- Universal remotes: These can pair with different brands and models, but setup requires entering a code or flipping dipswitches to match your opener. Sometimes, they won’t support every frequency or rolling code system.
- Brand-specific remotes: Like the LiftMaster 893MAX, these are built to sync with the latest Security+ and Security+ 2.0 openers. Pairing is faster and more reliable, usually with just a Learn button tap and remote press.
- Compatibility issues: If your opener is especially old (pre-1993) or very new, always check compatibility charts. Some universal remotes just won’t work, no matter how much you fiddle with them.
If you need multiple remotes for a family or rental property, sticking with OEM LiftMaster models keeps things simple. The only time universal makes sense is if your opener is a rare or discontinued model, and you can’t find a matching remote.
Tips For Maintaining Your LiftMaster Garage Remote
Syncing a new LiftMaster garage remote isn’t a one-and-done deal. Here’s how to keep everything working smoothly for years:
- Change the battery every 1–2 years. Weak batteries are the
- Clean the buttons and exterior. Dust and grime can block the remote’s signal. A quick wipe with a damp cloth does wonders.
- Avoid dropping or crushing the remote. Obvious, but easy to forget. Keep it on a car visor or somewhere safe.
- Re-pair after power outages. Sometimes, a big surge or outage can scramble the remote code. If your opener suddenly stops responding, try syncing again.
If you ever hear a “click” from the opener but the door doesn’t move, the issue is usually with the opener’s sensors or wiring, not the remote. Still, it’s smart to re-check your remote’s battery and programming first, just in case.
When To Call For Professional Help With Garage Remote Pairing
Let’s be honest: most people can pair a new LiftMaster garage remote without calling in a pro. But sometimes, things just won’t cooperate. Here are a few signs it’s time to call a garage door technician:
- The Learn button sticks, won’t light up, or seems broken
- No remotes (old or new) will pair or work, even after resets
- The opener itself groans, buzzes, or fails to open/close during a remote test
- You’re not comfortable climbing a ladder or working with electrical devices
Garage door openers are low-voltage and safe compared to, say, your home’s circuit box, but there’s nothing wrong with asking for help. A pro can also make sure your sensors, springs, and safety features are in top shape.
Remember: Security is key. If you’ve lost a remote or suspect someone else has a copy, always erase all existing remotes before adding new ones.
Wrapping Up: Adding A LiftMaster Remote Is Easier Than You Think
Honestly, once you know where to find the Learn button and follow the pairing steps, adding a new LiftMaster garage remote isn’t much harder than setting a new PIN on your phone. Most of the trouble comes from little things—weak batteries, wrong button presses, or dust hiding the Learn button. Take it slow, double-check your model and code system, and don’t be afraid to repeat a step if the opener seems stubborn.
With a little patience (and maybe a flashlight), you’ll have your new remote working in just a few minutes. That means one less daily hassle—and honestly, isn’t that the real win?