Adding a new remote to your existing Hunter fan isn’t nearly as tricky as it sounds. Think of it like giving your fan a new handshake—it just needs to recognize the new controller. Most Hunter models—whether they’re modern or a few years old—use wireless communication between the remote and a receiver tucked inside the fan canopy. Once you understand a few basics, you’ll see this is more about matching signals than rewriting the laws of physics. Let’s break it down so you can enjoy your fan (and maybe brag about your remote-syncing skills to friends).
Understanding Hunter Ceiling Fan Remotes and Receivers
If you’ve never peeked under your fan’s canopy, here’s what’s going on: most newer Hunter ceiling fans have a small receiver tucked inside. This receiver listens for signals from the remote and acts as the “middleman” between your commands and the fan’s motor or lights. When you press a button—maybe to change speed or dim the lights—the remote sends out a unique wireless code. If the receiver is “paired” to that code, it listens and obeys.
Hunter offers a range of remotes. Some are bundled with fans at purchase. Others are sold separately as replacements or upgrades. You’ll see terms like “universal Hunter remote” (which works with most Hunter fans) and “Hunter original remote,” designed for specific models. The good news: if your fan has a dedicated receiver and isn’t too antique, adding a new Hunter ceiling fan remote is usually doable.
You might be wondering: does every fan come with a receiver? Not always. Some very old models are hard-wired and rely on wall switches or pull-chains. Modern fans almost always include a receiver, but you’ll want to check your model. The presence of a remote usually means there’s a receiver hiding up there.
Getting Ready: Tools and Safety Steps
Before messing with wires or climbing on chairs, gather a few things:
- Step stool or sturdy ladder: Most fans are awkwardly positioned in the center of a room. Don’t attempt this standing on a wobbly chair (your back will thank you).
- Phillips screwdriver: Most fan canopies use standard screws.
- New Hunter ceiling fan remote: Check the package for a remote and a receiver if yours doesn’t already have one.
- Fresh batteries for your remote: Sometimes remotes ship without any—double-check so you’re not stuck mid-project.
Now, here’s the thing: safety isn’t just a good idea—it’s non-negotiable. Before you start poking around, turn off power to the fan at the breaker panel. Wall switches alone aren’t enough, since wiring can still be hot. Double-check by toggling the fan on and off after you’ve flipped the breaker—only when nothing happens are you good to go.
Finally, have a flashlight or headlamp handy. Ceiling recesses aren’t always well-lit, and you’ll want your hands free for the actual work.
Identifying Your Hunter Fan Model and Remote Type
If you recently bought your fan, you probably still have the user manual or a sticker with a model number. Older fans might require a closer look above the blades or inside the canopy. Why does this matter? Because remote compatibility depends on your fan’s age and the kind of receiver it uses.
Here’s how you can identify what you have:
- Look for model stickers: These are often on top of the motor housing or under the canopy. Snap a picture to zoom in—some codes are tiny!
- Check the remote’s back or inside the battery cover: You’ll see a model number for the controller.
- If unsure, visit the Hunter support website: Input your model number to check which remotes or receivers match your fan.
You might be thinking, “Can I use a universal Hunter remote, or do I need a specific replacement?” In most cases, universal Hunter ceiling fan remotes work if your fan uses a standard transmit/receive setup. But for older or unusual models (like those with proprietary 9-dip code receivers), you may need the original remote type. When in doubt, match up the model numbers or call Hunter’s support line—they’re surprisingly helpful.
How To Pair a New Hunter Ceiling Fan Remote: Step-By-Step
Here’s where the magic happens. Pairing your Hunter ceiling fan remote is basically like introducing two coworkers who need to shake hands before working together. Depending on your fan and remote, you’ll either need to set a code with dip switches or use a “learning” button. Here’s a broad step-by-step guide that’ll work for most modern Hunter setups:
Make sure you’ve cut the power at the breaker before opening the canopy. Safety first!
Step 1: Open the Fan Canopy
Use your screwdriver to carefully lower the canopy cover. You’ll see a small black or white plastic receiver nestled among the wires. Don’t tug—just let it hang carefully.
Step 2: Check the Receiver for Dip Switches or Pairing Button
Older receivers have a set of tiny dip switches. These need to match the ones inside your remote’s battery compartment. Use a small screwdriver or pen to move them into identical positions—think of this as setting a matching code. If your receiver only has a button (sometimes called “Learn” or “Pair”), you’ll use that instead.
Step 3: Insert Batteries in Your New Remote
Fresh batteries are crucial. Weak batteries can cause pairing to fail and drive you nuts with phantom glitches later.
Step 4: Restore Power and Initiate Pairing
Turn the breaker back on. If you’re using dip switches, you’re all set—the fan should respond to the remote. If your receiver has a “Learn” button, press and hold it (usually for 3-5 seconds) until you see a light on the fan blink or hear a beep. Within 30 seconds, press a button on your new remote (often the “Fan” or “Light” button). The fan should start spinning or the light should flicker, signaling you’re paired.
Step 5: Test All Functions
Test every button—fan speed, direction, lights. Sometimes, only some features work if the codes don’t match perfectly, so double-check everything.
Troubleshooting Hunter Ceiling Fan Remote Pairing Issues
You might be feeling proud right now, but what if the fan ignores the new remote? Honestly, this is a common snag, so let’s run through some quick troubleshooting steps.
First, check the batteries. Seems basic, but lots of remote headaches trace back to dead or weak batteries. Try a brand-new set if you’re unsure.
Second, look at the dip switch codes. One tiny switch in the wrong position means the receiver won’t “hear” your commands. It’s easy to misread which side is “up” or “down”—a smartphone flashlight helps. Double-check both the remote and the receiver.
With “learning button” models, timing is everything. If you held the button too briefly or pressed the remote too late, the pairing window closes. Try powering down, then repeating the process at a slightly faster pace.
Here’s the thing: sometimes, interference from other electronics, wireless routers, or even fluorescent lights can cause code confusion. If you live in an apartment with neighbors rocking similar fans, consider changing your dip switch code to avoid cross-talk.
If all else fails and your Hunter ceiling fan remote still refuses to pair, you might have a faulty receiver or remote—especially with older fans. That’s when it’s worth contacting Hunter support or considering a full remote and receiver kit upgrade.
Hunter Ceiling Fan Remote Codes: What Are They and Why Do They Matter?
You might be wondering about those “codes” mentioned earlier. Every remote/receiver combo uses a special signal combination to keep your commands private—so your neighbor can’t accidentally turn your kitchen fan on from across the hall. That’s where dip switches or digital codes come in.
- Dip switch remotes: These have tiny switches you position up or down to create a binary code—like a mini password only your fan understands.
- Digital pairing: Newer remotes use electronic handshake codes, set automatically each time you pair.
If you ever install more than one Hunter fan with remotes in your home, make sure to set each remote and fan with a different code. Otherwise, you’ll experience a comedy of fans spinning and lights blinking across several rooms every time you hit a button.
Pairing codes aren’t just about privacy—they prevent accidental interference, and sometimes, they’re the fix when your remote just won’t work. If you’re swapping remotes, always check these codes.
Replacing or Adding a Universal Hunter Ceiling Fan Remote
What if you lost your original Hunter remote, or want something with sleeker buttons or extra features? Universal Hunter ceiling fan remotes are designed for just this situation. They’re made to play nicely with almost any Hunter fan that has a compatible receiver.
Here’s how using a universal Hunter remote compares to model-specific ones:
- Universals are flexible: They can control most modern Hunter fans, sometimes even fans from other brands with similar receiver units.
- Pairing works the same way: Match dip switches or use the “learn” button—as described earlier.
- Feature caveats: Some advanced features (like special dimming modes or reverse functions) may not be supported on universal remotes. Read the package or product specs carefully.
Honestly, unless you have a vintage Hunter fan, universal remotes are often the easiest choice for replacements or upgrades. If you’re unsure, bring your old remote or fan model number to a hardware store and ask—many clerks know these systems well.
When to Replace the Remote Receiver (Not Just the Remote)
Here’s an important detail: sometimes, the issue isn’t with your Hunter ceiling fan remote at all—it’s with the receiver inside the fan. Receivers can fail due to power surges, age, or factory defects.
How can you tell? If your new remote won’t pair, but you’ve checked the codes, batteries, and you’re following the right steps, the receiver might be dead. Symptoms include:
- No lights or fan movement no matter which remote you try.
- The fan works with the wall switch or pull chain, but not with any remote.
- Sparks, buzzing, or burning smell from the canopy (in which case, cut power immediately and call a pro).
Hunter sells replacement receiver kits, which often come bundled with a remote. Swapping in a new receiver means disconnecting the old wiring and installing the new part—something a confident DIYer can handle, but call an electrician if you’re unsure. The process involves matching wire colors (usually black, white, blue, and sometimes green) and securing them with wire nuts. Take a photo of the old setup first, to avoid confusion later.
Alternative Control Options for Your Hunter Ceiling Fan
Not every space calls for a remote. Maybe you keep misplacing yours, or you want more “smart” control. Hunter fans can often be controlled in other ways:
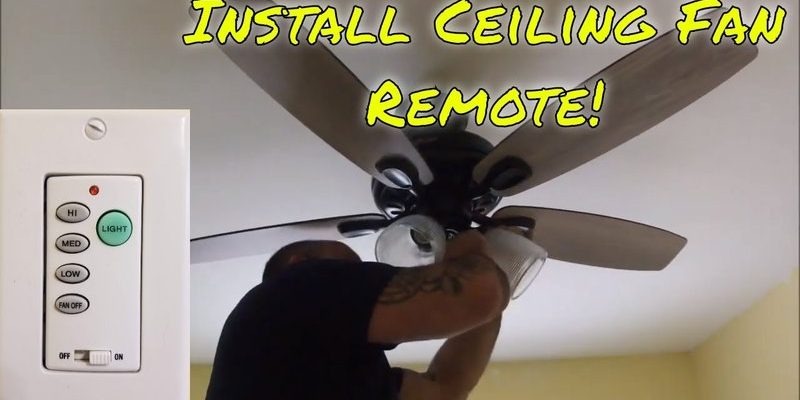
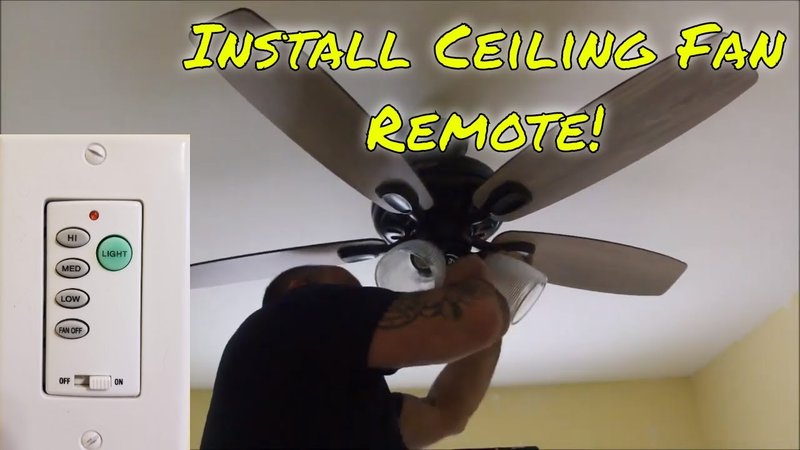
- Wall control panels: Some Hunter fans have wall-mounted remotes that combine light and fan controls in one place. These replace a standard wall switch.
- Smart fan modules: Certain models are compatible with WiFi adapters, letting you use your smartphone or voice assistant (like Alexa) to control settings.
- Traditional pull-chains: Not as fancy, but if you hate remotes, this tried-and-true method never needs batteries.
Universal ceiling fan remotes can sometimes be programmed to control multiple fans, but be careful with the codes (see earlier tips). If all else fails, Hunter support has solid guides for integrating your fan into a smart home setup.
Final Thoughts: Enjoying Your Upgraded Hunter Ceiling Fan Remote
Adding a new Hunter ceiling fan remote to your existing fan isn’t some arcane rite—it’s just a matter of pairing signals and getting the codes right. Whether you’re swapping out an old remote, leveling up to a universal, or reviving a stubborn fan with a new receiver, you’re giving yourself a pretty big slice of comfort and convenience. Don’t be afraid to double-check codes or call in help if wires start feeling overwhelming.
Once you’re done, you’ll appreciate being able to kick back and control your fan from across the room—no ladder, no hassle. Kind of like giving your living room a secret superpower. If you get stuck, remember: patience, fresh batteries, and a little code-matching go a long way. Enjoy the breeze!