Here’s the thing: Chamberlain, a well-known garage door opener brand, actually makes the whole remote and keypad syncing business a lot easier than you’d think. If you’ve got a Chamberlain garage door opener, chances are you also have one of their smart-looking remotes—and maybe a keypad mounted just outside your garage. But does the remote support syncing with that keypad directly, or do you need to go through the opener? Let me explain how it all fits together and what to expect, especially if you’re starting from scratch.
How Chamberlain Garage Remotes and Keypads Communicate
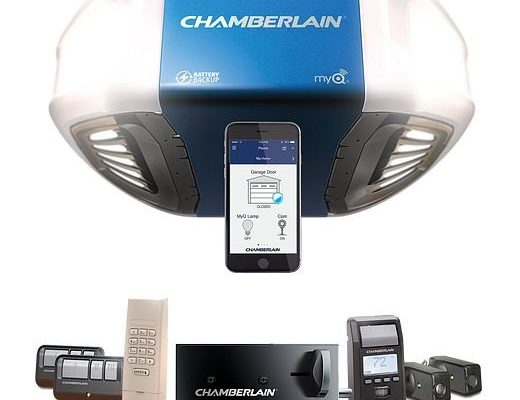
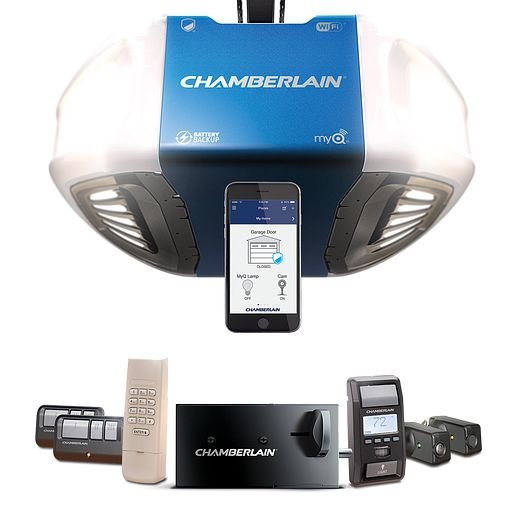
Let’s start with a bird’s-eye view. Chamberlain garage door systems are made up of three main parts: the garage door opener (the motor unit on your ceiling), handheld remotes, and wireless keypads mounted outside. When you press your remote button or punch your code into the keypad, both devices send a unique wireless signal to the opener. If the opener recognizes that “code,” it opens or closes the door.
But here’s the kicker: Chamberlain remotes and keypads don’t actually sync to each other. Instead, they both need to be programmed—or “paired”—directly to the opener unit. Think of the opener as the bouncer at an exclusive club. Both the remote and keypad need their names on the guest list before they can get in.
So, when folks ask if a Chamberlain garage remote supports keypad sync, what they’re really asking is: Can I set up my keypad using my remote, or do I link them together? The answer is no—the remote can’t sync directly with the keypad. The opener is always the middleman.
Programming a Chamberlain Remote: Step-by-Step
Setting up a Chamberlain garage remote is about as easy as pairing a new Bluetooth speaker—at least once you see the steps:
- Start by locating the “Learn” button on your Chamberlain opener. It’s usually found near the antenna wire, under a light cover.
- Press and release the “Learn” button. You’ll see an LED light up, signaling that the opener is ready to pair.
- Within 30 seconds, press and hold the button on your remote that you want to use for the garage. Hold it until the opener’s lights blink or you hear a click. That’s your sign that the code has synced.
- Test the remote. If the door moves, congrats—you’re in!
It’s straightforward, but don’t be surprised if you have to try twice. Sometimes the opener just wants a little extra attention (or maybe it’s still waking up). Make sure the remote has a fresh battery. Strange glitches or failed sync attempts can often be traced back to a weak battery.
How to Sync a Chamberlain Keypad Directly to the Opener
Keypads are a little elusive—kind of like those fancy hotel safes. But honestly, syncing them isn’t hard if you break it down:
- Again, find and press the “Learn” button on your opener. You’ll see that familiar LED come on.
- Within 30 seconds, enter your desired 4-digit PIN on the keypad and press the “Enter” button.
- If the opener’s lights blink, you’ve successfully programmed the keypad. (Some models beep instead—just listen for the confirmation.)
- Test your PIN outside to make sure the system works before you finish up.
You might notice that *nowhere* do you use the remote during keypad setup. Each device starts from scratch with the opener every time you sync or re-program. If you’re seeing errors or failed attempts, double-check the battery on your keypad, and make sure you’re not rushing the steps—timing is important here.
Insight: Pairing isn’t really “syncing” the way we think of two smartphones or Bluetooth headphones. The opener is always the hub. Neither the remote nor the keypad can link up with each other directly.
Why Chamberlain Doesn’t Allow Direct Remote-to-Keypad Sync
You might be wondering: why not let the remote and keypad talk to each other directly? Wouldn’t that make setup even easier? Here’s the honest answer—security and simplicity.
If remotes could just sync with keypads, that’d be one more way for someone to sneak in. Chamberlain wants every device to get individual approval from the opener. That way, if you lose a remote or worry someone’s found your PIN, you can reset individual codes without messing up the whole system. It also means you don’t have to jump through extra hoops with apps or codes that aren’t universal.
And, let’s be real, most folks forget their remotes in their cars or change keypads every few years. Keeping each accessory separate makes maintenance, resets, and troubleshooting way less of a headache.
Resetting and Troubleshooting Chamberlain Remotes and Keypads
Problems happen. Maybe your keypad suddenly won’t open the door, or your remote seems “out of sync.” Here’s how you can handle resets and basic troubleshooting:
- Reset the remote: Remove the battery, wait a minute, then reinsert it. Try re-pairing with the opener using the steps above.
- Reset the keypad: Many Chamberlain keypads have a “reset” sequence (usually by holding the * and
- Full opener reset: If you suspect something bigger is wrong, hold the “Learn” button down until the LED goes out. This erases all codes from the opener. Now, you must pair each remote and keypad from scratch.
If your devices still won’t connect, check for interference — things like LED lights, metal siding, or nearby wireless devices can block signals. Also, be sure your remote and keypad batteries aren’t on their last legs.
Common Chamberlain Error Scenarios
- Keypad accepts PIN but door won’t open: Usually means a sync problem—try reprogramming via the Learn button.
- Remote works, keypad does not (or vice versa): Check batteries, confirm both are paired, and check that you’re using the correct Learn button if you have multiple openers.
- Nothing responds: If the opener doesn’t light up or make any sound, check for power issues or blown fuses.
Pairing Multiple Remotes or Keypads with One Chamberlain Opener
Maybe your family’s got three cars. Or maybe you want a keypad and a couple of extra remotes for visiting relatives. Chamberlain openers don’t mind. Most models allow you to sync up to five devices (and some allow even more). Each one is programmed exactly the same way: through the Learn button.
Here’s what to know:
- Each new device gets its own code when you press the Learn button.
- If you ever need to remove just one remote or keypad, you’ll need to do a full reset and re-add each device. There’s no way to “delete” a single remote unless you have a newer, smart opener with app controls.
- If you’re mixing a Chamberlain remote and a universal remote, follow the same pairing process. Just make sure the universal remote supports the same frequency and rolling code system as your opener.
Honestly, Chamberlain keeps things pretty tidy here—no crazy settings menus or secret button combos. Everything runs through that trusty Learn button.
Universal Remotes vs. Chamberlain-Branded Remotes and Keypads
It happens all the time: you lose your Chamberlain remote and grab a universal replacement from the hardware store. Universal remotes can often be programmed to work with Chamberlain openers, as long as they support the right frequency and code style.
But—and here’s where it gets tricky—just because a universal remote works with your opener doesn’t always mean it plays nice with your existing keypad. The rule stays the same: everything syncs with the opener, not with each other. There’s no “shortcut” to pair a universal remote directly to a Chamberlain keypad.
If you’re setting up a new system, I’d stick with Chamberlain-branded remotes and keypads. You get a more predictable pairing process and fewer compatibility headaches. Sure, a universal remote can work in a pinch, but double-check the model numbers and code compatibility before you buy.
What to Do If Your Chamberlain Keypad or Remote Won’t Sync
Frustration usually sets in when the pairing process fails—lights don’t blink, or the door won’t budge. Sometimes a little patience (and a fresh battery) is all you need, but here are the big things to check:
- Review steps slowly: Don’t rush. The opener’s Learn mode usually times out in 30 seconds, so start fresh if you need to.
- Watch for interference: Sometimes neighbors with similar systems or heavy-duty electronics in your garage can jam signals. Try pairing from a closer distance or at a different time of day.
- Confirm code compatibility: Chamberlain uses rolling code technology (“Security+” or “Security+ 2.0”). Make sure your remote and keypad match the opener’s tech. Mismatch here is a common cause of frustration.
- Try a full power cycle: Unplug the opener for a minute, replug, and attempt the pairing again. Sometimes memory just needs a reset.
Pro tip: If you’ve moved into a new home and have no idea what was paired by previous owners, start with a full opener reset and set up your remotes and keypads from scratch. It’s safer and avoids lingering old codes.
Takeaway: Can Chamberlain Garage Remotes Sync with Keypads?
So, when it comes down to it, Chamberlain garage remotes do not support direct keypad sync. Each accessory—remote and keypad—has to be paired directly to the opener using its “Learn” button. The opener is the matchmaker, allowing each device access one at a time. No shortcuts, but also no confusion about which device controls what.
This system may seem old-school, but it’s safer and easier to manage if something goes wrong. If you ever lose a remote or want to swap keypads, you know exactly which step fixes the problem. No mysterious codes floating around, and no fumbling in the dark.
If you’re just getting started with Chamberlain remotes, don’t let the process stress you out. Take things step by step, keep your batteries fresh, and remember—the opener is in charge. That’s the key to smooth, secure syncing every time.