Programming your Yamaha soundbar remote can feel confusing, especially if you’re new to the world of home audio gadgets. There are codes, buttons, and sometimes a bit of “Did I do this right?” panic. But honestly, it doesn’t have to be a headache. Whether you’re dealing with an official Yamaha remote, a replacement, or even a universal one, a few quick tricks and best practices will get it synced and ready to roll faster than you can say “turn it up!”
Let me walk you through the process and share some secrets that make syncing, resetting, or pairing your Yamaha soundbar remote easy as pie (or at least easier than figuring out your TV’s menu system).
Understanding Yamaha Soundbar Remotes: Types and Features
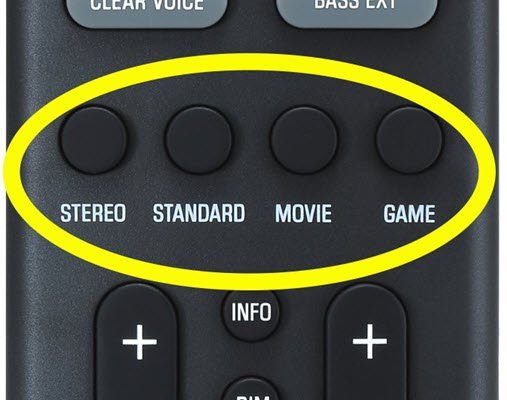
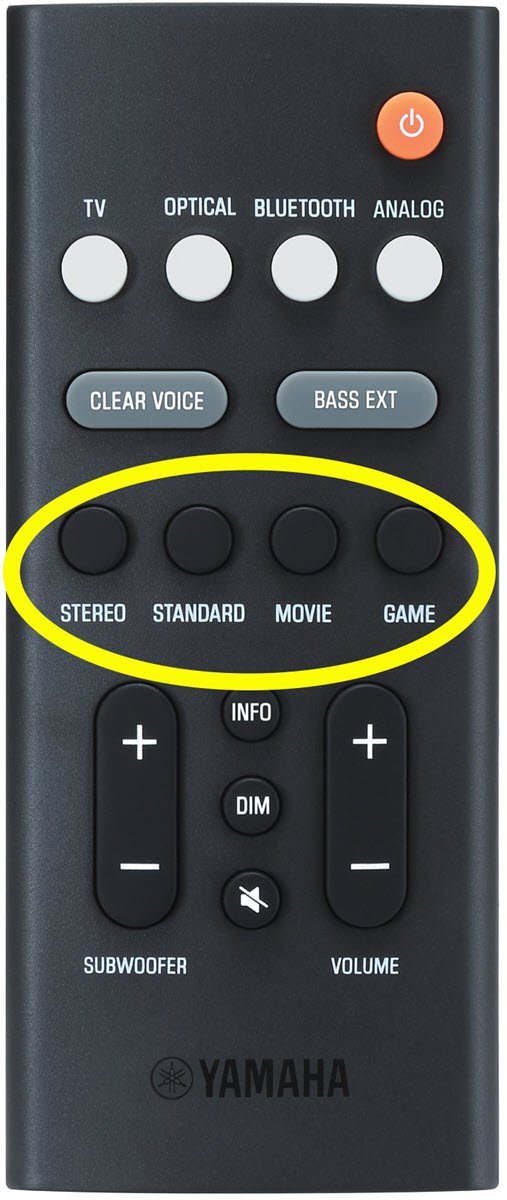
Before jumping into programming, it helps to know what kind of Yamaha remote you’re holding. Some Yamaha soundbars come with their own remote that’s custom-made for that model. These branded remotes can adjust volume, swap sound modes, and even tweak the bass with the press of a button. Pretty handy, right?
Then there are *universal remotes*—those all-in-one devices you can use with your TV, streaming box, and soundbar. The cool part? Some universal remotes are fully compatible with Yamaha soundbars once you feed them the right programming code. Others, not so much—so it’s good to double-check compatibility before you go code-hunting.
You might even have a replacement remote—one from Yamaha or a third-party made just for your model. These usually work out of the box, but sometimes you’ll need to pair or reset them if things get wonky. It’s like getting a new key for your front door: It should fit, but sometimes you have to jiggle it just right.
So, whether you’re using a brand-specific Yamaha remote, a universal one, or a third-party replacement, knowing your remote type sets you up for success down the line.
Quick Steps: Programming Your Yamaha Soundbar Remote
Here’s the thing: programming your remote doesn’t need to feel like hacking into a spaceship. Yamaha tries to keep things user-friendly, but a step-by-step approach makes all the difference—especially if you’re new to audio setups.
Most Yamaha soundbars and their remotes are programmed either automatically (they sync when powered on) or manually (using special codes). If you’re using the official Yamaha remote, pairing is typically a breeze. Just pop in fresh batteries, point at the soundbar, and press the power button. Usually, you’ll see a light blink or hear a sound, meaning it’s synced.
If you’re working with a universal remote, things get more “old-school.” You’ll need a Yamaha remote code (think of it like a secret handshake). These codes are often found in the remote’s manual or on Yamaha’s support site. Enter the code by holding down a setup button, punching in the numbers, and then confirming with an action like pressing “Power.” If it worked, the soundbar responds. If not, try another code from the list—don’t worry, it’s normal to test a few.
And here’s a tip: sometimes it takes a couple tries, so don’t stress if you don’t nail it the first time. Everyone’s been there. Patience is key.
How to Find and Use the Right Remote Code
You might be wondering, “Where do I even find these magic Yamaha soundbar codes?” Honestly, it’s a lot easier than you’d think. Yamaha usually lists popular codes in their manuals and online support pages. Universal remote brands like Logitech, RCA, or GE also maintain databases for soundbar models.
Here’s what usually happens. You:
- Look up your Yamaha soundbar model number (it’s usually on the back or bottom of the device)
- Check your remote’s support site or paper manual for compatible codes
- Try entering the code while holding down the right programming/setup button on the remote
- Test basic functions (like power and volume) to make sure it stuck
If the remote doesn’t respond, don’t panic. Go through the next code on the list. Some remotes do an “auto-search” where you keep pressing a button until the soundbar turns on—but that can take a little longer. I once spent 15 minutes cycling through codes for my dad’s soundbar, only to realize I was pointing at the TV instead. Lesson learned: double-check which device you’re programming!
When everything lines up and the soundbar finally responds, you get a mini “aha!” moment—and maybe an urge to crank up your favorite playlist as a reward.
Pairing and Syncing: Getting the Remote to Communicate
Let me explain why remote sync matters. If your Yamaha soundbar and remote aren’t “talking”—maybe after resetting, changing the battery, or moving stuff around—the remote won’t control anything, and that’s just frustrating.
To pair most Yamaha remotes, you simply power both the soundbar and remote on, then press and hold the “Power” or “Pairing” button until a light blinks. On some models, you might need to press a combo—like holding “Mute” and “Volume Up” together. Watch the soundbar’s display or LED light; it’ll usually blink or show a pairing message when it’s synced.
If you use a universal remote, pairing steps might look slightly different. You may have to enter a programming mode (hold “Setup”), choose the device type, and then input the Yamaha soundbar code. If all goes well, the remote should control the soundbar’s volume and power.
Sometimes, if things feel stuck or laggy, a quick reset helps. Pull out the batteries, unplug the soundbar, and wait a minute. Then reinsert everything and try pairing again. I promise, this old-school “turn it off and on again” trick works more often than not!
If you ever get lost, Yamaha’s support pages have diagrams and short videos to walk you through—so you’re never totally alone in the remote wilderness.
Troubleshooting Common Programming Problems
Nobody likes it when tech fights back. You follow all the right steps, tap the code in, but nothing happens. What gives? Here’s a breakdown of common issues that crop up with Yamaha soundbar remotes, and how to solve them without pulling your hair out.
- No response from soundbar: First, check the remote batteries. Sounds obvious, but weak or mismatched batteries are the
- Remote sync fails: If entering the right code doesn’t work, make sure you’re actually aiming at the correct device and there aren’t any objects blocking the infrared sensor. Sometimes, sunlight or bright lamps can interfere, so try dimming the room or moving closer.
- Features missing: If your remote turns the soundbar on and off, but won’t control volume or change inputs, double-check you’ve selected the correct code. Some codes only unlock basic functions, so hunting for a “full-feature” code might be necessary.
- Soundbar unresponsive after reset: After a reset, you might need to repeat the pairing process. Hold the right buttons until the lights blink, and wait for that confirmation beep or flash.
I once thought my remote was broken, only to realize my nephew had taped over the infrared sensor as a prank. Turns out, sometimes a problem isn’t as complex as it first looks!
Resetting Your Yamaha Soundbar Remote: When and How
Every now and then, all of us need a fresh start—even remotes. If your Yamaha soundbar remote is stuck, buggy, or just plain weird, a reset can breathe new life into it. Here’s how you typically reset a Yamaha remote (or a universal one programmed for Yamaha).
To reset, remove the batteries and press every button on the remote for a couple of seconds. This drains any leftover power. Wait a minute, then reinsert the batteries (bonus points for using brand new ones). On some remotes, you might need to hold down a special “Reset” or “Setup” button for 10 seconds, depending on the model. Your remote should be back to factory settings—meaning you’ll need to reprogram or pair it again.
Why bother with a reset? Over time, remotes store little glitches or get stuck in weird “modes.” Resetting wipes the slate clean, just like rebooting your phone after too many apps freeze up. You don’t lose anything important, but you often get smoother performance and fewer headaches.
When (and Why) to Consider Universal Versus Yamaha Brand Remotes
Here’s a debate that pops up a lot—should you stick with the original Yamaha remote, or go for a universal one? Both have upsides, and sometimes the choice comes down to personal taste or what’s on sale.
Yamaha brand remotes are designed to work seamlessly with Yamaha soundbars. They usually offer specialized buttons for sound effects, surround modes, and input switching that a generic remote might skip. If you like having features at your fingertips, this is the way to go.
Universal remotes shine if you’re drowning in a sea of controllers. You can program a single universal remote to handle your TV, streaming box, and soundbar—so fewer gadgets clutter the coffee table. The catch? Not all universal remotes support every Yamaha feature, and programming might be a bit trickier.
If you use smart home systems (like Alexa or Logitech Harmony), pairing your Yamaha soundbar through a universal remote can actually unlock voice control or app-based syncing. Pretty neat, right? But if you ever need deep sound tuning or access to special soundbar features, the original Yamaha remote wins every time.
Essential Tips for Fast and Frustration-Free Programming
Let’s be honest: nobody wants to spend all afternoon programming a remote when you could be binge-watching your favorite show. Here’s what makes the process way smoother:
- Read the manual once: I know, manuals sound boring, but Yamaha (and most universal remote brands) include quick-start sections that take the guesswork out. Just a couple of minutes upfront can save you tons of time.
- Have fresh batteries on hand: Old batteries are sneaky. They might give enough juice for the light to blink, but not enough for the signal to reach your soundbar. Treat yourself (and your remote) to new batteries every few months.
- Write down the successful code: Once you find the code that works, jot it down in your phone notes or tape it to the inside of the battery cover. Trust me, you’ll thank yourself next time!
- Keep obstacles clear: The remote and the soundbar need a clear line of sight to “see” each other. Move aside books, speakers, or that decorative plant—just for setup, at least.
- Be patient and persistent: Sometimes, the process is just trial and error. Don’t give up after the first try—most remotes respond after a couple of attempts, especially with the right code and pairing steps.
Getting your Yamaha soundbar remote synced and working doesn’t have to be a puzzle. With these best practices, you’ll save time, avoid the usual headaches, and get back to what really matters—enjoying awesome sound with zero hassle.
Wrapping Up: Enjoy Your Upgraded Audio Life
Programming a Yamaha soundbar remote can feel intimidating at first, but really, it’s just a dance of codes, batteries, and a touch of patience. With a clear plan—knowing your remote type, finding the right code, and understanding how to sync or reset when things go sideways—you’re set up for easy control every time you sit down for a movie or playlist.
Honestly, once you’ve synced your soundbar remote even once, future setups get way easier. Keep your go-to code handy, remember to treat your remote to fresh batteries, and don’t be afraid to reset if things feel off. In no time, you’ll be the family’s go-to “soundbar whisperer”—no confusing tech jargon, just crisp audio and total control with the press of a button.
Here’s to fewer remote battles and more movie nights with perfect sound. Enjoy it—you’ve earned it!