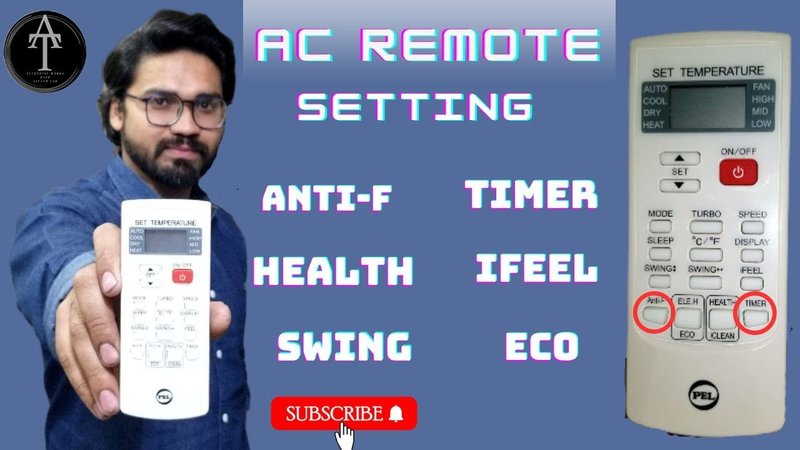
Most Honeywell AC remotes are designed to be user-friendly, but there’s still a bit of a learning curve, especially if you’ve never fiddled with these before. Maybe your remote is the sleek, modern kind with a digital screen and fancy buttons, or maybe it’s the classic, no-nonsense layout. Either way, once you get the hang of it, you’ll wonder why you ever let it collect dust under the couch cushions for so long.
Understanding Your Honeywell AC Remote: Getting To Know The Basics
Here’s the thing: before you go pressing buttons like you’re playing a video game, it helps to actually know what each one does. Most Honeywell AC remotes come with a layout that’s roughly the same—think *Power*, *Mode*, *Fan*, *Timer*, plus a few special extras depending on the model. If you’re a total beginner, grab the manual (or pull up a PDF from Honeywell’s website). I know, reading instructions isn’t glamorous, but trust me, it saves you from a lot of head-scratching later.
A lot of people assume these remotes will “just work” straight out of the box. Sometimes that’s true, but more often, you’ll need to *pair* or *sync* your remote with the air conditioning unit. And if you find yourself pressing buttons with nothing happening? It’s usually something simple—dead batteries, the remote not being in range, or the AC unit itself needing a little reset.
Honestly, learning the remote’s basics now is like learning the gears on a bike before your first ride. Sure, you could wing it, but wouldn’t you rather cruise in comfort?
Inserting Batteries Correctly: The First (And Most Forgotten) Step
I can’t even count how many times I’ve watched someone *panic troubleshoot* their AC remote, only to realize the batteries were in backwards, or just plain dead. It sounds obvious, but you’d be surprised! Even if you just unboxed your Honeywell remote, check the batteries. Some remotes arrive with a plastic tab protecting the battery; if you don’t remove it, the remote won’t power on at all.
Pop open the battery compartment—usually it’s on the back and slides open with a small push or thumb nudge. Take note of the *polarity symbols* (+ and -). If you mix these up, the remote simply won’t work, no matter how many times you hit the power button. And if you’re using old batteries from the junk drawer? Don’t. Weak batteries can cause your remote to *sync* incorrectly, or not send a signal strong enough to the AC unit.
Tip: Go for fresh alkaline batteries and keep a pair on standby. If your remote suddenly acts “possessed” (unresponsive, erratic changes), swap the batteries before diving into deeper troubleshooting.
Pairing and Syncing Your Remote To The Honeywell AC
Here’s where most of the magic (and sometimes frustration) happens. Not all Honeywell AC remotes need to be manually paired, but if you’ve just replaced your remote, changed batteries, or reset either device, you’ll likely need to *sync* them up.
Usually, the steps look like this:
- Turn on the main AC unit—make sure it’s plugged in and powered up.
- Stand within a few meters of the AC with your remote.
- Press and hold the *Power* button until you hear a beep or see the AC respond (this can take anywhere from 3 to 10 seconds).
- If your remote has a *Pair* or *Sync* button, this is the time to use it. Some models require you to point the remote at the unit and hold *Power* + *Mode* together.
After a successful pairing, you’ll usually notice the AC blinks, beeps, or changes display. If nothing happens, don’t despair! It might be a glitchy moment, and sometimes a *reset* (more on that in a bit) is the solution.
Let me explain with a quick story: my cousin tried to pair his Honeywell remote after moving into a new apartment. Turns out, he was pressing random buttons near a *different* brand’s unit. Once we figured out which AC matched the remote, the pairing was instant. Moral? Make sure you’re syncing the right remote to the right unit!
Navigating Modes and Settings: Making The Most Of Your Remote
So you’ve got batteries in, you’ve paired the remote, and the AC finally responds to your commands. But what do all these buttons actually do? Honeywell AC remotes come with *Mode* options like *Cool*, *Fan Only*, *Dry* (for dehumidifying), and *Auto*. Each mode tweaks how your AC runs—do you want a full-on chill, just a gentle breeze, or a quick way to zap some humidity from the air?
Switching between modes can feel a bit like using a TV remote the first time: it’s not always obvious what every button does. I always recommend starting with *Cool* mode and adjusting the temperature. If you’re curious, experiment with *Fan* or *Dry* on a mild day—sometimes you don’t need full cooling, just air movement or moisture control.
And here’s a small hack: the *Timer* and *Sleep* buttons can help save energy (and money). Set your AC to turn off after you fall asleep, or schedule it before you get home from work. Honestly, these little touches can make your Honeywell remote feel way smarter, without any of the usual “smart home” headaches.
Resetting Your Honeywell AC Remote: When Things Get Weird
Okay, let’s talk about what to do when your remote starts acting up. Maybe it’s frozen on one screen, sending the wrong signals, or just ignoring you. Nine times out of ten, a quick *reset* sorts things out. Resetting doesn’t mean wiping your AC’s brain—it’s just a fresh start for the remote.
Most remotes have a tiny *Reset* hole on the back or side. Grab a paperclip, gently press into the hole for a few seconds, and release. The remote should blink or show a change on its display. If your model doesn’t have a physical reset, removing the batteries for a full minute and putting them back in does the same trick.
Resetting is sort of like restarting your phone after an app crashes. Sometimes, the remote just needs a moment to collect itself. If you’ve tried everything and still no luck, it might be time to look up the specific *code* for your model or check if the remote is compatible with your AC unit.
Troubleshooting Common Remote Problems: Real World Fixes
You might be wondering, “Why is my Honeywell remote STILL not working after all this?” Welcome to the (annoying) club. But don’t worry—most issues have simple fixes. Here are the top culprits and my best fixes:
- Dead or weak batteries: Always start here. Fresh batteries fix most problems instantly.
- Obstructions: The remote’s infrared signal can’t go through walls, thick curtains, or a pile of laundry. Make sure there’s a clear line to the AC’s receiver.
- Dirty sensors: Both remote and AC should have clean sensor areas. Give them a gentle wipe if you see dust or grime.
- Wrong mode selected: If your AC isn’t responding, double-check the remote is set to the correct function and not stuck on *Timer* or *Fan Only*.
- Sync issues: If you’ve recently changed batteries, try pairing again or use the *reset* trick.
Sometimes, there are deeper problems—like a faulty remote or a malfunction in the AC unit itself. If all else fails, try a universal remote that supports Honeywell codes, or swap with a friend’s remote to rule out which part isn’t working.
Comparing Honeywell Remotes With Universal Alternatives
Maybe you’re considering a universal remote instead of sticking with the Honeywell-branded one. There are pros and cons to both, especially when it comes to pairing and setup. Honeywell remotes are designed for their specific AC models, so setup tends to be quicker, and every button does exactly what you expect.
Universal remotes, on the other hand, often require entering a special *code* to control your Honeywell unit. You might have to cycle through multiple codes to find the right one, and even then, some features (like advanced Timer settings) may not be supported. If you’re techy and love gadgets, a universal remote offers flexibility. But for most people, sticking with the brand remote saves a ton of setup hassle.
Insight: If you lose your original Honeywell remote and a replacement isn’t available, a universal remote can save the day—just be ready for a little extra setup and fewer custom features.
Pro Tips For Long-Term Use And Care
Once you’ve got your Honeywell AC remote up and running, a little maintenance goes a long way. Keep the battery compartment clean, change batteries at least once a year, and avoid storing the remote in super hot or humid spots. If you’ve got kids or pets who love to turn every object into a toy (guilty!), consider adding a bit of tape over the battery cover or storing the remote somewhere out of reach.
If you notice the remote gets glitchy or unresponsive, try the *reset* method before assuming it’s broken for good. And finally, remember to grab that manual or bookmark the support page. Even pros (or self-declared techies, like me) forget which button does what after a long winter without AC.
Final Thoughts: Making Your Honeywell AC Remote Work For You
Pairing and setting up a Honeywell AC remote might seem overwhelming at first, but honestly, it’s more straightforward than assembling furniture or programming a DVR. Give yourself a little patience, walk through the basic steps—batteries, pairing, modes, troubleshooting—and you’ll be in charge of your comfort zone in no time. The remote is meant to make your life easier, not drive you up the wall. And if you ever feel stuck, remember, you’re not alone—the internet’s full of people who’ve pressed the wrong button or accidentally set their AC to “Arctic Tundra” mode at 2 a.m. You’ve got this! Enjoy the chill.
