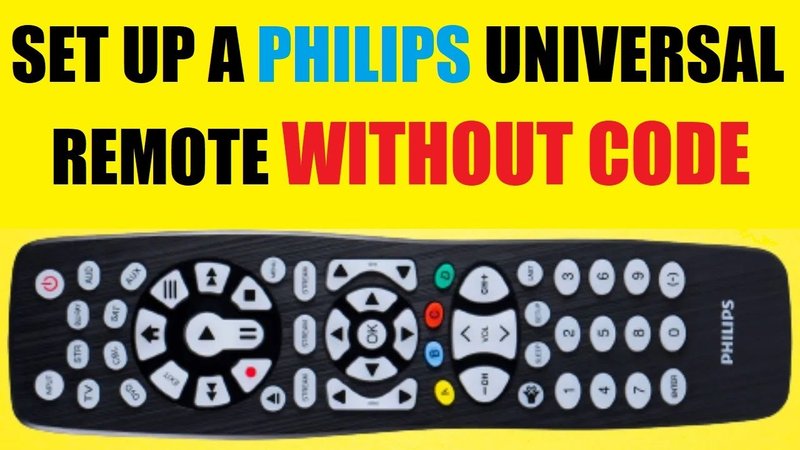
The good news? Programming a Philips universal remote isn’t rocket science once someone walks you through it step-by-step. Even if you’re not a “techy” person, I promise, you can get this done—sometimes in less than five minutes. The best part: a universal remote really lives up to its name, letting you control a bunch of different devices with just one gadget. No more couch cushion treasure hunts for remotes. Let me explain exactly how to make it all work, without the headache.
Understanding Philips Universal Remotes: Why They’re Handy
Here’s the thing—having three or four remotes lying around can quickly turn your coffee table into an electronics graveyard. The Philips universal remote is a game changer because it can replace almost any of those single-brand remotes. Whether your TV is a Samsung, your DVD player is a Sony, and you have a wonky off-brand soundbar, the universal remote can bring order to that chaos.
So, how does it actually work? Philips universal remotes have a database of codes inside them. These codes act like secret handshakes for different devices—once the code is set, the remote and your devices can “talk.” It honestly feels a bit like magic the first time you press one button and everything works. But all those possibilities can make things a tiny bit intimidating at the start.
You might be wondering: is it worth the trouble? If you’re tired of keeping a pile of remotes and want to streamline your setup, it’s absolutely worth it. Plus, Philips has a good reputation for making user-friendly remotes that don’t require an engineering degree. Just a bit of patience and the right approach.
Key Prep: What To Check Before You Start Programming
Before you start punching in codes or pressing buttons, there are a few easy steps that’ll save you a lot of frustration. First up: battery check. I can’t tell you how many times I thought a remote was broken, only to realize the batteries were tired. Always use fresh ones, even if the old ones seem okay. Weak batteries can make pairing and programming fail or behave weirdly.
Next, gather your devices. It helps to have your TV, soundbar, cable box, or whatever else you want to control nearby and plugged in. Trust me, doing this with everything in reach is way less annoying than shuffling between rooms.
Finally, grab your instruction manual. Wait, don’t roll your eyes—almost every Philips universal remote comes with a tiny fold-out manual or you can easily find the PDF online. The code list in the manual will save your sanity, believe me. Some models even have a sticker inside the battery cover with common codes. Keep that handy.
“If you can’t find the manual, just search for your remote’s model number online plus ‘Philips universal remote code list’—it usually pops right up.”
Quick Methods: How To Program Using Direct Code Entry
This is the classic “type it and hope” approach, and for most people, it’s the fastest option for programming a Philips universal remote. The idea? You find the right code for your device and then punch it in using the remote’s keypad.
Let me walk you through it. Say you want to sync your remote to your Samsung TV. You’ll:
- Look up the TV’s code in the manual or online—jot it down somewhere visible.
- Press and hold the “Setup” button on your remote until the LED light stays on.
- Press the button for the device you want to control (like “TV” or “AUX”).
- Type in the code, one digit at a time. The light should blink or turn off to confirm it worked.
If it doesn’t work, don’t panic—sometimes you have to try a few codes to find the right one. I once spent twenty minutes going through five codes for my old DVD player, but when it finally worked, the feeling was basically triumphant. Honestly, it’s like winning a tiny, nerdy lottery.
One thing to remember: if you accidentally skip a step, or the code doesn’t stick, just reset and start over. Even pros mess up sometimes. This method is quick, especially if your device is common and listed in the code book.
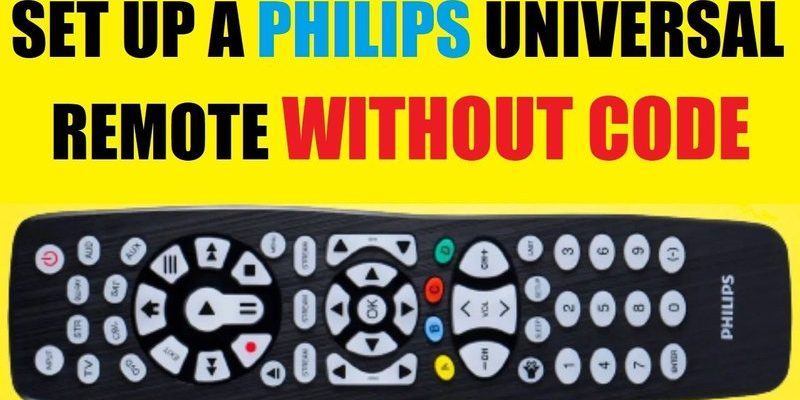
Programming Without Codes: The Auto-Search Method
What if your TV or gadget is older, lesser-known, or just not showing up in the code list? No worries, Philips built in a backup: auto-search. This essentially lets the remote run through every possible code until it finds the one that makes your device react.
Here’s how it goes:
- Turn on the device you want to pair (say, your TV).
- Hold the “Setup” button until the light stays on.
- Press the device button (like “TV”).
- Now, repeatedly press the “Power” button every few seconds. The remote will send a new code each time. When your TV turns off, stop pressing.
I think of this like fishing: you cast, wait, cast again, repeat until you feel a bite (or in this case, the TV finally powers down). Once you see action, you need to lock in that code—usually by pressing “Enter” or the “Setup” button again.
Heads up: this takes a little patience, but it’s a lifesaver if you have a super obscure or very old device. It’s the universal remote’s secret sauce.
Fixing Common Problems: Troubleshooting Tips
If you’re anything like me, you know technology has a way of misbehaving. Sometimes, even when you follow every step, your remote just won’t sync or control your device right. Here are a few things to troubleshoot before throwing the remote across the room (don’t do that):
- Batteries: I’ll say it again—fresh batteries matter. If things seem “off,” swap them out.
- Code mismatch: If the first code doesn’t work, try the next one on the list. Sometimes devices change codes with new models.
- Check device mode: Make sure you pressed the correct device button (TV, DVD, CBL, etc.) before entering codes.
- Distance: Don’t be too far away or point the remote somewhere weird; line of sight still counts.
If all else fails, many Philips universal remotes have a reset feature. To reset, you’ll often hold down the “Setup” button for about ten seconds, but check your manual for the right combo. Resetting wipes any old codes and gives you a clean slate to try again.
“Nine times out of ten, programming issues come down to codes, batteries, or being in the wrong mode. Patience and a second cup of coffee help a lot.”
Advanced Tips: Customizing and Multi-Device Setup
Here’s where things get a bit more advanced (but still doable, promise). Many Philips universal remotes can be programmed to control *multiple* devices at once—like having a remote that talks to your TV, sound system, and streaming box, all in one go. Bliss!
Let’s say you want to sync up four devices. You’ll repeat the code entry process for each one, pressing the corresponding device button each time (TV, DVD, AUX, etc.). Pro tip: write down the successful codes for each device and tape them inside your battery cover for future reference. Trust me, you’ll thank yourself later.
Some remotes even let you set up “macro” functions—one button does a sequence, like turning on the TV and the soundbar with a single press. It’s a little more complicated and may require reading your model’s detailed manual section, but the reward is pure convenience.
Don’t be shy to tinker with extra features. You might discover you can adjust volume on your soundbar even when you’re set on TV mode, or program specific buttons for streaming boxes. Play around and see what combo works for your setup.
Comparing Philips Universal Remotes To Brand Remotes
Why bother with a universal remote when every device comes with its own? Fair question. Honestly, original remotes sometimes have neat features—like voice commands or touchpads—that universals can’t fully match. But here’s the catch: original remotes break or get lost, and sometimes replacements are expensive or even unavailable.
Philips universal remotes shine in two big ways: they’re easy to find, and they’re affordable. And if you ever reorganize your entertainment center, switch to a new TV, or upgrade your soundbar, the universal can adapt with just a new code. That’s flexibility the originals rarely offer.
There are a few cases where you might still want the original—very new smart TVs with custom features, for example. But for anyone tired of keeping track of a remote army, the Philips option is a total winner.
Keeping Your Remote Working: Maintenance and Resetting
Remotes are sneaky—when they misbehave, it’s not always obvious why. Keeping your Philips universal remote in good working order isn’t just about pairing it once. There are little habits that keep things smooth.
Every few months (or if things stop working), pop out the batteries and check for corrosion or dust. Gently wipe the contacts with a Q-tip if needed. If you notice lag or missed button presses, it’s probably time for fresh batteries. And if you ever upgrade your devices, don’t forget to reset and reprogram—resetting clears out the old codes, making way for new ones.
If you’re moving house, throw the manual and any code lists in a ziplock bag and tape them to the back of your remote or put them in your TV stand. I learned this the hard way after losing mine somewhere between couches during a move.
The beauty here? Once everything is set up, you mostly forget the remote is even there—until it saves you again, the next time a device needs syncing.
Wrapping Up: Stress-Free Remote Control, At Last
So there you have it—the honest, step-by-step answer to the puzzle of programming your Philips universal remote quickly. Moving from a coffee table cluttered with remotes to just one feels great, doesn’t it? With a little patience, a few fresh batteries, and maybe a spare afternoon, syncing up even a stubborn device is totally doable.
Sure, there might be a moment or two where you want to curse at a blinking LED. But with the right code, a calm head, and maybe this article bookmarked for next time, you’ll be zipping through programming—and getting back to your show—before you know it. Who knew that spaceship controls could be this easy? Enjoy your new one-remote life!
