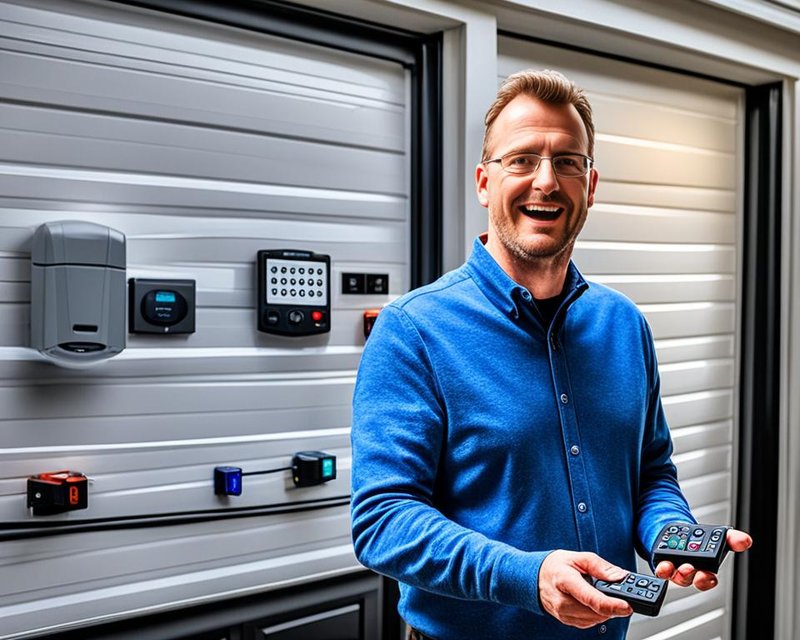
Linear is a well-known name in the garage door world. Their remotes are everywhere, from sturdy old-school models to the newer, sleeker ones. No matter which version you pick up, the basic idea stays the same: “pair” the new remote so your opener recognizes it. Think of your garage opener as a club bouncer—it won’t let just anyone in, but once you teach it a new face, you’re good to go.
Getting To Know Your Linear Garage Remote
Before doing anything technical, you’ll want to figure out exactly what kind of Linear garage remote you’ve got. Linear makes several types, from basic single-button models to fancier multi-button ones that handle several doors. The instructions below focus on the most common Linear remotes, but if yours looks wildly different, double-check your manual or the model number printed on the back.
Here’s the thing: Not all remotes work with all openers. Linear uses different coding technologies—older remotes might use DIP switches (tiny sliding switches under the battery cover), while newer ones use rolling code systems. If your opener is from the last couple of decades, chances are good you’re working with a rolling code remote. Rolling codes are more secure since the code changes every time you press the button. It’s basically your garage talking in secret code to make sure it only opens for trusted remotes.
Knowing if your remote and opener “speak the same language” is step one. If you’re adding a totally different brand or trying a universal remote, the pairing steps can be a little different. For most Linear setups, though, it’s a straightforward process—just make sure the model numbers match, or grab a compatible Linear remote from a reputable seller.
Preparing To Pair: What You’ll Need
Let’s talk prep. A lot of folks jump right in and get stuck halfway through because they missed something simple. Here’s what you’ll want handy before you start:
- Your new Linear garage remote (with a working battery installed)
- Your existing garage door opener (the big unit mounted to the ceiling in your garage)
- A sturdy ladder (unless you’re blessed with NBA-level height)
- A flashlight (trust me, it gets dark up there)
- An extra pair of hands (nice, but optional)
Before climbing up, it’s smart to install a fresh battery in the new remote. Weak batteries can cause headaches during the pairing process, almost like trying to sync a dying Bluetooth device—annoying and never successful. If your remote has a little LED that lights up when you press the button, check that it glows nice and bright.
You might be wondering, “Why do I need a ladder or flashlight?” The programming button on most Linear garage door openers isn’t exactly front and center. It’s usually a small button on the rear or side of the opener, sometimes hidden behind a plastic cover. Everything goes smoother when you can actually see it.
Locating The “Learn” Button On Your Linear Opener
Finding the “learn” button—or “program” button, depending on the model—can feel like a treasure hunt for grown-ups. On most Linear openers, this button is a tiny square or round button, usually colored (like red, purple, or yellow). Sometimes the button is right on the main opener, other times it’s tucked behind a light cover or a small panel.
Let me explain: The learn button is what allows your opener to accept a new code, like a bouncer checking someone’s invite at the door. It “listens” for the new remote’s signal for about 30 seconds, then stores it in memory. Linear openers generally keep this button near the hanging antenna wire—if you see a wire dangling, the button is probably close by.
If you spot a button labeled “learn,” “program,” or “smart,” you’re in the right place. Pressing this button won’t erase your old remotes (unless you hold it down for several seconds—don’t do that unless you want to reset everything). Just a quick press is all it takes to open the door for your new remote.
Some older models hide the button under a light lens. If you need to remove the light cover, it usually pops off with gentle pressure. Take care not to crack any thin plastic. With the cover off, you’ll have a clear view of the learn button—and with luck, a label telling you exactly what it’s for.
Step-by-Step: How To Add A New Linear Garage Remote
Ready for the main event? Here comes the step-by-step routine for syncing your new Linear garage remote to your existing opener.
- Step 1: Prep your remote. Make sure the remote has a fresh battery. Give the buttons a test press—the LED should light up.
- Step 2: Climb to your opener. Use the ladder and flashlight to get a clear view. Locate the “learn” or “program” button.
- Step 3: Press the learn button. Tap the button briefly—don’t hold it down. You’ll usually see a blinking light indicating the opener is in programming mode.
- Step 4: Sync the remote. Within 30 seconds, press the button on your new remote that you want to use for this door. You might see the opener light blink or hear a click—that’s the signal it worked.
- Step 5: Test your remote. Climb down, then press the button on your new Linear remote. If the door opens or closes, high five! You’ve successfully paired it.
Honestly, it feels pretty satisfying when everything clicks together like that. If it doesn’t work the first time, double-check that you pressed the learn button for just a second, not too long, and that you pressed the remote button within the teaching window.
If you mess up or if the opener seems confused, don’t panic. Every Linear opener can be re-programmed. Just cycle through the steps again, making sure you don’t accidentally erase existing remotes unless that’s your goal.
Troubleshooting: When The Remote Won’t Sync
Now and then, the remote refuses to play nice. Maybe you did everything by the book and the door just ignores you. Let’s troubleshoot.
Start by checking the battery: Even new remotes can ship with duds. Swap in a different battery if you have one. If the LED glows weakly or not at all, that’s your culprit.
Double-check compatibility: Not every Linear remote works with every Linear opener. If your opener is very old (pre-1990s, for example) or uses a DIP switch system, you’ll need a remote that matches the same code type. The model numbers on both devices are your friend—compare them before you get frustrated.
Reset the opener’s memory: If you’ve tried to sync several remotes or if things just seem buggy, you can perform a memory reset. Hold down the learn button for about 10 seconds until the indicator light goes out. This will erase all stored codes—so you’ll need to reprogram any remotes you still use.
Sometimes, the simplest solution is the one we overlook: move closer to the opener when syncing, avoid fluorescent lighting interference, or double-check that the antenna wire on your opener is hanging straight down (not tangled or tucked away).
If you still can’t get your new remote to pair, it might be a hardware issue with the opener itself. At that point, it could be worth calling in a garage door pro, especially if you rely on your garage as your main entrance.
Linear Garage Remotes: Universal vs. Brand-Specific Options
You might be wondering about those “universal” garage remotes you see at the store. They promise to work with almost any opener, but is that true for Linear models?
Here’s the deal: Most universal remotes work with major brands, but not every Linear opener is covered, especially older or specialty models. Universal remotes can be a great fit if you can’t find a brand-specific remote or want a single remote for multiple doors. But the pairing process can be trickier, and customer support isn’t always as knowledgeable about specific Linear setups.
Brand-specific Linear remotes are generally plug-and-play. They pair easily, the instructions are clear, and you get peace of mind knowing they “speak” the correct code language. Universals work best if your opener is listed on the compatibility chart and you’re comfortable fiddling with extra steps. If in doubt, I always lean toward the remote designed for your system—it saves time and headaches.
Understanding Codes: Rolling Code vs. DIP Switch Remotes
Curious about what’s actually happening when you press the button? Linear garage remotes use one of two systems: rolling code or DIP switch.
Rolling code remotes are the modern standard. Every time you click, the code changes, making it nearly impossible for would-be intruders to “capture” your signal. If both your opener and remote say things like “MegaCode” or “Security+,” you’re in rolling code territory. The remote and opener remember each new code, keeping things safe.
DIP switch systems are older. Inside the remote and opener, you’ll find small switches you manually set to match each other. If your remote pairs by lining up a row of switches, you’re using this older setup. They’re less common now because rolling code is more secure.
If your old remote uses DIP switches but your new one is rolling code (or vice versa), they can’t sync. You’ll need to match the opener’s code technology. This is why checking your model numbers and reading the tiny print on the devices before buying a new remote matters.
Tips For Keeping Your Garage Remote Secure
Adding new remotes is a good time to think about security. After all, you’re letting another device control your biggest door. Here are a few quick tips for peace of mind:
- Erase old remotes if you move or lose one. Just hold the learn button for 10 seconds to clear out all codes, then only re-pair the remotes you trust.
- Don’t leave spares in your car if you park outside—this is an easy grab for thieves.
- Consider a keypad entry as a backup for when remotes inevitably go missing between couch cushions.
- Change the code if you notice your garage door opening randomly—sometimes neighbors with similar openers can trigger yours by accident, especially with older DIP switch systems.
Staying secure isn’t about paranoia; it’s about making sure you’re in control of who has access.
Wrapping Up: Adding A New Linear Garage Remote Made Simple
Getting a fresh Linear garage remote in sync with your opener is one of those home projects that sounds intimidating—until you try it. The whole process is really just pairing two devices, like connecting a new set of headphones to your phone. Take your time, double-check compatibility, follow the simple steps, and you’ll have your new remote working in minutes.
And hey, if things get weird or frustrating, backing up a step and looking at the basics usually solves the problem. Adding a new remote gives everyone in your family (or your forgetful self) an easier way in and out—and that’s honestly a win. Happy clicking!
