Here’s the thing—Vivint Smart Remotes aren’t scary, even if all the blinking lights and techy words make them feel like tiny spaceships. Most people assume this process needs a tech wizard, but we’re about to prove otherwise. Whether you just got a new remote, swapped out batteries, or accidentally lost sync during a power blip, you’re in the right place. Let’s turn that silent remote into the not-so-secret weapon for your Vivint hub.
Understanding Your Vivint Smart Remote and Main Hub
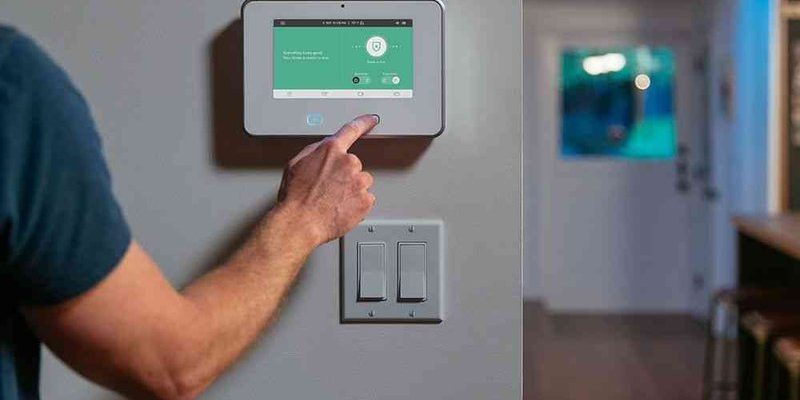
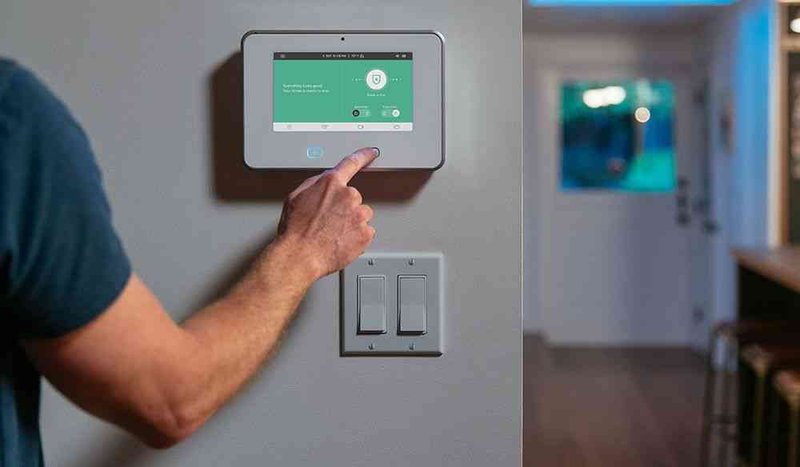
Before any pairing happens, it helps to know what you’re holding. The Vivint Smart Remote is a wireless device designed to control your Vivint security and automation system. Think of it as your master key: it can arm or disarm your system, trigger alarms, or manage connected devices—all with a click. On the other side, the Main Hub acts as the brains of your setup. It talks to every sensor, lock, camera, and, yes, your remote.
You might be wondering, “Can’t any remote just work?” Not quite. Vivint remotes are specific to the brand’s ecosystem. They use encrypted signals, so your neighbor’s remote won’t set off your alarm by accident. This is part safety, part convenience. If you’ve ever tried to sync a universal remote to a TV, you probably know it’s a guessing game of weird codes and button combos. With Vivint, the pairing process is more structured and a lot safer.
Here’s an analogy: if your main hub is the control tower at an airport, then the remote is the pilot’s radio. They need to be on the same frequency and “recognize” each other. Without pairing, your commands just don’t get through. That’s why it’s worth taking a few minutes to set this up the right way.
Preparing to Pair: What You’ll Need
Let me explain—nothing kills the momentum of a setup like missing batteries or the wrong model of remote. So, start by gathering everything you’ll need.
- Your Vivint Smart Remote: Double-check the model number, usually on the back or inside the battery compartment.
- Main Hub (Panel): This is typically a touchscreen tablet mounted on your wall or set up in your living space.
- Fresh Batteries: Remotes don’t pair well with weak batteries. Swap them in if you haven’t already.
- Access Code: Some steps require your system’s master code or admin PIN. This adds a layer of security.
If you’re replacing a lost or broken remote, you might also want to remove the old device from your hub first. Keeping your system tidy avoids confusion down the line. And honestly, it’s better not to have orphaned devices floating around in your system.
Last thing: make sure both the hub and your remote are within a few feet of each other. Like old school Bluetooth, physical proximity makes pairing much smoother. If you try to pair from too far away, the signals may never meet.
Step-by-Step Instructions to Pair Vivint Smart Remote With Main Hub
Okay, here’s where the magic happens. Pairing your Vivint Smart Remote with the main hub can look intimidating, but it’s really just a series of button presses and menu taps. Let’s break it down:
Pairing isn’t about brute force—it’s about patience and the right sequence. If you ever feel lost, take a breath and start the step over. No harm, no foul.
- 1. Wake Up the Main Hub: Tap the screen or press the main button to wake your hub if it’s in sleep mode.
- 2. Access System Settings: Look for a gear or menu icon. Enter your admin code if prompted. (Vivint wants to make sure you’re authorized!)
- 3. Choose ‘Add Device’ or Similar Option: The wording can vary based on your system version. Look for “Devices,” then “Add” or “Pair New Remote.”
- 4. Activate Pairing Mode on the Hub: Your hub might ask you to confirm or start searching for new devices. Once ready, it’ll prompt you to press a button on your new remote.
- 5. Hold the Pairing Button on Your Remote: Typically, it’s the main button or a small recessed one (sometimes you’ll need a paperclip). Hold for a few seconds until you see a light blink—this tells you it’s seeking the hub.
- 6. Confirm on the Hub: The panel should display a message like “Remote Detected” or “Device Added.” You might be prompted to give it a name (e.g., ‘Living Room Remote’). Save your changes.
- 7. Test the Remote: Arm or disarm your system, or try another command. If all goes well, you’re in business.
You might hit a hiccup or two—maybe nothing happens after pressing the button, or the hub doesn’t see the remote. Nine times out of ten, it’s either dead batteries or you’re too far from the hub. Circle back, check those basics, and try again. Tech rarely gets personal; it just wants the right inputs.
Common Pairing Problems and Simple Fixes
Let’s be real: nothing is quite as frustrating as following every step in the book and still… no luck. You’ve pressed buttons. You’ve whispered sweet nothings. Still, the remote and main hub refuse to play nice. So, what now?
First, check the batteries. Yes, I’m repeating myself, but weak or improperly installed batteries account for a ton of pairing headaches. Pop them out, check the orientation, and swap in new ones if in doubt. Sometimes, devices ship with demo batteries that barely last an afternoon.
Next, reset the remote. Most Vivint remotes have a tiny pinhole button—use a paperclip or similar to press and hold it for about ten seconds. This should clear any stuck pairing attempts and give you a fresh start. Make sure you’re back at the hub, within a few feet, before you try again.
If the hub still won’t recognize the remote, restart the main hub. It’s like turning your computer off and on—a classic move, but surprisingly effective for clearing up weird glitches or stuck processes. Allow the hub to fully reboot before starting from scratch.
Sometimes, it’s just about timing. The hub usually has a short window for pairing (say, 30–60 seconds). If you’re too slow to press the remote button, the hub will stop listening. Quickly cycle through the steps again, and don’t overthink the pace.
Most pairing problems boil down to batteries, proximity, or timing. Try those fixes first before worrying it’s something bigger.
How Vivint Smart Remote Syncs With Main Hub: A Quick Technical Dive
You might be curious what’s actually happening behind the scenes when you pair a remote to your Vivint system. Let me walk you through it—without all the jargon.
The smart remote and hub communicate using a secure wireless protocol, similar to Bluetooth or Zigbee. When you put the hub in pairing mode, it’s like opening the door and inviting new friends over. The remote, when you press and hold that pairing button, sends out a unique code—a digital handshake, so to speak.
Once the hub “sees” this handshake, it saves the remote’s identity. From then on, only that remote can issue specific commands. This sync is locked in; commands like arming or disarming your system are now secure. If you ever lose your remote, removing it from the main hub instantly severs the connection, so no one else can mess with your system.
This is a huge step up over old garage door openers or generic universal remotes, which often use simple, easily copied signals. With Vivint, every pairing is encrypted, so your security is never just about a “code”—it’s about a trusted relationship between devices.
Resetting Your Vivint Remote: When and Why?
Sometimes, remotes just get confused. Maybe you tried to pair with a different Vivint hub, or the remote’s memory got scrambled during a power outage. In these cases, a factory reset might be your best bet.
To reset your Vivint Smart Remote, look for a small pinhole (usually on the back or inside the battery compartment). Use a paperclip to press and hold the button for about ten seconds. You’ll often see the LED blink rapidly—that’s your sign the reset worked. Once reset, the remote forgets all previous pairings, letting you start fresh.
After resetting, you’ll need to follow the pairing steps again. This can fix weird behaviors (like the remote only working part of the time or refusing to connect at all). Some folks worry about accidentally wiping out other settings, but don’t stress—this reset only affects the remote itself, not your hub or your full Vivint system.
Pro tip: Always make sure your remote is reset and ready before attempting to pair with a new hub or after system-wide updates.
Troubleshooting Tips: What To Do If Pairing Fails
You’ve done everything right, but the remote and hub still aren’t speaking. Here’s a short troubleshooting roadmap:
- Check battery contacts: Dirt or corrosion in the battery compartment can block power. Clean contacts gently with a cotton swab.
- Update your main hub firmware: Occasionally, a system update is needed before adding new devices.
- Try another remote: If you have a backup remote, try pairing it. If the hub detects the second remote but not the first, yours might be defective.
- Reboot your Wi-Fi router (if your Vivint hub uses wireless connections): Sometimes, interference or network hiccups can block new device pairings.
If all else fails, Vivint support is surprisingly helpful. Many times, they can walk you through a forced sync or diagnose if your remote needs replacement. The important thing is not to give up after the first failure—these systems are designed to be robust, but a little patience goes a long way.
Comparing Vivint Smart Remote Pairing With Universal Remotes
Maybe you’re thinking, “Could I use a universal remote instead?” The short answer: not with Vivint. Universal remotes are great for TVs and soundbars, but wouldn’t cut it here. Vivint’s system uses proprietary codes and encryption for your security—and honestly, that’s a good thing.
Universal remotes rely on a giant database of codes for various brands. You scroll through, enter a few, and hope for the best. With Vivint, you don’t get a codebook; pairing is direct, unique, and secure for *your* devices only. No guessing games or trial-and-error with random numbers. The downside, of course, is you can’t grab just any old remote from a drawer. But that’s a trade-off for better security and reliability.
If you need a replacement, always buy an official Vivint Smart Remote that matches your system model. Mixing or mismatching brands just doesn’t work, and may even cause sync errors or limited functionality.
Why Proper Pairing Matters for Security and Convenience
It’s tempting to treat remote pairing as just another technical step, but here’s the truth: it’s foundational to your Vivint system’s security. An unpaired or poorly synced remote leaves you vulnerable—if someone finds your lost remote, you want the peace of mind that they can’t access your home without pairing it first. That tight connection between the remote and hub is a critical safety net.
But it’s not just about protection—it’s also about convenience. Once you’ve gone through the pairing process, everyday tasks get easier. You can arm the system on your way out with a single click, or disarm it for guests without fumbling for your phone. The remote adds a tangible, quick-access point to your modern smart home.
In the end, knowing how to pair your Vivint Smart Remote with the main hub means fewer headaches, faster fixes, and better peace of mind. It’s one of those “set it and forget it” steps that really pays off. So even if it takes a couple of tries or a quick reset, you’re building a smarter, safer space one click at a time.