Most Overhead Door garage door openers use a simple handheld remote that controls whether your garage door opens, closes, or sits there stubbornly unmoved. Think of the remote like a car’s key fob—small, reliable, and easy to take for granted until it stops working. Swapping out the battery is a straightforward fix. You won’t need a toolbox or any rocket science, just a new battery and a few minutes of patience.
Now, you might be wondering: “Is this the same remote I have?” Overhead Door remotes come in a few flavors—usually rectangular, sometimes with one, two, or three buttons. The basic steps are similar for most models, but paying attention to the little details can save you a headache later. Let’s break it all down, step by step.
Understanding Overhead Door Garage Remotes: Types And Battery Needs
Before you go hunting for a screwdriver, it’s worth knowing a bit about your Overhead Door remote. Honestly, these remotes haven’t changed much in years. Most are small plastic rectangles, just big enough to hang on a keychain or clip inside your car. The buttons might be labeled for multiple doors, or just have one big button in the middle.
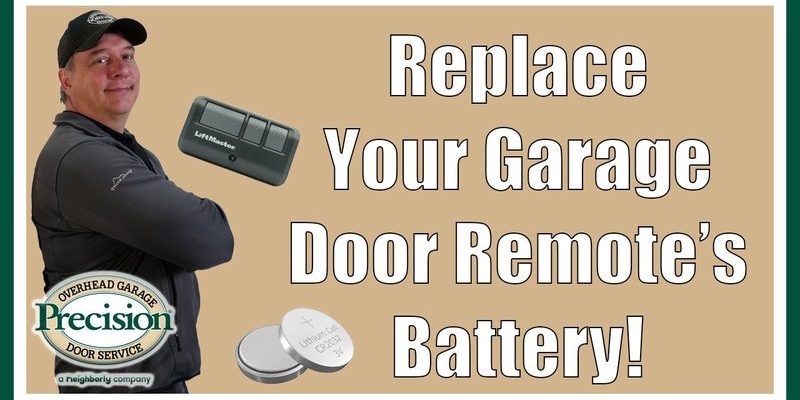
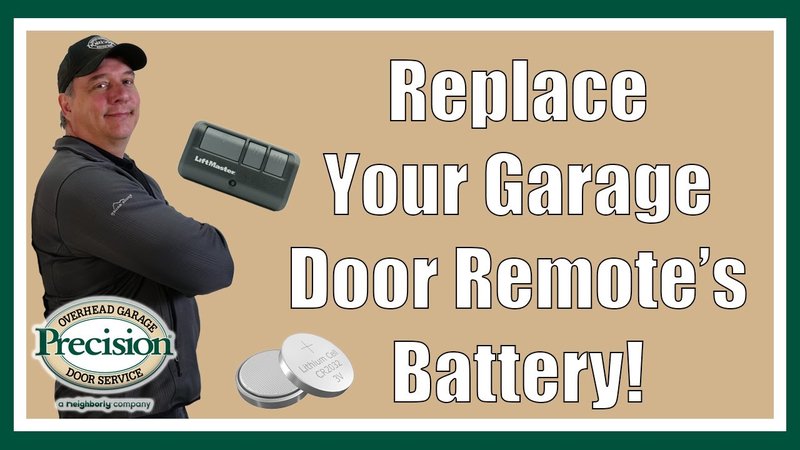
The thing that trips up many folks is the battery type. Overhead Door remotes usually use coin cell batteries—those shiny, flat, round ones (commonly CR2032 or CR2016)—instead of AAAs or AAs. Why? Because coin cells last a long time and don’t add bulk to the remote. If you’re not sure which yours uses, try popping open the battery compartment and take a peek at the label or engraving on the battery itself. If you’re extra cautious, grab the manual or check the back of the remote for specifics.
It’s also good to check how your remote opens. Some models have a tiny screw you’ll need to loosen, while others just snap apart with a little pressure. If your remote is older, the plastic might be a tad brittle—so, be gentle and patient rather than forcing things. These details can make swapping the battery feel like assembling a simple puzzle instead of wrestling with a stubborn toy.
What You Need Before You Start: Tools and Replacement Batteries
Let’s talk prep work. Changing the battery is easy, but you’ll want to grab a few supplies first—or you’ll find yourself hunting for that tiny screwdriver at the worst moment.
- Replacement battery: Most Overhead Door remotes use a CR2032 or CR2016. Double-check before buying.
- Small Phillips screwdriver: For remotes with a screw on the back.
- Flathead screwdriver or plastic pry tool: Some cases snap open and a little leverage helps.
- Clean hands or gloves: No one wants fingerprints or grime on sensitive battery contacts.
It’s easy to skip checking the exact battery type until the remote’s already in pieces—trust me, I’ve done this and ended up making two trips. If you’re unsure, open the remote first, then head to the store or order online. You might also want a paper towel or soft cloth to work on, so you don’t lose the battery or tiny screws.
And don’t forget: Handle the battery by the edges. Skin oils can sometimes mess with the contact points, which means fresh batteries can act like duds if you’re not careful.
Step-By-Step: How To Change Batteries In Overhead Door Garage Remote
Here’s where the magic happens. Imagine you’re working through this while your coffee’s still warm—no need to rush or feel overwhelmed. I’ll walk you through the whole process, from start to finish.
- Locate and open the battery compartment: Flip over the remote. If there’s a visible screw, use your Phillips screwdriver to loosen it and set it aside somewhere safe (maybe inside a bowl). If there’s no screw, gently use a flathead or plastic pry tool to work along the seam and pop the case open. You should hear a soft click.
- Remove the old battery: Note how the battery sits—there’s usually a plus sign (“+”) facing up or down. Use your fingernail or a non-metallic tool to slide the battery out. If it’s stuck, tap the remote upside down over your palm, but avoid whacking it against the table.
- Install the new battery: Slide the fresh battery into place, matching the polarity (plus or minus) with the markings inside the compartment. A reversed battery won’t power your remote and could even cause problems later. Make sure it sits flat and snug.
- Reassemble the remote: Snap the two halves back together or reinsert the screw. Give the buttons a quick test press to feel if everything’s sealed tight.
It’s tempting to rush, but slowing down is worth it. If the remote doesn’t work right away, it’s almost always a battery alignment issue or the case isn’t fully closed.
Testing Your Overhead Door Remote After Battery Change
So, you’ve got the new battery in and the remote is back together. Now the real test—does it work? Take a few steps back from your garage and aim the remote at the opener (the ceiling box with a light). Press the main button.
The door should respond, usually with a satisfying hum, whirr, and movement. If nothing happens, don’t panic. Double-check the battery’s polarity. Sometimes, the remote needs to be resynced or re-paired with the opener, especially if you accidentally pressed other buttons or waited a long time before changing the battery.
Try these troubleshooting steps if it’s not working:
- Open the remote again and check the battery contacts for dirt or corrosion.
- Press each button firmly to make sure nothing’s stuck.
- Move closer to the opener to rule out range issues.
If all else fails, you might need to sync or reset your remote—a step I’ll get into next.
Syncing, Resetting, and Coding Overhead Door Garage Remotes
Sometimes after a battery change, the remote gets out of sync with the opener. Don’t worry—this doesn’t mean something’s broken. Most Overhead Door remotes and openers use a “learn” button or a simple code process to pair devices.
Here’s how the syncing works for most models:
- Find the “Learn” button on your garage opener (usually a colored button near the wiring on the ceiling unit).
- Press and release the “Learn” button. You’ll have around 30 seconds to finish the process.
- Press and hold the main button on your remote for a couple of seconds until the light on the opener blinks or clicks.
- Test the remote after a few seconds to see if the door responds.
It can take a couple tries, and older remotes or universal remotes may have extra steps or DIP switches to set codes manually. Always check your specific model guide if you hit a snag. Pairing issues are common, but they’re also usually easy to solve with a calm, steady approach.
If your remote still isn’t working after syncing, the issue could be a worn-out remote or a receiver problem. Try a universal remote, or see if a second remote works—this helps narrow down where the problem lies.
Common Problems And Troubleshooting When Changing Garage Remote Batteries
You might be thinking, “How hard can this be?” And honestly, you’re right—it’s usually simple. But sometimes, the universe throws in a curveball. Maybe the remote’s LEDs don’t light up, or it seems totally dead even with a new battery.
Watch for these common pitfalls:
- Bent or dirty battery contacts: Gently clean them with a dry cotton swab.
- Wrong battery size: Double-check the code engraved on the old battery before buying replacements.
- Case not fully closed: If the two halves aren’t snapped together, the battery can’t complete the circuit.
- Multiple remotes: If you have more than one, test them all. Sometimes one remote fails while others work fine, pointing to a remote-specific issue.
If you’ve tried everything and the remote’s still unresponsive, there’s a slim chance the remote’s internal circuitry is fried. In that case, replacing the remote might be easier than endless troubleshooting.
Comparing Overhead Door Remotes To Universal Remote Controls
Now, if you’re thinking about alternatives, there’s a world of universal garage remotes out there. They promise broad compatibility, one-remote-to-rule-them-all convenience, and sometimes even better ergonomics.
Still, using the official Overhead Door remote has perks. It’s coded specifically for your opener, usually requires less fiddling to pair, and works reliably long-term. Universal remotes work well, but sometimes the pairing process takes a few attempts, and not every feature always transfers perfectly. For tech-savvy folks or folks with multiple garage brands at home, a universal option makes sense. For simple, stress-free operation, sticking with an Overhead Door model is hard to beat.
I always keep an extra battery and a backup remote in the junk drawer—because when garage things break, it’s never at a convenient time.
Best Practices For Battery Life And Garage Remote Care
Let me explain why garage remote batteries can die faster than you’d expect. Extreme heat, freezing cold, or even just sitting unused can drain coin cells. Try to store remotes out of direct sunlight (no dashboard roasting), and avoid dropping them on hard surfaces.
Every few months, give your remote a quick once-over. Is the button getting stiff? Is the plastic cracked? Sometimes a little preventative maintenance—like popping out the battery to clean the contacts—means avoiding trouble later.
If you’re the forgetful type (no shame—I’ve left my remote in my pocket and run it through the wash), keeping a spare coin cell in your car or house is a smart move. They’re cheap, last a long time, and save you from that awkward moment when you’re locked out with groceries in hand.
Finishing Up: Smooth Garage Access Every Time
Garage remotes, especially Overhead Door models, are one of those everyday tools you barely notice until they stop working. But changing the battery is something anyone can handle—no need to call in an expert or put it off for weeks.
By taking a few minutes to swap in a fresh battery, you’ll keep your garage running smoothly and avoid headaches down the road. Keep an extra battery on hand, clean those contacts every now and then, and don’t be afraid to try a universal remote if your old one is truly finished. At the end of the day, a working garage remote is one of those little comforts that makes coming home just a bit easier.