Genie has been making garage door openers for decades, and their remotes are popular for a reason—they’re durable, decently priced, and surprisingly simple to pair once you get the basics down. We’re talking about those familiar three-button or one-button handheld models (the ones you clip onto your car visor or stash in a kitchen drawer). If you’ve never paired one before, don’t worry. Let me walk you through the whole process, covering everything from first unboxing to that satisfying moment your door glides open with a click.
Understanding Genie Garage Door Remotes and Openers
Here’s the thing: before you dive into pairing, it helps to know what you’re working with. Genie garage door remotes come in a few flavors—single-button models for just one garage door, and multi-button remotes for homes with more than one bay. The technology in these remotes isn’t rocket science, but there’s a bit of smart stuff going on inside.
Most modern Genie openers use **rolling code technology** for security. Each time you press your remote, it sends a fresh, unique code to the opener, so nobody can copy your frequency and sneak in. Your remote and opener need to “learn” each other to talk, which is why pairing (or syncing) is needed.
You might be wondering: will any Genie remote work with my opener? Not always. Genie has several generations of remotes and openers. Look for the model number on your opener (usually a sticker near the light cover or on the back), and check the packaging or Genie website to confirm compatibility. Universal remotes exist but can be a headache to pair if you’re new to this, so sticking with a **genuine Genie remote** is usually easier for beginners.
Essential Tools and Prep Before Pairing Your Genie Remote
Don’t start pushing buttons quite yet. Take a moment to gather what you need and avoid frustration. Here’s what most folks forget: the remote’s battery. New remotes should have one installed, but if you’re dusting off an old spare or buying used, pop off the back cover and double-check. Genie remotes typically use a coin cell battery (CR2032), easy to swap out.
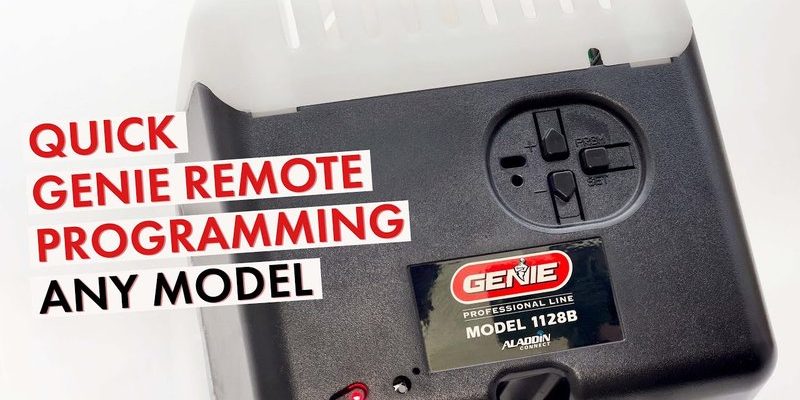
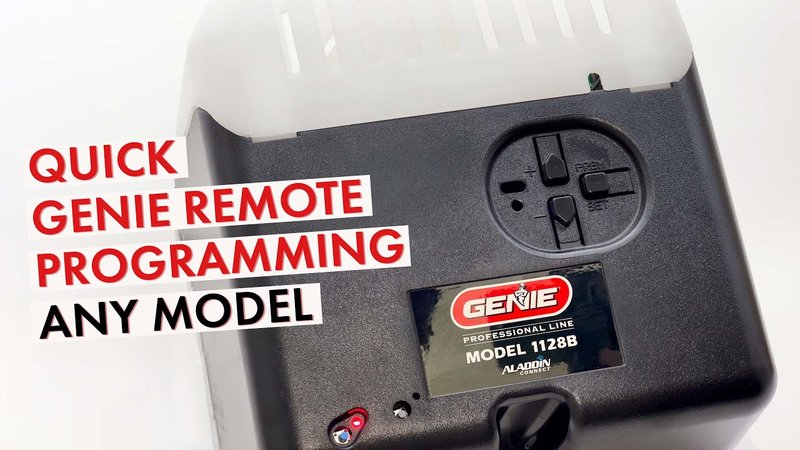
Next, find a sturdy step stool or ladder if your garage opener’s mounted high up. You’ll need to access the “Learn” or “Program” button on the opener itself—usually under a light cover or near the wiring. Have a small flashlight handy if your garage lighting’s dim, and keep your new remote close by.
- New Genie remote (correct model for your opener)
- Fresh battery (if not already installed)
- Step stool or ladder
- Flashlight
- Access to your garage opener motor unit
A quick tip: if your opener has a “lock” or “vacation” mode, disable it before starting. Otherwise, pairing might fail, and you’ll be left scratching your head, wondering why nothing works.
How To Locate the Genie Opener’s Learn/Program Button
Let me explain why this step trips people up: Genie openers hide their program (or “Learn”) button in slightly different places, depending on age and model. If you see a big glowing button marked “Learn,” congrats—life just got easier. If not, you might need to look a little closer.
Most Genie openers have the **Learn/Program** button under a plastic light lens cover. Slide or pop off the cover gently (don’t force it—these things crack easily). On some older models, you’ll find the button near the antenna wire (the hanging, curly wire that helps with remote signal).
Here’s a quick breakdown:
- Newer Genie models (after 2011): **”Learn” or “Program” button**, colored red, black, or purple, usually near the front or side of the opener motor housing.
- Older Genie models: Small, usually square button, possibly labeled “Learn Code” or just “Learn.”
If the button’s not obvious, check your opener’s manual (or look up your model number on Genie’s support site). Don’t press any random button on the opener yet—it’s easy to accidentally erase all remotes if you hold down the wrong one!
Step-by-Step: Pairing a New Genie Remote With Your Existing Opener
Here’s the part you’ve been waiting for. Grab your new Genie remote and let’s walk through pairing it to your garage opener. Take your time and don’t rush—syncing usually takes less than five minutes, even for total beginners.
Step-by-step instructions can make the difference between instant success and 10 minutes of confusion. Go slow and check off each step before moving on!
-
1. Access the Learn/Program button on the Genie opener.
Use your ladder or stool to reach the opener. Remove the light lens cover if needed. -
2. Press and release the Learn/Program button.
You’ll see a small LED beside the button—usually it’ll light up or blink. This means the opener is in “program” mode and ready to accept a new remote code. -
3. Within 30 seconds, press the button on your new Genie remote.
Hold it down for a full second, then release. Some models have a light that flashes on the remote, confirming the signal is sent. -
4. Watch for the confirmation cue on the opener.
If successful, the opener’s LED will turn off, blink, or you might hear a click. That signals the opener has learned your new remote. -
5. Test your new remote from the ground.
Step back, press the button, and watch for your garage door to operate. That’s it—the new Genie remote is now paired with your existing opener!
If the door doesn’t move, repeat steps 2–4. If it still doesn’t pair, try a fresh battery, check the remote’s model compatibility, and make sure the opener isn’t in lock mode.
Troubleshooting: Genie Remote Not Syncing or Working
Sometimes, you do everything right and your new Genie remote still won’t work. Frustrating, right? Don’t panic—most pairing issues are easy to fix, and very few remotes are actually defective.
Common problems (and how to fix them):
- Weak or dead battery: Even new remotes can ship with low batteries. Try a fresh CR2032 coin cell.
- Not in program mode: If the opener’s LED doesn’t light up after hitting “Learn,” you might have pressed the button too long or too briefly. Try again, pressing firmly for a second.
- Outdated opener firmware: Rarely, older openers might not recognize newer remotes. Check if your opener is compatible, and consider updating the opener’s receiver or buying an older-style remote if needed.
- Signal interference: Metal cabinets, fluorescent lights, or big appliances can mess with wireless signals. Test the remote closer to the opener or move obstacles.
If all else fails, try a full opener reset (as a last resort—you’ll have to re-pair every remote). Hold the Learn/Program button for about 10 seconds until the LED blinks rapidly. This wipes all remotes from the opener’s memory. Start from scratch, pairing each remote one at a time.
Understanding Rolling Code, Security, and Why Pairing Matters
You might be wondering—why all this code and syncing business? Why not just grab a remote and click away? Well, garage openers aren’t just about convenience; they’re also a main line of home security. Genie’s rolling code technology means your door won’t open for just any signal. Instead, every time you press the remote, the code changes—like one of those old spy movies where the password is good just once.
When you add a new Genie remote, you’re telling the opener to accept this specific code sequence. It keeps your garage (and everything in it) safe from would-be intruders or nosy neighbors who might have a universal remote. That’s why pairing is required, and why syncing or resetting the opener can feel a bit fussy—it’s all in service of keeping your stuff secure.
Here’s another insight: if you ever lose a remote or move homes, you should wipe the opener’s memory (hold the Learn button for 10 seconds) and re-pair only the remotes you still own. This keeps lost or stolen remotes from working in the future.
Comparing Genie Remotes: Original, Universal, and Keypad Pairing
Not all remotes are created equal, and sometimes people ask if they can use a *universal garage door remote* with their Genie opener. The honest answer? Sometimes. Universal remotes are handy if you’ve got multiple brands of garage doors, but they often require extra syncing steps (like inputting a code or using “dip switches” on older openers).
Here’s how they stack up:
- Genie brand remotes: Plug-and-play with Genie openers, easiest for beginners, reliable long-term.
- Universal remotes: Work with multiple brands, but syncing can be tricky, and not every feature may work.
- Wireless keypads: Mount outside your garage; ideal for guests or kids who lose remotes. Pairing is similar, but often involves entering a PIN after hitting the opener’s Learn/Program button.
Let me share a quick story: I once tried a universal remote with an old Genie opener for a neighbor. After three rounds of code entry and some choice words, we ended up buying a Genie original. Paired in seconds, no fuss. Sure, universals are fine if you enjoy a challenge, but for most people, sticking with a Genie remote keeps things simple.
Best Practices For Syncing Multiple Genie Remotes
So you want more than one remote in your household—maybe one for your partner, another to stash with emergency keys. Good plan! Genie openers typically store 7–10 remote codes in memory. The procedure for adding each one is the same: for every remote, repeat the pairing steps with the opener in program mode.
A couple of tips:
- Don’t try to pair multiple remotes at once. Pair each remote individually—press the Learn button, then the remote button, then confirm, one at a time.
- If you accidentally overwrite a remote, just re-pair it. The opener’s memory is pretty forgiving, but if you fill all code slots, the oldest ones will be dropped off the list.
- If you use a wireless keypad along with handheld remotes, pair each device using the same process—opener into program mode, then enter your desired PIN on the keypad.
Pairing extra remotes isn’t just about convenience. It’s also brilliant for backup—if you ever lose your main remote or the battery dies at a bad moment, you’ll be grateful you’ve got a spare in the house or car.
When To Reset or Reprogram Your Genie Garage Opener
Sometimes, things get messy. Maybe you bought a house and don’t know how many remotes are out there, or your remote acts up even after new batteries and proper pairing. In cases like this, a full opener reset is your clean slate.
How to reset your Genie opener:
- Hold the **Learn/Program** button on the opener for about 10 seconds until the LED blinks rapidly.
- This wipes all paired remotes and keypads from memory.
- Pair each remote or keypad again, using the steps above.
Resetting is also smart if a remote’s gone missing, especially after a car theft or if you’re renting your place out. Yes, you’ll need to re-pair every remote device, but you’ll know exactly who can get in—no code confusion, no security loopholes.
Honestly, a full reset takes less time than finding that “one missing remote” in your junk drawer. Security and peace of mind are worth the minute it takes.
Final Thoughts: Enjoying Your New Genie Garage Remote
Now that you’ve walked through the pairing process, you’re probably realizing it’s easier than it sounds—a bit like setting up a new gadget after breakfast, not like rewiring your whole house. Genie’s rolling code technology, simple program buttons, and clear “learn” sequence make adding remotes surprisingly stress-free, even for beginners.
If you ever get stuck, remember to check the battery, confirm compatibility, and take your time with each step. Adding a Genie remote isn’t a daily task, but knowing how to pair—and re-pair—yours puts control back in your hands, without relying on a pro.
Enjoy the ease of pulling into your garage with a click, confident your opener is synced and secure. And maybe, stash an extra remote in your glovebox—future you will thank you.