Programming a Genie garage remote doesn’t have to feel like deciphering an alien code. Even if you’ve never touched a garage remote before, you can handle this. Genie is a well-known brand for a reason: their remotes are reliable and not as complicated as they seem. The steps are a bit like setting up a new TV remote—with a couple of quirks you’ll want to know about before you start.
Understanding Your Genie Garage Remote
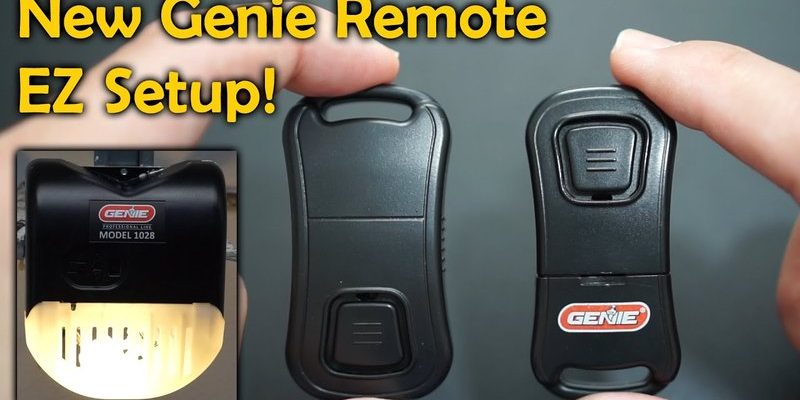
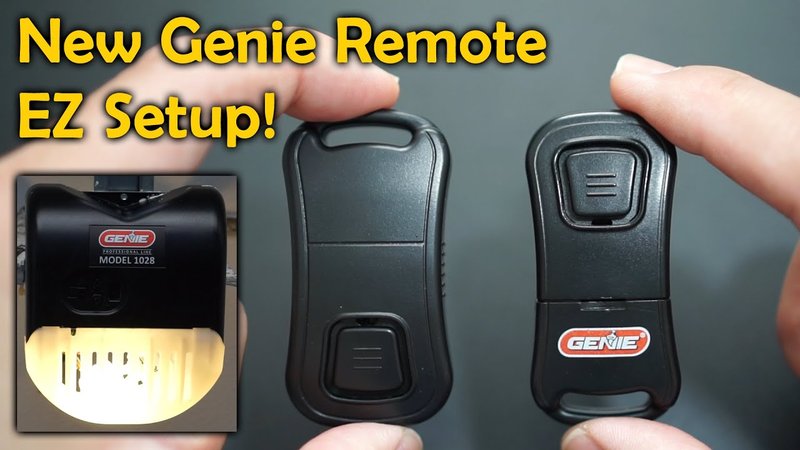
Before you even think about pressing the “learn” button, it pays to know what you’re working with. Genie remotes come in several designs, but most of them speak the same language. The real differences show up in the number of buttons, the shape (some are tiny keychain models, others look like small TV remotes), and the age of your garage door opener itself.
Older Genie models used dip switches—think tiny toggles inside the remote—that you had to match to the opener’s settings. Thankfully, most modern Genie remotes use rolling code technology. That’s just a fancy way of saying your remote and opener constantly change their security signal, making it way harder for anyone to hack your garage. If your remote has a “learn” or “program” button, it probably uses rolling codes. That’s good news for both security and ease of use.
If you’re not sure which remote you’ve got, check for a model number (usually hidden in the battery compartment) or look for a date label on the opener itself. Knowing your model helps you find the right instructions, and stops you from mashing buttons at random and hoping for the best.
Setting Up: What You Need Before Programming
Let me explain—preparation is more than half the battle here. Set yourself up for success by rounding up the right tools and clearing a bit of space around the garage door opener. Here’s what you’ll need:
- The Genie remote: Obvious, but check it’s the right one for your opener.
- Fresh batteries: Low batteries are the silent killers of remote programming. Swap them out before you begin.
- A ladder or sturdy chair: The “learn” button is typically up on the opener motor.
- Access to the opener’s control panel: This is where you’ll press the magic button.
Honestly, don’t skip the battery step. Weak batteries cause all kinds of weird issues (random failures, incomplete codes), and you’ll be chasing your tail trying to figure out what went wrong. Clearing the area also prevents you from climbing over mess or bumping your car while reaching for the opener.
How to Program a Genie Garage Remote: Step-By-Step
Here’s the thing: most Genie garage remotes follow roughly the same programming steps. But if your opener is older, some steps might be a little different. Still, this is the most common process for programming Genie remotes that use a “learn” or “program” button:
- Press and release the Learn Button on your Genie opener. It’s usually a small, colored button under the light cover or on the back of the motor unit. Press it just once. A LED light near the button will start blinking, showing it’s ready to connect.
- Within 30 seconds, press the button on your Genie remote. Hold it down until you see the indicator light on the opener blink again or hear a click. This means the opener “heard” the remote and saved the code.
- Test the remote. Step away and press the programmed button. The garage door should move. If it doesn’t, repeat the steps, making sure you’re within the time window and the batteries are fresh.
If you have a Genie remote with multiple buttons (say, one remote for two garage doors), repeat the process—each button can be programmed to a different opener. And if you mix up the buttons, don’t sweat it. You can always erase and reprogram (more on that soon).
Tip: If nothing works, double-check you’re pressing the correct “learn” button. Some Genie openers have more than one button for different features.
Common Programming Problems and Troubleshooting
You might be wondering: what if the remote just won’t sync up? That’s where a little troubleshooting comes in. Here are some frequent hiccups and how to handle them:
- Remote won’t program: Most of the time, this means the batteries are weak or the opener is out of range. Try fresh batteries and stand closer to the motor unit during programming.
- Opener LED won’t blink: You might be pressing the wrong button, or the opener may be in “lock” mode (designed to prevent programming). Check the manual and make sure the opener isn’t locked.
- Multiple remotes losing programming: This sometimes happens after a power outage or if the opener memory is full. You’ll need to erase all codes and reprogram. Hold the “learn” button until the LED goes out (usually about 10 seconds) to wipe the memory. Then add each remote back one by one.
One thing to keep in mind: if your Genie opener is very old, newer remotes might not be compatible. In that case, a universal remote or an upgrade kit could be your best bet.
Resetting or Erasing Genie Remote Codes
Sometimes you want a clean slate—maybe you lost an old remote, or you’re moving into a new place. Erasing all codes from your Genie garage opener takes just a few seconds:
- Press and hold the Learn Button on the opener until the LED light turns off. This usually takes about 10 seconds. That’s it—the opener forgets every remote in its memory.
- Reprogram each remote you want to use. Follow the programming steps above for each one.
This reset process is especially important if you move into a new house. You never know who has an old remote still paired with your garage. Better safe than sorry.
Pro Tip: When erasing codes, anyone with a previously paired remote will lose access. Make sure you have all your remotes on hand before starting.
Genie Universal Remotes vs. Original Remotes
You might be tempted by a universal garage remote—it’s the Swiss Army knife of remotes, made to work with different brands and models. Genie makes their own universal remotes, and most of them work smoothly with Genie openers that use rolling code technology.
So what’s the catch? Universal remotes can’t always access every feature (like separate light control), and sometimes the programming process has extra steps. If you want dead-simple setup and all the functions, the original Genie remote is usually easier. But if you’re juggling multiple openers—say, a Genie at home and a LiftMaster at work—a universal remote might make life simpler.
Here’s a quick comparison:
| Remote Type | Pros | Cons |
|---|---|---|
| Genie Original Remote | Full compatibility, all features, easy support | Only works with Genie openers |
| Universal Remote | Works with multiple brands, flexible | May not access all features, occasionally trickier to program |
Personally, I lean toward sticking with brand-original remotes unless you have a good reason to mix things up.
Maintaining and Replacing Genie Remote Batteries
Strong batteries make all the difference. Low batteries won’t just stop your remote from working—they can make programming nearly impossible. Genie remotes usually take simple coin cell (CR2032) or AAA batteries, but always check the sticker inside the compartment to be sure.
Here’s how to swap them:
- Open the battery compartment—usually a small sliding door or a screw holds it shut.
- Take out the old battery and pop in a new one, matching the polarity (+ and – signs).
- Snap it shut and test the remote. If it’s still not working, make sure the battery is seated snugly and the contacts are clean.
Don’t wait until your remote is barely working. A battery swap is quick, cheap, and saves so much hassle in the long run.
When to Call for Professional Help
Honestly, most Genie garage remotes are a do-it-yourself affair. But sometimes, things just refuse to work, no matter how many times you follow the instructions. If you’ve tried fresh batteries, followed the steps, and still can’t program your Genie remote, it could be:
- A faulty remote or receiver: Occasionally, the remote or even the opener’s receiver goes bad. If you have a second remote that works, that’s a handy way to check.
- Electrical issues with the opener: Sometimes the motor board itself is the problem—not the remote. Signs include the opener acting strangely, odd noises, or refusing to respond to any remote.
- Extremely old equipment: If your opener is a relic, some new remotes won’t be compatible. Upgrading might be safer and more reliable.
In cases like these, it’s worth calling a garage door pro. They can quickly diagnose the setup and get you back on track—no shame in getting a little expert help.
Keeping Your Genie Garage Remote Secure and Reliable
A well-programmed Genie garage remote should work for years without drama. But security and reliability are ongoing habits, not one-and-done jobs. Rolling code technology is a major leap forward, but you still need to be careful. Always erase codes if you lose a remote, swap out batteries the moment you notice lag, and keep an extra remote handy in case of emergencies.
If you’re ever in doubt, Genie’s manuals and support lines can walk you through model-specific instructions. And remember: a little patience goes a long way. Even pros sometimes need two or three tries to get everything synced up just right.
You don’t need to be a tech wizard to master your Genie garage remote. It’s mostly a matter of knowing the steps, taking your time, and not getting discouraged if something doesn’t work right away. The next time your neighbor asks for help, you might just find yourself explaining these same simple steps—coffee in hand, of course.