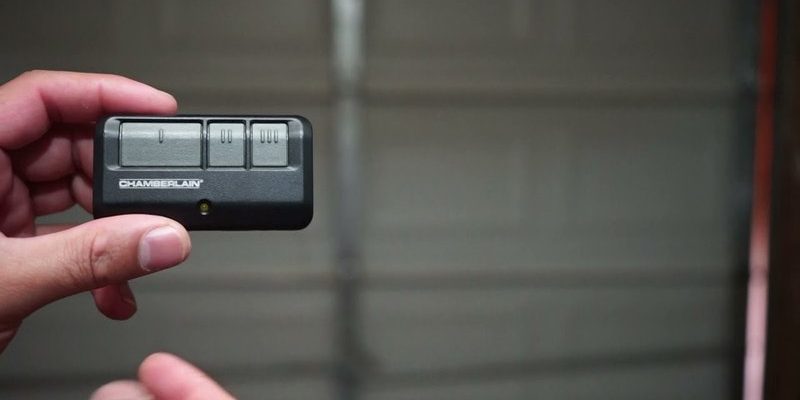
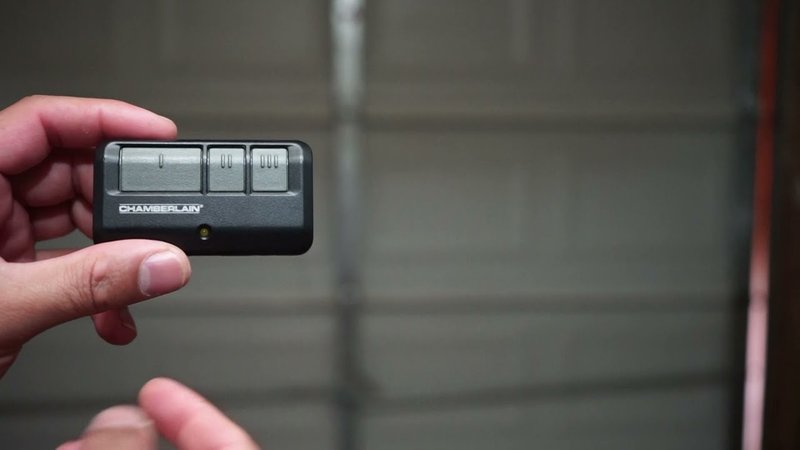
Here’s the thing: Chamberlain is one of the most popular brands for garage door openers. Their remotes come in different shapes and flavors, but under the hood, they pretty much all work the same way. If you’ve ever stared at your small black remote and wondered, “Where on earth is the programming code?” — you’re not alone. Finding and entering this code is what lets your remote talk to your garage door opener. Without it, pressing the button is as effective as pressing the button on your toaster.
Understanding How Chamberlain Garage Remotes Communicate
Before you hunt for that elusive programming code, let me explain what’s actually happening when you try to pair or sync a Chamberlain remote. Each remote and opener set up a sort of “secret handshake,” using a special code. This process keeps your garage door secure — so not just anyone can roll up and open your door.
Chamberlain uses a system called “rolling code technology.” That means the code changes every time you use the remote. So, even if someone tried to copy your signal, it wouldn’t work next time. This is baked right into the design. Instead of needing a fixed “programming code” printed in a manual, your job is to help introduce your remote to your opener. Think of it like matchmaking — both sides need to say hello at the right moment.
Programming doesn’t happen on the remote itself. Instead, you’ll press a special button on your garage opener — the big motor unit hanging from your garage ceiling. Once that’s done, you’ll usually have 30 seconds to press the right button on your remote and sync up. That’s your “programming code handshake” in action.
Locating the Learn Button: Your Gateway to Programming
You might be wondering, “If there’s no actual code, what am I looking for?” Here’s the magic trick: you’re looking for the Learn button on your Chamberlain opener. It’s usually located on the back or side of the main motor unit. Most of the time, you’ll need a ladder — so don’t try this in flip-flops.
When you climb up to your opener, look for a small button labeled “Learn.” Sometimes it’s colored yellow, red, purple, or orange, depending on your unit’s age. You might have to pop off a light cover to see it. Near this button, you’ll notice an LED indicator. This light is your feedback system — it’ll help confirm if you’re syncing your remote properly or if you need to try again.
If you ever feel lost, remember: the Learn button is the “reset” and “pair” switch for nearly every Chamberlain remote issue.
Don’t worry if your opener doesn’t have a giant sign that says “code here.” The Learn button is your programming code portal. Pressing it puts the opener into a listening mode — ready to pair with your remote.
Step-by-Step: How To Program a Chamberlain Garage Remote
Let’s go through the process like you’re walking a friend through it on the phone. No confusing jargon, just what you need to do, one step at a time.
- Prep your equipment: Make sure your remote has a fresh battery. If it’s dead or weak, programming won’t work — and you’ll be pulling your hair out for no reason.
- Find the Learn button: Get a safe step stool or ladder. Locate the Learn button and make sure you can reach it easily.
- Press the Learn button: Once you press it (usually just for one second), you’ll see the LED light turn on or blink. This means your opener is now listening for a signal.
- Sync the remote: Within 30 seconds, press the button on your remote that you want to use for opening the garage. Hold it for about 3 seconds. If the programming worked, the opener’s light will flash or you’ll hear a click.
- Test it: Hop down and try opening or closing your garage door with the remote. If it doesn’t work, go through the steps again — sometimes it just needs another shot.
If at first the code doesn’t take, don’t panic. In my experience, trying twice usually does the trick (especially if you’re balancing on a ladder the first time).
Common Mistakes When Programming a Chamberlain Remote
Honestly, programming a Chamberlain remote isn’t rocket science, but people run into a few classic pitfalls. Here’s what to watch out for so you don’t waste time.
First up, check your batteries. I’ve seen more garage doors refuse to sync simply because the remote battery was too weak to make a proper connection. It’s like trying to call someone with your phone at 1% — you just won’t get through.
Second, timing really matters. After pressing the Learn button, your opener has a short window to receive the new code. If you wait too long, or if you accidentally hold the Learn button too long (which can erase all remotes), you’ll have to start over. It’s a bit like waiting in line to buy concert tickets — you have to act quickly when your turn comes.
Lastly, signal interference is more common than most folks realize. If you have LED light bulbs, wireless devices, or even a metal cabinet near your opener, these can sometimes mess with the syncing process. If things aren’t working, try removing obstacles or switching off nearby electronics.
Troubleshooting If Your Chamberlain Remote Won’t Program
You pressed the Learn button. You hit the remote. Nothing. Here’s where you dig in and troubleshoot, step by step. No need to replace everything at once.
Battery check: Even a new-looking battery can be dead. Swap in a fresh one and try again.
Distance matters: Stand just a few feet from your opener when you press the remote button. Too close, and the signal can oversaturate; too far, and it won’t reach at all.
Erase and reset: If you’ve tried programming and it still won’t connect, you might need to clear all codes from the opener. Hold the Learn button for about 6–10 seconds until the light goes out. This wipes the opener clean, so you’ll need to reprogram all remotes — a pain, but sometimes necessary.
If you move into a new house, or your old remote is missing, it’s smart to erase all codes and start fresh for your own security.
Finding the Right Remote: Chamberlain vs Universal Remotes
There are times when you can’t find your specific Chamberlain remote anymore — maybe it’s lost, broken, or discontinued. Universal remotes can be lifesavers, but they come with their own quirks.
Chamberlain-branded remotes are almost always plug-and-play with their openers. Universal remotes, though, need to be compatible with the right “frequency” and “code style.” Most modern Chamberlain openers (made after 1993) use Security+ or Security+ 2.0 technology. When buying a universal remote, check the packaging for compatibility.
Setting up a universal remote usually follows the same steps: press the Learn button, then the remote button, but sometimes you’ll need to do some extra fiddling. Don’t expect every universal remote to work the first try — I’ve seen some that require a few cycles to sync up. In the end, if you can, stick with the Chamberlain brand for the smoothest pairing.
How To Reset Chamberlain Garage Remotes and Opener Codes
Let me explain what happens if you need a total reset. Maybe you lost a remote or just bought a house with who-knows-how-many old remotes floating around. Resetting wipes out every paired remote and lets you start from scratch.
Here’s what you do:
- Locate the Learn button on your opener unit.
- Press and hold the Learn button for about 6–10 seconds. The indicator light will go out.
- All remotes and keypads are now erased from memory.
- Reprogram each remote or keypad one by one. Follow the pairing steps listed earlier.
After a reset, test each remote to make sure they work. This routine is useful if you ever give away an old remote or worry about who might have access.
Checking Your Remote’s Battery and Signal Strength
Sometimes, everything’s programmed perfectly — but the remote still won’t work. Batteries are the most common culprit. Chamberlain remotes usually use coin-style batteries (like CR2032). Swap out for a fresh one if you haven’t in a while.
If you put in a new battery and the remote feels “weak” (as in, you have to stand right next to the opener), consider other sources of trouble:
- Interference from wireless routers, LED light bulbs, or nearby electronics.
- Antenna wire on the opener is missing or damaged.
- The remote itself is cracked or water-damaged.
Moving or replacing these interference sources can often restore full range. The antenna on your opener should hang straight down — give it a gentle tug if it’s tucked up out of the way.
Tips for Keeping Your Chamberlain Garage Remote Secure and Reliable
Now that you know about programming and codes, let’s talk about keeping things safe. Chamberlain’s rolling code tech is secure, but it’s still smart to take a couple extra precautions.
First, if you ever lose a remote (say, it slips out of your car at a mall), immediately erase all paired remotes and reprogram the ones you want to keep. It’s a quick process and could prevent someone from gaining unwanted access.
Second, change your remote battery once a year, whether it’s acting up or not. It’s easy to forget, but makes things much more reliable. Keep the remote dry and clean — a sticky button from soda or dust can make it seem like it’s “broken,” when it’s just gunked up.
Lastly, keep your Chamberlain manual handy and maybe snap a photo of your opener’s model number and Learn button color. It’ll save you a headache if you ever need technical support or need to buy a compatible remote in the future.
Garage doors are often the “front door” for families — keeping your remote working and secure isn’t just about convenience, but peace of mind.
It can be a little nerve-wracking the first time you try to find the programming code for your Chamberlain garage remote, but once you know what to look for — that trusty Learn button — the rest falls into place. Whether you’re syncing up a new remote, troubleshooting an old one, or resetting everything for a fresh start, a little patience (and maybe a new battery) goes a long way. With these steps, you’ll be rolling in and out of your garage with confidence, every time.