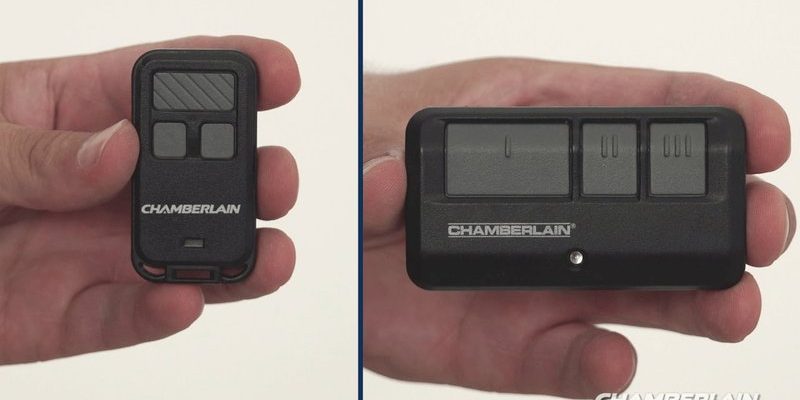
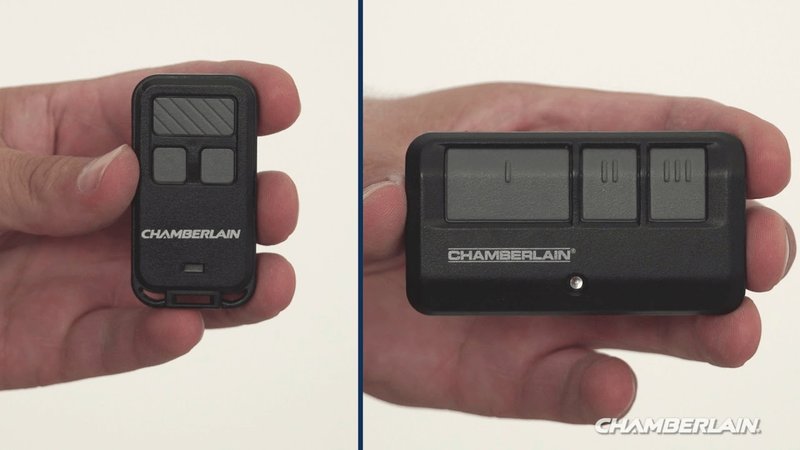
The good news? You don’t need to be a tech wizard or own special tools. Most Chamberlain remotes, whether it’s the classic visor-clip style or a compact keychain version, follow a similar process when it comes to reset and re-pairing. Let’s break it down step by step—coffee in hand, stress levels low.
Understanding Chamberlain Garage Remotes: How They Work
A Chamberlain garage remote is basically a tiny radio transmitter. When you press the button, it sends a coded signal to a receiver hooked up to your garage door opener. If those codes match, the garage door opens like magic. But if the code gets scrambled, the battery dies, or the system gets out of sync, you end up with a remote that acts like it’s on vacation.
Here’s the thing: These remotes use “rolling codes”—the code changes every time you press the button, making it pretty secure. But this also means if the remote or opener forgets their shared secret, you need to help them reconnect. That’s where the reset comes in. Think of it as rebooting your Wi-Fi router after a bad day.
Stray interference, power outages, or even the neighbor’s universal remote can throw things off. Resetting isn’t just about fixing a broken remote—it’s about making sure everything is safe and synced up.
When And Why Should You Reset Your Chamberlain Garage Remote?
You might be wondering, “Do I really need to reset my remote, or is it just being finicky?” Here’s how you know a reset is in order:
- The remote stopped working after a power outage: Sometimes, losing power knocks the opener’s memory out of whack.
- You’ve replaced the remote’s battery, but it’s still not working: Dead batteries can cause the remote and opener to fall out of sync.
- You want to erase all remotes (security reasons): Maybe you lost a remote or just moved into a new house. A reset keeps things secure.
Resetting is different from just changing the battery. Think of a reset as clearing the whiteboard—wiping all stored remotes so you can start fresh. If your remote is only sometimes temperamental, a quick battery swap or cleaning the contacts might do the trick. But if nothing works, a full reset is probably your best move.
Getting Your Supplies Ready: What You’ll Need
Before rolling up your sleeves, let’s gather what you need for this reset job:
- Your Chamberlain remote (the one that’s acting up)
- The garage door opener unit (mounted on the ceiling of your garage)
- A stepladder (unless you’re unusually tall)
- Fresh batteries (if you haven’t swapped them yet)
Honestly, you don’t need much else. No need for screwdrivers, wires, or any obscure tools. Just keep your garage remote and opener manual handy, if you have it. Some remotes have slightly different buttons, so knowing your specific model can help.
One thing to watch for: Always make sure nobody stands under the door while you’re doing this. The door might move during the process, and you don’t want any surprises. Safety first, always.
Resetting Your Chamberlain Garage Door Opener: Step-By-Step Instructions
Here’s where we get into the nitty-gritty. The reset process is pretty straightforward, but it’s easy to rush or miss a step if you’re distracted (been there). Let me walk you through it one step at a time.
1. Locate the “Learn” Button on the Opener
The “Learn” button is your key to the entire Chamberlain system. Look for it on the back or side of the opener unit attached to your garage ceiling. It’s usually near the antenna wire and might be colored yellow, red, purple, or orange. Sometimes it’s hidden behind a light cover—you might need to pop that off gently.
2. Clear the Opener’s Memory
Press and hold the “Learn” button for about 6 to 10 seconds. You’ll see the light on the opener blink or hear a click. That means all remotes and keypads stored in memory have been erased. Think of this as resetting the Wi-Fi password—you just kicked everyone off the network.
3. Re-Sync (Pair) the Remote
Now, grab your Chamberlain remote. Press the “Learn” button ONCE (a single, quick press now) and a light should turn on or start blinking. Within 30 seconds, press and hold the button you use on your remote. The opener’s light might blink again, or you’ll hear a click, meaning you’ve successfully paired the two.
4. Test Everything
Hop off the ladder and stand clear of the door. Press the button on your remote. The garage door should move smoothly, just like before. If it doesn’t, repeat the steps—sometimes it takes a couple tries, especially if the timing is off.
If your remote still isn’t working, make sure you’ve got new batteries, the contacts are clean, and no other remotes are interfering. Double-check the model if things look a little different—older models might have minor tweaks to this process.
Troubleshooting Common Chamberlain Remote Problems
Here’s the part nobody talks about: Sometimes, you follow all the steps, and your Chamberlain remote still acts like a stubborn mule. That’s when it’s time to troubleshoot.
- Remote isn’t pairing at all? Try a different battery, even if the current one seems new. Low battery voltage can cause pairing to fail.
- The opener’s light isn’t flashing? Double-check you’re pressing the “Learn” button correctly and for the right amount of time. It’s easy to double-press by accident.
- Other remotes stopped working too? Remember, clearing memory erases every paired device. You’ll need to re-program each one.
- Still nothing? Some older Chamberlain models or universal remotes might need you to follow a slightly different sync process. Check your model number and look up the specifics.
Honestly, if it feels like you’re doing everything right and it’s still not working, don’t sweat it. Sometimes the opener’s circuit board is at fault, or you might have an interference issue with nearby electronics.
Understanding Universal Remotes vs. Chamberlain Brand Remotes
You might be tempted to grab a universal remote from the hardware store instead of sticking with a Chamberlain-branded one. It’s a fair thought, especially if you like the idea of one remote to rule them all. But there are some trade-offs.
- Compatibility: Chamberlain remotes are guaranteed to work with Chamberlain openers. Universals promise to work with most, but occasionally they don’t match up with newer rolling code systems.
- Ease of Sync: Brand remotes usually follow the steps above. Universal ones sometimes need extra programming—pressing a combo of buttons, fiddling with dip switches, or entering a code.
- Features: Some Chamberlain models have extra bells and whistles—like built-in lights or multiple buttons for different doors—that most universals won’t have.
If you just want something that works, stick with a Chamberlain remote. But if you’ve got multiple doors or even different brands of openers in your garage, a universal might make sense—just double-check the compatibility list.
Replacing The Battery In Your Chamberlain Remote
You’d be surprised how many “broken” remotes are just suffering from a dead battery. Seriously, before you go through the reset process, try swapping in a fresh one.
How To Change The Battery (General Steps):
- Pop open the case using a coin or small flathead screwdriver—don’t force it, just a gentle twist.
- Note the battery type (usually a coin cell like CR2032). Match it exactly.
- Remove the old battery and insert the new one, matching the positive side as marked.
- Snap the case closed, and test it out.
If the remote still doesn’t work, then you know the issue isn’t just power-related and a reset is probably needed. Always handle batteries with dry hands, and keep them away from small children and pets.
Safety Considerations When Resetting Garage Remotes
Let me explain why safety needs its own section. Working with a garage door opener isn’t usually dangerous, but mishaps can happen if you’re not paying attention.
- Keep clear of the door’s path: A successful remote reset might trigger the door to open or close without warning.
- Use a stable ladder: Don’t try balancing on a wobbly chair—you need to safely reach the opener.
- Unplug the opener when accessing internal components: If you need to poke around inside (rare, but possible for circuit board issues), always cut the power first.
- Watch your fingers: Garage remotes and openers have spring-loaded parts. Be mindful when snapping cases closed or working near the door’s mechanisms.
Honestly, it all comes down to common sense. Take your time, double-check your steps, and if something feels off, pause and reassess. The goal is to fix your Chamberlain remote, not end up on a home fail video.
What To Do If Resetting Doesn’t Fix Your Chamberlain Remote
Sometimes, despite your best efforts, the Chamberlain garage remote just won’t come back to life. At that point, you’ve got a few options.
- Try another remote: If you have another programmed remote in the household, see if it works after the reset. If not, the opener might be the issue.
- Check for interference: Strong wireless devices, metal objects, or fluorescent lights nearby can sometimes mess with the remote’s signal.
- Contact Chamberlain support: They’ve seen every problem under the sun and can walk you through advanced troubleshooting or warranty options.
- Replace the remote: If your remote is old or physically damaged, it might be time for a new one. Sometimes, parts just wear out—no shame in an upgrade.
Think of it like your favorite pair of sneakers. Fix what you can, but when they’re beyond repair, don’t be afraid to get a replacement.
Wrapping Up: Resetting Your Chamberlain Garage Remote With Confidence
There’s real satisfaction in pressing a button and seeing your garage door glide open—especially after wrangling with a stubborn remote. Resetting a Chamberlain garage remote isn’t rocket science, but it does require a bit of patience and careful following of steps. Whether you’re dealing with a lost connection, upgrading for security, or just swapping batteries, you now know how to get things synced up again and troubleshoot along the way.
Strong wireless signals and secure codes keep your garage door—and everything behind it—protected. So when things get out of sync, a quick reset sets things right. And if you ever get stuck, you’re not alone; even the best gadgets hiccup from time to time. Reset, re-pair, and get back to easy living—one button press at a time.