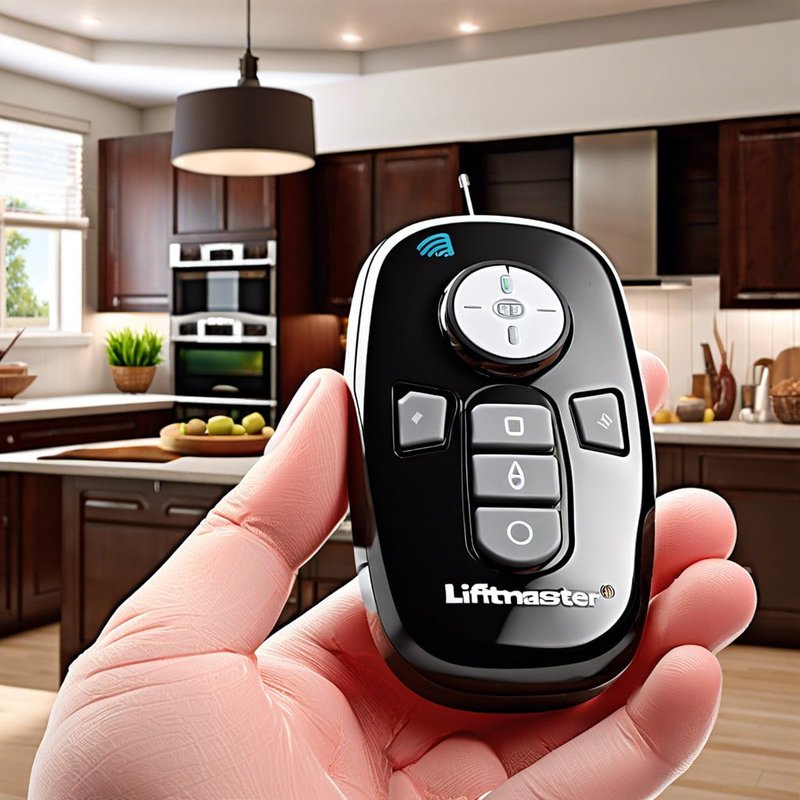
Most Liftmaster remotes work like a handshake between your remote and the opener—all thanks to a little magic called “programming.” It’s not sorcery, though. Honestly, understanding the basics behind how your remote pairs with the opener helps you avoid mistakes and wasted time. Whether you just got a replacement, added a new car, or your trusty clicker suddenly decided to stop, programming a Liftmaster remote isn’t as scary as it sounds. Let’s break down the best practices step by step, so you can be the hero who always gets the garage door open—no stress, no guesswork.
Understanding Liftmaster Garage Remote Types and Compatibility
Let me explain something folks often miss: not every remote works with every Liftmaster garage door opener. It’s a bit like matching socks—close isn’t always close enough. Most modern Liftmaster remotes use “rolling code technology,” which changes the remote’s programming code every time it’s used. This helps prevent code theft and keeps your garage secure. But here’s the thing: if you grab a remote that isn’t compatible with your opener’s year or model, you’ll be fighting an uphill battle.
To get started, look for a model number on both your remote and your opener. You’ll usually find this on the back of the remote or inside the battery cover, and on a sticker near the opener’s light bulb compartment. Matching these up matters because some older units use fixed codes, while newer models use Security+ or Security+ 2.0 technologies. Pairing the right remote to the right opener means fewer headaches and less wasted time standing in your driveway pressing buttons.
Before you program anything, double-check your remote’s battery. It sounds obvious, but a weak battery can cause pairing to fail or make the signal unreliable. If you’re dealing with a universal remote, read the instructions carefully—some universal remotes can mimic Liftmaster signals, but you might need to set them up using special code sequences. Patience and preparation go a long way here.
Step-by-Step Guide: How to Program Liftmaster Garage Remote
Honestly, programming a Liftmaster garage remote is usually a five-minute job, but it helps to have a clear step-by-step plan. Here’s what you need to do:
- Find the “Learn” Button: This is typically located on your garage door opener unit, just under the light cover. It might be yellow, red, orange, or purple, depending on your model.
- Press the “Learn” Button: Press and release the “Learn” button. You’ll have about 30 seconds to complete the next step—so don’t wander off just yet.
- Press the Remote Button: Within those 30 seconds, press and hold the button you want to program on your Liftmaster remote. Usually, you’ll see the opener’s lights blink or hear a click. That’s your signal the code synced successfully.
- Test the Remote: Step back, close the door, and press the programmed button. If the door moves, you’re golden. If not, repeat the steps—you may have missed the timing window.
If you mess up or the opener flashes angrily, don’t panic. Wait a minute and try again from the top. Sometimes, interference from other electronics nearby can cause issues—so move any strong wireless devices (like Wi-Fi routers) away from the opener temporarily. Little adjustments can make a big difference here.
The secret sauce to programming a Liftmaster remote is following the rhythm: click, wait, click again. Don’t rush, and trust the steps!
Troubleshooting Liftmaster Remote Programming Issues
You might be wondering why, after doing everything “by the book,” your remote still refuses to cooperate. Most of the time, it’s something small tripping you up. Maybe a drained battery, a dirty contact, or an opener that’s just plain stubborn. In these moments, it’s easy to feel like you’re talking to a brick wall, but hang tight—a little troubleshooting goes a long way.
First off, swap the battery for a brand-new one, especially if your remote feels unresponsive or only works when you’re right next to the opener. Sometimes, a weak battery simply can’t send a strong enough signal. Next, look for any dust or gunk on the remote’s contacts (inside the battery compartment or around the button). Even a tiny fuzz can mess things up.
If that doesn’t work, try resetting both the remote and the garage door opener. Most openers let you clear old codes by holding down the “Learn” button for about 6 to 10 seconds until the light blinks. This wipes the opener’s memory, so you’ll need to reprogram any remotes from scratch. Sometimes, interference from metal objects, LED lights, or even a neighbor’s remote on the same frequency can also mess with the signal. Move these items away when programming. Persistence is your friend here.
Syncing Multiple Liftmaster Remotes to One Opener
Let’s say you’ve got more than one driver in the house—or you want to keep a spare remote in the glove box. Adding extra remotes to the same Liftmaster opener is easier than you might think. Just repeat the programming steps for each remote. Start with the opener’s “Learn” button, then press the desired button on the new remote within 30 seconds. Each new remote gets its own code handshake, so there’s no need to erase existing ones when adding more (unless you want to).
If the opener won’t accept new remotes, it might have reached its memory limit (usually around 5-10 remotes, depending on your model). To make room, clear the opener’s memory as described earlier, and then reprogram only the remotes you still want to use. This step is handy if you’ve lost a remote and don’t want a stranger to have garage access.
A little organization helps here. Label each remote with tape or a marker so you know which one is which. That way, if you ever need to reset or re-sync, you’re not left guessing.
Resetting Liftmaster Remote: When and How
Sometimes, things get out of sync. Maybe your remote worked great for years, but after a power outage or battery change, suddenly nothing happens. When this occurs, a full reset is often the best fix. Think of it as rebooting a glitchy phone—sometimes you just need a fresh start.
To reset your Liftmaster remote system, hold down the “Learn” button on the opener for 6-10 seconds until the indicator light turns off. This erases all codes from memory and un-pairs every remote. From there, you’ll need to reprogram each remote by following the pairing steps above.
Doing a reset is especially important if you move into a new house, lose a remote, or suspect someone else may have an extra copy. It’s a smart security move, even if it feels a little tedious.
Resetting your Liftmaster remote is like changing the locks on your front door—sometimes, it’s just the safe thing to do.
Comparing Liftmaster Remotes: Universal vs. Brand-Specific
You’ve probably seen universal remotes on the shelf and wondered if they’re worth the gamble. Here’s the thing: universal garage remotes can work with many Liftmaster openers, but they aren’t always plug-and-play. You’ll need to make sure the remote supports your opener’s frequency (usually 315 MHz or 390 MHz) and rolling-code technology. Sometimes, universal remotes require entering a programming code or pressing a combination of buttons to “teach” them your brand and model.
On the other hand, a genuine Liftmaster remote almost always works perfectly with Liftmaster openers, especially recent models. The benefit? Fewer hiccups during programming, better compatibility, and less troubleshooting down the road. Universal remotes can be a lifesaver if you want one remote to control multiple brands or devices, but double-check compatibility before buying.
If you’re in doubt, go with a brand remote for peace of mind. But if you’re tech-savvy and like a challenge, universal remotes can add flexibility—just expect a few extra steps along the way.
Changing the Battery and Remote Maintenance Tips
It might sound silly, but the garage remote’s battery is the single point of failure most folks overlook. If your remote gets weak or stops working, swap in a fresh coin-style battery (usually a CR2032 or CR2016, but check your manual). Take care not to touch the circuit board with your fingers. Oils from your skin can cause corrosion.
Also, keep your remote clean and dry. Wipe it with a damp cloth if it gets sticky, and never drop it in water (trust me, that’s a bad day). If you use the remote daily—especially in extreme cold or hot climates—batteries may only last a year or so. When you notice your range shrinking (you have to be closer to the door for it to work), that’s a sign it’s time for new batteries.
A working remote is like a good friend—take care of it, and it’ll be there when you need it most.
Programming Liftmaster Remotes for Security and Peace of Mind
At its core, programming your Liftmaster garage remote is about more than just convenience—it’s about security. Each time you sync or reset a remote, you’re deciding who gets easy access to your home. And honestly, that matters. Regularly updating your code, keeping lost remotes out of circulation, and making sure only the right people have access adds a layer of peace of mind you can’t put a price on.
Let me be real: Don’t share your remotes freely, and always erase codes if you give away, lose, or replace a remote. With a few simple steps, you make sure your garage—and everything inside—stays safe. It’s a small habit that pays off every time you pull in and the door opens, like magic, just for you.
Programming a Liftmaster garage remote doesn’t need to be intimidating. With a little patience and these best practices, syncing and maintaining your remote becomes second nature. Remember to check compatibility, follow the right steps, and keep your remotes (and their batteries) in good shape. If you ever get stuck, don’t stress—resetting and re-syncing usually does the trick.
At the end of the day, a well-programmed Liftmaster remote is really about peace of mind and a smooth return home. Take it step by step, trust the process, and you’ll never be left outside wishing for a miracle.
