The magic of the Nest Smart Remote lies in its ability to act as a central command. You can turn down the thermostat, dim the lights, or tell your speaker to play music—all without tapping endless apps. Whether you’re brand new to smart homes or just tired of juggling multiple remotes, this guide will help you set up your Nest Smart Remote step by step, making sure each part is crystal clear.
What is the Nest Smart Remote and How Does It Work?
Let me explain what the Nest Smart Remote actually does. Unlike the old-school remotes that only work with one TV or a single device, this smart remote is designed to control a full suite of Google Nest and other compatible smart home products. Think of it as a universal translator, speaking the language of thermostats, smart lights, speakers, and even some TVs or streaming sticks.
The real magic comes from its ability to pair with your Wi-Fi network and talk to your Nest devices through Google Home. Instead of sending old-school infrared signals, it uses more advanced protocols—sort of like sending an email instead of yelling across the room. This makes it far more flexible, especially if you have gear stashed in cabinets or want to control devices from different rooms.
Here’s the thing: for the Nest Smart Remote to work smoothly, everything needs to be speaking the same “language.” That’s why syncing and pairing are important steps. If you’re coming from a universal remote background, the process here is actually easier—no weird codes to memorize. Just connect, sync, and play. Honestly, once it’s up and running, you’ll probably wonder how you ever managed with a drawer full of remotes.
Unboxing and Preparing Your Nest Smart Remote
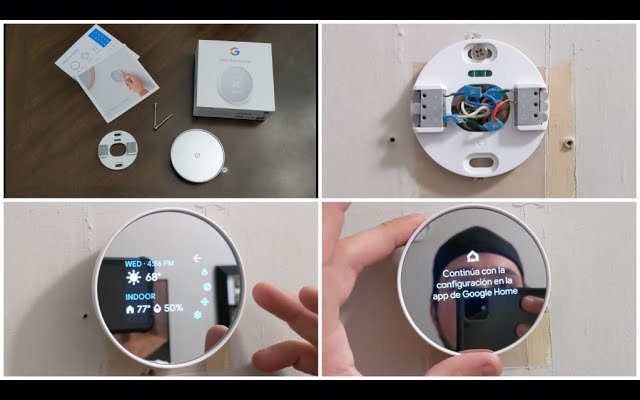
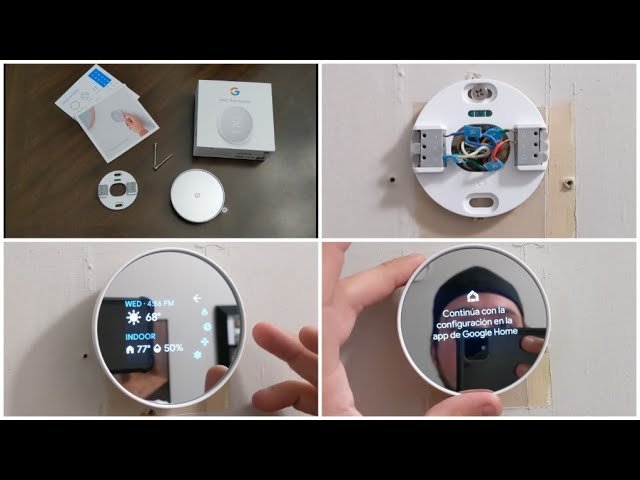
Opening a new gadget should feel exciting, not stressful. When you unbox your Nest Smart Remote, you’ll find a few essentials: the remote itself, a set of batteries (usually AA or AAA), and a quick-start guide. Don’t toss that guide—sometimes there’s a reset code or pairing trick hidden on the last page.
Before you start, make sure you have a stable Wi-Fi connection and your phone or tablet nearby with the Google Home app installed. The Google Home app is the nerve center for all things Nest, and you’ll need it for syncing and pairing your remote. Also, check the batteries. Fresh batteries make a huge difference during setup. If your remote isn’t turning on, swap them out before troubleshooting further.
Sometimes, people miss the little pull tab that keeps the batteries from draining in the box. If your remote feels dead out of the gate, look for this tab and take it out. Last thing: make some space near your Nest devices. You’ll probably be moving between your phone, the remote, and maybe a speaker or thermostat as you get everything connected. Keep your eyes peeled for a pairing button on the back or side of the remote—it’s your new best friend during setup.
Connecting the Nest Smart Remote to Google Home
Pairing your Nest Smart Remote with Google Home is honestly where most of the setup magic happens. Here’s how it usually goes:
- Open the Google Home app on your phone or tablet.
- Tap the “+” icon to add a new device.
- Select “Set up device,” then choose “New device.”
- Pick your home (if you have more than one set up), and let the app search for nearby devices.
At this stage, press and hold the pairing button on your Nest Smart Remote until a light starts blinking. This tells the app to look for your remote. You might see a pop-up that says “Nest Smart Remote found.” If not, try moving closer to your Wi-Fi router or double-checking that the batteries aren’t on their last legs.
The app should guide you through a few simple screens—naming your remote, picking which room it’ll live in, and finally, syncing it to your smart home ecosystem. If you run into trouble, don’t panic. Sometimes it just takes a restart: remove the batteries, reinsert them, then hold the pairing button again. Think of it as the classic “turn it off and on again” trick that, honestly, fixes more than you’d expect.
Pairing the Nest Smart Remote With Your Nest Devices
Now that the remote is talking to Google Home, you’ll want it working seamlessly with your other Nest devices. The most common use case is controlling your thermostat, speakers, or smart lights. The process is kind of like introducing new friends—everyone needs a quick handshake before they start working together.
Start in the Google Home app. You’ll see a list of your compatible devices: “Nest Thermostat,” “Nest Audio,” “Nest Hub,” and so on. If your remote supports direct pairing (which it should out of the box), it’s just a matter of assigning commands or deciding which device the remote controls by default.
Example: You might set the remote’s up/down buttons to adjust your Nest Thermostat, while the play/pause controls handle your living room Nest speaker. For customized control, look for advanced settings in the app. You can usually map buttons or set favorite actions. Take your time here—setting this up the way you want can save endless headaches down the line.
If a device doesn’t appear, double-check that it’s on the same Wi-Fi network and that you’ve added it to your Google Home account. Compatibility matters, so not every third-party gadget will show up like Nest devices do. When in doubt, try to update the firmware on both the device and the remote through the app. Firmware updates can fix a surprising number of connection bugs or sync issues.
Customizing Buttons and Voice Controls on the Nest Smart Remote
Here’s where the real fun starts. The Nest Smart Remote isn’t just about basic on/off. You can fine-tune which button does what, and in many cases, set up custom routines or shortcuts for your household. The Google Home app lets you dig deep into these settings.
- Open the Google Home app and locate your Nest Smart Remote.
- Tap on “Device Settings” and look for “Button Configuration.”
- Choose which actions you want for each button: adjust temperature, play music, turn on lights, or even start a morning routine.
Honestly, don’t be afraid to experiment. Maybe you want the volume rocker to dim your living room rather than blast your playlist louder. It’s your call! Some Nest remotes also support voice controls, letting you say “Hey Google, pause music” from the remote itself if it has a built-in mic.
If the remote isn’t responding or acting weird, try resetting the remote (usually a small pinhole button on the back). Re-sync it through the app, and you should see your changes take effect. Think of this as “rebooting” your remote’s brain—sometimes, a little refresh clears up confusion.
Troubleshooting Common Nest Smart Remote Problems
Even the slickest gadgets hit a snag sometimes. If your Nest Smart Remote isn’t working, here are the most common issues and how to fix them:
- Remote won’t pair: Check the batteries, move closer to your Wi-Fi router, or restart your phone and try pairing again through Google Home.
- Laggy or unresponsive buttons: This is often a sign the remote isn’t fully paired or is out of sync. Remove and replace the batteries, then retry the pairing process.
- Device missing from control list: Make sure your device is compatible (not all third-party products work) and on the same Wi-Fi network. Run any available firmware updates in the Google Home app.
- Voice commands not working: Some remotes require additional setup for voice—double-check in the device settings. If the mic is off or permissions aren’t granted, turn them on in the app.
Don’t feel bad if setup isn’t perfect on the first try. Most smart home users, myself included, run into at least one hiccup. Sometimes, a good old-fashioned reset does the trick—just like troubleshooting a stubborn printer or Wi-Fi router.
Nest Smart Remote vs. Universal Remote: Key Differences
You might be wondering what makes the Nest Smart Remote special compared to a classic universal remote. Here’s the thing—while both are designed to simplify your life, they go about it in totally different ways.
Universal remotes usually rely on infrared (IR) signals and require programming codes for every device. Remember hunting down ten-digit codes in tiny print? Not fun. The Nest Smart Remote skips all that, using Wi-Fi and advanced protocols for communication. That means you can control more than TVs—think smart thermostats, speakers, and even security cams, as long as they’re in the Google ecosystem.
Plus, the Nest Smart Remote can receive updates automatically. If Google adds a new feature or fixes a bug, you’ll get improvements without hunting for a new remote. Voice integration and deep customization aren’t common in older universals, but they’re built into the Nest system.
Of course, there are limits. If you have lots of non-Google gear—old stereos, legacy DVD players—a universal remote might still have a place in your living room. But for a modern smart home, especially one built around Google and Nest products, the Nest Smart Remote is honestly hard to beat.
Resetting, Updating, and Maintaining Your Nest Smart Remote
Let’s be real—sometimes gadgets just need a reset. If you ever get stuck, lost, or want to pass your remote on to someone else, resetting the Nest Smart Remote is a simple process. Usually, there’s a tiny button you’ll need a paperclip for. Hold it down for about 10 seconds, and the remote will restart, ready for fresh pairing.
Firmware updates are another thing you shouldn’t ignore. The Google Home app will typically prompt you when there’s an update, but you can also check manually. Updated code can fix bugs, add compatibility, or even squeeze more battery life out of your remote.
Maintenance is mostly about keeping the batteries fresh and the device clean. If it starts feeling sluggish, swap the batteries or clean the contacts with a dry cloth. Pro tip: keep some spare AA or AAA batteries in a drawer nearby—trust me, the remote will die at the least convenient moment otherwise.
- If you ever need to reset: Press and hold the reset button with a paperclip until the light blinks. Then repeat the pairing and syncing steps above.
- For updates: Open the Google Home app, tap “Device Settings” for your remote, and check for updates.
- To switch to a new network or home: Reset the remote and start the setup process from scratch in the new location.
Final Thoughts on Setting Up Your Nest Smart Remote
Getting your Nest Smart Remote set up doesn’t have to feel like a tech marathon. Take it step by step: unbox, power up, connect to Google Home, pair with your Nest devices, and tweak the controls to fit your life. If you hit a hiccup, don’t panic—most problems have fixes just a menu or battery swap away.
A well-set-up Nest Smart Remote can bring a sense of order to your smart home that honestly feels a little magical. You get to control your space with minimal fuss—no more frantic searches for the right remote or wrestling with confusing buttons. After your setup, you’ll wonder how you ever managed the old way. Enjoy the convenience, and remember, a little patience goes a long way in the smart home world.