Well, here’s the thing: a lot of GE air conditioners come with a nifty remote that can help you set a timer. It’s as if you could train your AC to know exactly when to start and when to stop, like teaching a golden retriever to fetch a cold drink. If you’ve ever stared at that little “Timer” button and wondered, *what in the world does this do*—you’re definitely not alone. The GE AC remote can feel more mysterious than it has any right to be, especially if you’re new to it (or just lost the tiny booklet that came in the box). But it’s totally doable, and honestly, once you get the hang of it, you’ll never want to go back.
Below, I’ll walk you through everything: step-by-step instructions on setting a timer, what all the buttons mean, real-world reasons why you’d use the feature, and troubleshooting if things go haywire. If you’ve got your GE air conditioner and its remote handy, go ahead and grab them. Let’s make that remote work for you.
Meet Your GE AC Remote: What Do All These Buttons Do?
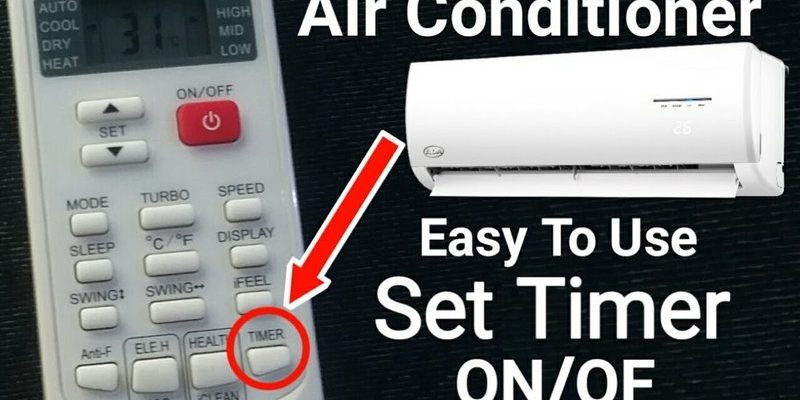
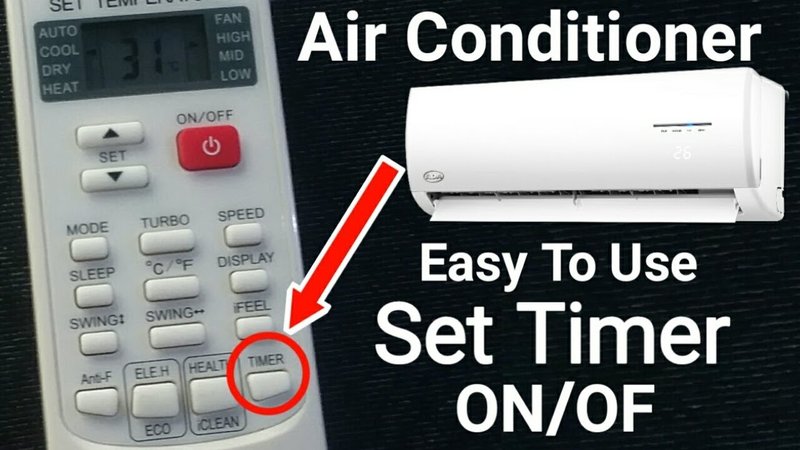
Okay, first things first: you’ve got this slim little remote in your hand, probably with a million buttons that all look the same, especially in the dark. GE AC remotes usually have some classic controls—*power*, *mode*, *fan*, *temperature up/down*, and, somewhere, that *timer* button we’re after.
The timer function usually lives near the bottom half of the remote, sometimes labeled just “TIMER,” or occasionally as “ON TIMER” or “OFF TIMER.” If you’re staring down a remote that also mentions “PROGRAM” or “SCHEDULE,” don’t stress—those are just extra-fancy words for timer settings. And honestly, most GE AC remotes follow this simple logic: Press the timer button, then use the up/down arrows to set the hours, and you’re golden.
You might be wondering about those other mysterious buttons—like “Sleep,” “Eco,” or “Reset.” Think of your remote like a Swiss Army knife. Sure, you might only use the bottle opener most days, but it’s nice to know what the other gadgets do. Sleep mode usually adjusts the temperature automatically through the night, while Eco mode saves energy. As for reset, that’s your “panic button” if the remote ever acts up or loses sync with your AC.
If your remote isn’t working at all, check the battery compartment. Sometimes, swapping out the batteries or making sure they’re properly seated will give your remote new life. And if all else fails, you can always pair or re-sync your remote using the AC’s main panel (but more on that later).
How To Set the Timer on Your GE AC Remote: Step-By-Step
Imagine: you’re about to drift off to sleep, but you want your room to stay cool for just a couple more hours, not all night. Here’s exactly *how* you set that up with your GE remote—and yes, it’s easier than assembling IKEA furniture.
- Step 1: Power On
First, make sure your air conditioner is plugged in and powered on. If the remote isn’t working, try replacing the battery. If that doesn’t work, a quick sync or reset might fix communication issues. - Step 2: Find the Timer Button
Scan your remote for a button labeled “Timer,” or sometimes “ON Timer” or “OFF Timer.” Press it once. Some remotes will light up a little clock icon on the screen. Don’t panic if you don’t see it right away—sometimes there’s a tiny delay, especially if your remote is waking up from battery sleep. - Step 3: Set the Timer Duration
Right after you press the Timer button, use the up/down arrows (sometimes labeled + and -) to adjust the timer in hours. For example, if you want the AC to turn off in 3 hours, tap the up arrow until the display reads “3.” Some remotes even let you set it down to the minute, but honestly, most stick to whole hours for simplicity. - Step 4: Confirm Your Setting
The screen will usually blink or show a confirmation—sometimes a “TIMER ON” or “TIMER OFF” indicator. That means it’s set! Sit back, relax, and let that timer work its magic.
Here’s a quick story: last summer, I set mine to turn off at 2 AM, and—no exaggeration—it saved me from waking up in a room that felt like the Arctic Circle. The best part? You can always *reset* the timer or change it anytime, just by repeating the steps above.
Timer Modes: ON Timer, OFF Timer, and How They Differ
You might be wondering—why does the remote have ON and OFF timer settings? Isn’t a timer just a timer? Not quite! Here’s where things get a little more clever.
- ON Timer: This lets you schedule your AC to turn *on* at a specific time. For example, say you want your bedroom cool before you even walk in the door after work. Set the ON timer for 5:00 PM, and boom, the AC will kick on by itself—even if you’re not home yet.
- OFF Timer: This is what you use to turn the AC *off* after a certain amount of time, like we just did above. If you fall asleep and don’t want the AC running all night, set the OFF timer for 2-3 hours, and let it handle the rest.
Most GE AC remotes let you use both at the same time. Picture this: set your AC to turn on at 6:00 PM for a couple of hours, then have it shut itself off at 8:00 PM, all automatically. That’s the dream if you hate coming home to a stuffy house but also don’t want to waste electricity.
Here’s a cool trick—*if you ever mess up the timer settings or change your mind*, just hit the Timer button again and reset using the up/down arrows. It’s super forgiving, which is nice, considering how many other appliances make you want to throw them out the window at the first mistake.
Troubleshooting: When the Timer Doesn’t Work as Expected
Alright, let’s be real. Sometimes, even when you do everything right, your GE AC remote acts like it’s on vacation. Maybe the timer doesn’t set, or the AC ignores your commands altogether. Annoying? Absolutely. Fixable? Almost always.
Common timer troubleshooting checklist:
- Check the remote’s battery. Low battery charge can mess with the code the remote sends for timer functions. Fresh batteries are a total game-changer here.
- Make sure there’s nothing blocking the remote’s signal path to the AC. Sounds obvious, but a stray book or even the edge of your bed can disrupt the infrared code sync.
- If your AC and remote aren’t pairing correctly, try pressing the “Reset” or “Sync” button (usually hidden inside the battery compartment or on the back of the remote). Hold it down for a few seconds to re-sync the remote with your air conditioner.
- If you’ve recently experienced a power outage or electrical surge, you may have to unplug and reset your AC unit itself. Wait a couple of minutes, plug it back in, and try again.
If all else fails, sometimes you just need to start from scratch: remove the batteries, leave them out for 60 seconds (to let the remote’s internal code reset), and then pop them back in.
Honestly, don’t beat yourself up if things go sideways. Even folks who handle electronics all day run into weird, unexplained bugs now and then.
Why Using the Timer Feature Matters (and When You’ll Really Appreciate It)
Here’s the part folks overlook: the timer on your GE AC remote isn’t just about convenience—it’s about *taking control* over your comfort *and* your electricity bill. Setting a timer means no more running the air conditioner all night or forgetting to turn it off before you leave. That’s money in your pocket (and, if you care about such things, a little less guilt about your carbon footprint).
Think about different use cases:
- Heading out for a few hours? Set the ON timer so your place is cool when you get back, without running the AC all day.
- Sleeping light? Use the OFF timer to avoid waking up freezing cold.
- Energy conscious? Let the timer help you avoid accidentally racking up the electric bill while you’re at work or asleep.
- If you’ve got a universal remote, timer features might be a bit trickier or more generic—but GE’s branded remote usually works seamlessly and reliably.
I’ll admit, I used to be one of those people who’d just turn the AC on and hope for the best. But after a summer or two of sky-high bills, I finally started using the timer features. Game. Changer. It’s like giving your future self a little present every day.
Comparing GE AC Remote Timers To Universal Remotes (And Why Brand Matters)
Not all remotes are created equal. Maybe you lost your original GE remote and picked up a universal one from the store. It works, but the timer isn’t quite the same—or, worse, doesn’t work at all. What gives?
Brand-specific remotes like the one from GE are coded to work seamlessly with the model’s built-in features, including all those timer settings. Universal remotes? They’re more like “jack of all trades, master of none.”
With a GE-branded remote, the timer functions (ON, OFF, and sometimes programmable schedules) are easy to set and always sync up perfectly. Universal remotes often have only basic code compatibility—meaning they’ll turn the AC on and off, but timer features can be hit or miss, or buried behind weird menu codes.
If you’re stuck with a universal remote, check the manual. Some brands require you to enter a code for timer functions. Still, if you want full reliability and every feature to work as designed, the original GE remote or an exact replacement is your best bet.
Pro Tips: Reset, Sync, and Make The Most of Your GE AC Remote
Here’s where it pays to know a few expert moves. Even if your remote feels bulletproof, knowing how to reset and sync it can save you a ton of headaches down the line.
- Resetting: If the remote goes haywire, find the tiny reset button (usually inside the battery cover). Press it with a paperclip for a few seconds. The remote will usually go back to factory settings, and you’ll need to pair it again with your AC.
- Syncing: If the remote and the AC lose communication—say, after you change the batteries, or there’s a power surge—hold the sync button (if available) while pointing it directly at the AC unit. Wait for the confirmation beep or flashing light.
- Battery changes: When swapping out batteries, always replace both at the same time with fresh ones. Mixing old and new can cause weird code errors on the remote, especially with timer programming.
- Check the display: Some remotes have a tiny LCD screen. If the digits are fading or the screen is blank, that’s a battery red flag. Change them out before you attempt to set any timers.
Honestly, I’ve seen people spend hours fiddling with a remote when all it needed was a good old-fashioned battery swap (or, let’s be real, a gentle smack against the palm—just kidding… mostly).
Closing Thoughts: Taking Charge of Your Comfort and Convenience
Getting the hang of your GE AC remote’s timer function isn’t just about mastering another gadget. It’s the little bit of everyday magic that lets you feel a step ahead—comfortable when you want, saving energy when you don’t, and impressing anyone who once thought you needed to babysit your air conditioner.
Once you start using the timer, you’ll wonder how you ever managed without it. That moment when you walk into the perfect temperature, or wake up not-too-hot, not-too-cold? That’s worth the two minutes it takes to set things up properly. And now, armed with these steps, a fresh battery, and maybe a backup plan just in case, you’re ready to make your GE remote work like a pro. Isn’t it nice when a little control goes a long way?