Here’s the thing: Honeywell makes a ton of different controllers, but most of them share a pretty similar logic. If you know the basic moves for switching between cool and heat, you’re basically set for any season. No need to phone a tech-savvy friend or Google frantically every time the weather flips. That’s what this guide is for, so let’s walk through it together—no judgment, no stress, and you’ll master your remote in no time.
Understanding Your Honeywell AC Remote: The Basics
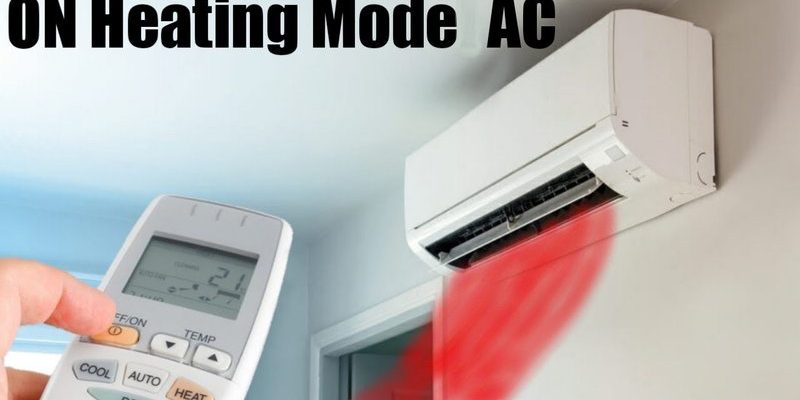
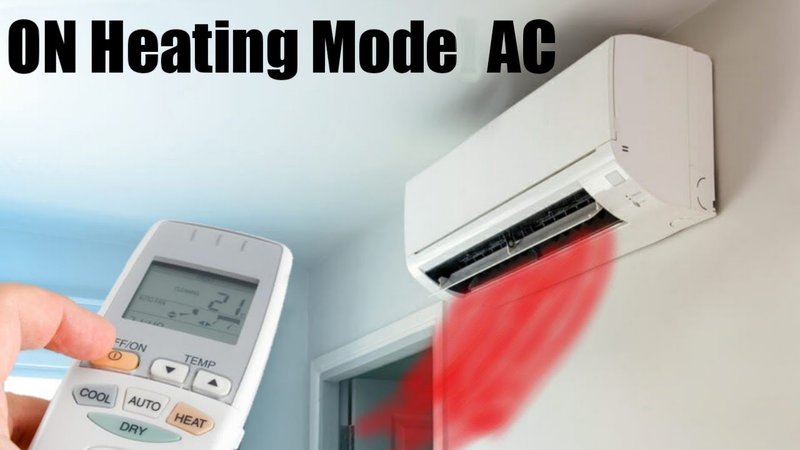
Before we start jumping through modes, let’s get cozy with the remote itself. A typical Honeywell AC remote feels a bit like the cockpit of a tiny spaceship—lots of buttons, cryptic little icons, but thankfully, only a few that actually matter for temperature control.
You’ll usually see:
- A large button marked “Mode” or sometimes just a symbol (think snowflake for cool, sun for heat).
- Up and down arrows for adjusting temperature.
- A display screen that shows you what’s happening—like which mode you’re in, temperature set, and sometimes extra info like “fan” or “eco” mode.
- Other buttons for fan speed, timer, or swing. Ignore those for now if your only mission is to switch from cool to heat.
Honestly, the big secret is this: The “Mode” button is your golden ticket. It cycles you through the main options—cool, heat, fan, maybe dry or auto. If you’re ever lost, just find “Mode” (or its symbol) and you’re halfway there.
How The Mode Button Works: A Step-By-Step Walkthrough
Let me explain how this works in real life. You grab your Honeywell remote—maybe you just changed the batteries (always a good idea if things aren’t responding)—and you’re faced with the digital display. When you tap the Mode button, the AC unit’s settings rotate through all available options. It’s a bit like scrolling through apps on your phone.
Here’s a little story: My first time using a Honeywell remote, I thought holding down the button would jump straight from “cool” to “heat.” Nope. It just stayed put. Turns out, you actually need to tap it repeatedly, pausing between each press, to see the icons or words change on the screen. You’ll see something like this as you cycle through:
- Cool (look for a snowflake icon or “COOL” on display)
- Heat (a sun or “HEAT” appears)
- Fan (usually just a fan symbol)
- Dry/Dehumidify (maybe a water drop icon)
- Auto (the AC decides for you—handy, but not a true swap between cool and heat)
Pro tip: Some Honeywell remotes have slightly different modes or icons depending on how fancy they are (universal vs. original). But “Mode” is always the way in. Once “Heat” or “Cool” shows up, stop cycling and use the temperature arrows to set your preferred degree.
Switching Between Cool and Heat: A Visual Guide
Okay, you might be wondering, “What if I miss the mode I want? Do I need to start over?” Not at all. The mode button just keeps looping. Go too far? Keep tapping until you’re back where you want—think of it like skipping songs on a playlist.
Here’s how to nail the swap every time:
- Point the remote directly at your AC unit. (No, waving wildly from across the room usually doesn’t work. The sensor needs a clear shot!)
- Press “Mode” once. See if the display changes. If not, press again. And again, slowly, until you spot “Cool” or “Heat.”
- When the desired mode pops up, pause. Adjust your temperature now with the up/down arrows. The AC will beep or flash to let you know it’s accepted the change.
If your remote is synced and paired correctly, this should work instantly. If nothing changes—no beeps, no mode shift—it might be time for a quick troubleshooting check: weak batteries, blocked sensor, or maybe the AC unit itself needs a quick reset.
Pairing, Syncing, And Resetting Your Honeywell Remote
Sometimes, no matter how much you mash the “Mode” button, nothing happens. This is usually a sign your remote and the AC unit aren’t actually talking to each other. Annoying? For sure. But it’s often an easy fix.
Here’s what you can try:
- First, replace the remote batteries. Weak power means unreliable signals.
- If that doesn’t work, try syncing or re-pairing the remote. On most Honeywell units, you just turn both the remote and AC off, wait a few seconds, and power them back on (sometimes holding “Mode” and “Power” together for a few seconds resets the sync—check your manual for the secret handshake for your model).
- Still not working? Unplug your AC for a full minute, then plug back in. This is a classic reset—to the AC, not the remote. Technology can be stubborn, right?
If you use a *universal remote*, make sure it’s coded correctly for Honeywell. You might need to enter a code listed in the universal remote’s manual. The right code is like a digital key—otherwise, your remote’s taking orders, but the AC just isn’t listening.
Common Troubleshooting When Switching Modes
Let’s say you did everything right, but your AC isn’t actually heating or cooling. What gives? Here’s the weird thing: Sometimes, the remote and display say “COOL” or “HEAT,” but the air blowing out feels unchanged. That’s why I always like to wait a minute near the AC, hand in front of the vent like a dork, just to check what’s actually coming out.
Some reasons this might happen:
- Wrong Mode: Maybe you accidentally switched to “Fan” or “Dry” instead. Double-check the display.
- AC Delay: Some Honeywell units have a slight delay when switching between modes. Give it 1–3 minutes to fully kick over, especially from cool to heat or vice versa.
- Remote Not Synced: If you don’t hear a beep or see your set temperature showing up, try the pairing/reset process again.
- System Issue: If you get an error code, blinking light, or nothing at all, there might be a deeper problem. Consult your Honeywell manual or consider calling in a pro. (Honestly, sometimes you have to admit defeat—no shame in that!)
Trying these steps takes only a few minutes, but can save tons of frustration. When in doubt, a quick reset or check of your model’s guide often reveals a quirky solution.
Comparing Original Honeywell Remotes With Universal Remotes
So you lost your original Honeywell AC remote, or maybe it’s mysteriously “borrowed” by another roommate. What now? Universal remotes are everywhere, but they come with their own learning curve.
Original remotes are simple: Everything’s pre-programmed for your AC. All the modes and symbols match up, and syncing is usually automatic. It’s the easiest route—if you have it.
Universal remotes require a bit more setup. You’ll need to “pair” the remote with your Honeywell unit using a special code (usually in the universal remote’s manual or printed on a sticker). Once paired, everything works…mostly. Some advanced modes might not show, and sometimes buttons get confusing (like Mode being hidden behind an “M” or “Function” button).
If you’re using a universal remote, keep the manual handy for codes. You might need to reset or re-enter the code every time you change the batteries.
Here’s a tip: If your universal remote doesn’t show “HEAT” or “COOL” clearly, try pressing Mode and watching the AC response, not just the screen. Trust your senses—if warm air starts blowing, you nailed it!
Keeping Your Remote (And AC) In Good Shape
Sometimes the simplest advice gets overlooked. I know it sounds silly, but clean your remote once in a while, especially around the sensor window. Dusty sensors can make commands laggy or ignored—like trying to have a conversation through a fogged-up window.
Also, store your remote somewhere you’ll remember. We’ve all wasted half an hour searching under couch cushions, right? A little routine (say, always leaving it on the coffee table) goes a long way toward keeping your Honeywell AC under control.
And batteries—swap them every few months, or whenever things start feeling “off.” Even if your display works, a weak signal might barely reach the AC. I keep a spare pack of batteries in the kitchen just for stuff like this. Worth its weight in gold during a heatwave or cold snap.
A Final Word On Switching Modes Smoothly
Switching between cool and heat mode on your Honeywell AC remote really isn’t so mysterious once you’ve done it a few times. The trick is knowing what the “Mode” button does, watching the display change, and giving your AC a moment to catch up. If things go sideways, a quick sync, reset, or battery swap solves the majority of glitches—no engineering degree required.
Let’s face it, we all want our homes comfortable without the stress of decoding buttons or tracking down manuals. With a bit of patience and practice, you’ll rule your Honeywell remote like a pro and never get stuck sweating or shivering unnecessarily. So next time the weather turns, just grab your remote, tap, tap, tap, and enjoy the perfect indoor climate—no fuss, no drama.