Here’s the thing: Yamaha soundbars are famous for their fantastic audio, but getting their remotes to “talk” to an older television can feel like setting up a vintage record player—quirky, slightly finicky, but totally doable with patience. The process usually involves a bit of code, some button-pressing gymnastics, and maybe even a minor existential crisis when it doesn’t work on the first try. Let’s walk through this together, step by step, so your remote and your TV finally get along like old friends at a reunion.
Getting to Know Your Yamaha Soundbar Remote
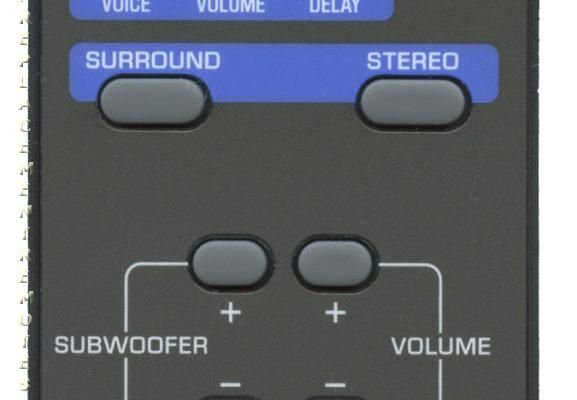
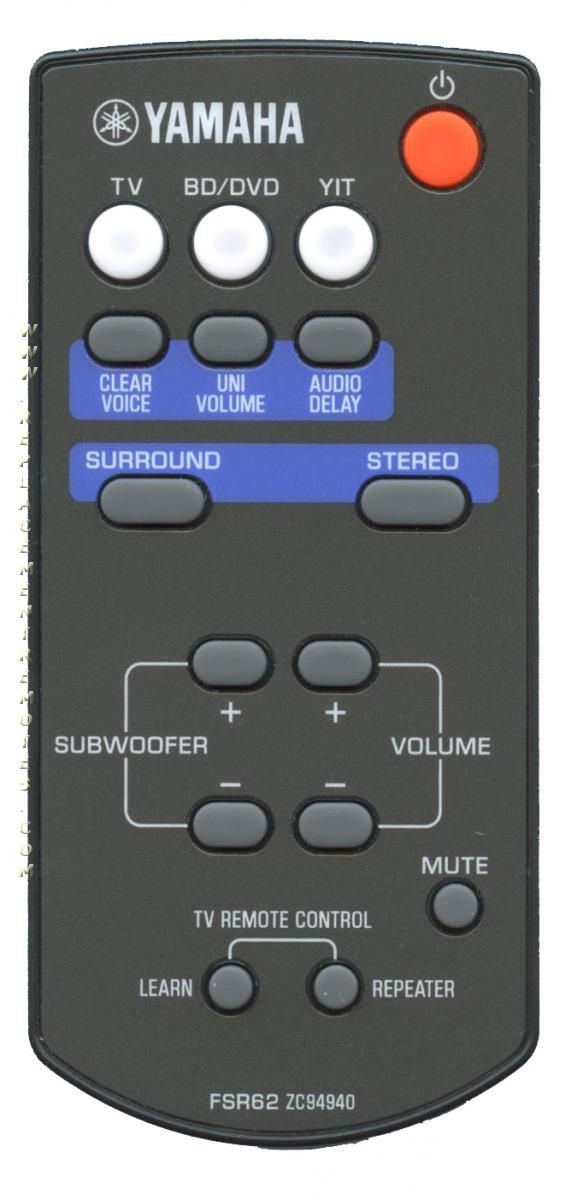
First up, let’s chat about the Yamaha soundbar remote itself. If you haven’t spent much time with it yet, it’s not just a stick with buttons—it’s kind of like your soundbar’s personal translator. Most models include power, volume, input selection, and sometimes even special features like surround mode or Bluetooth pairing. Just holding it, you can almost tell it wants to control more than just the soundbar.
Older TVs, on the other hand, usually came with chunky remotes that were more about brute force than elegance. Connecting these two worlds—sleek Yamaha tech meets “vintage” TV—is a bit like fitting a USB-C plug into an old VGA port. They don’t naturally want to pair, so you need to teach the Yamaha remote the right “language,” which is where programming or syncing comes in.
There are universal Yamaha remotes out there, but for the sake of this article, we’re talking about the remote that came with your Yamaha soundbar. It’s designed for Yamaha gear, but with a little know-how, you can get it to control your TV, too. Think of it as updating your wardrobe so that one outfit works for both a fancy dinner and a backyard barbecue—convenient and surprisingly stylish.
Why Programming Matters: The Everyday Convenience
So, why even bother to program your Yamaha soundbar remote for your older TV? Here’s a quick scenario: picture yourself cozied up under a blanket, popcorn in hand, and suddenly you realize the TV’s volume is way too low. Now you have to sit up, scramble for the right remote, and risk losing your comfy spot. Annoying, right?
Programming the soundbar remote to handle both devices means fewer remotes to hunt for and a much simpler movie night routine. No more “Where’s the TV remote? Oh, it’s under the couch.” Everything you need is in one place, making your living room feel more like a home theater and less like a lost-and-found office.
This little change genuinely boosts your daily comfort. It’s a win for anyone who loves efficiency (or, you know, just hates fussing with remotes). Plus, if friends or family come over, you don’t have to explain a complicated dance—just hand them one remote and you’re good.
How Programming Works: Codes, Sync, and Patience
Let me explain what’s happening behind the scenes. Most remotes (and this goes for Yamaha soundbar remotes, too) use something called “infrared codes.” These are basically secret handshakes between your remote and your TV. If you don’t have the right handshake, nothing happens—no volume change, no power on/off, nada.
To program your Yamaha soundbar remote for your older TV, you usually enter a specific code. Think of it like a cheat code in an old video game—it unlocks new features (or, in this case, control over your TV). Sometimes there’s a “learning mode” where you point both remotes at each other and let them sync up, copying the necessary signals.
But here’s the kicker: older TVs may have codes that aren’t in Yamaha’s manual, or their remotes might use signals that newer Yamaha remotes don’t recognize right away. Don’t worry—it’s not impossible, just a bit more trial and error than with newer gear. Be ready to try a few codes, maybe reset and start over. A little patience goes a long way.
Step-by-Step: Programming Your Remote the Simple Way
If you’re thinking all this sounds complicated, let’s break it down into a checklist you can actually follow.
- Find the right code: Check your Yamaha soundbar remote manual or Yamaha’s website for TV codes. These are brand-specific, so look for your TV’s manufacturer.
- Prepare both remotes: Fresh batteries save you a lot of headaches. If you’re not sure when you last changed them, just pop in a new set. Low battery can make the signal too weak to sync.
- Enter programming mode: Most Yamaha remotes have a “TV” or “Setup” button. Hold it down until the light blinks (or follow the specific instructions in your manual).
- Enter the code: Tap in the numbers you found for your TV brand. If it doesn’t work, try the next code on the list.
- Test it out: Press the power or volume buttons. If your TV responds, you’ve nailed it. If not, don’t panic—reset and repeat the steps with another code.
Honestly, trying several codes isn’t unusual, especially with older TVs. It reminds me of those old combination locks at school—sometimes you get it on the first try, other times you’re there for half an hour until it clicks. Persistence is the secret.
Common Troubles: When Things Don’t Go As Planned
You might be wondering, “What if it doesn’t work?” Don’t worry, you’re not cursed. The interplay between an older TV and a soundbar remote has a few classic stumbling blocks. Sometimes, the remote just refuses to pair, no matter how nicely you ask (or glare at it).
- Batteries: Yep, I said it twice because it’s that common. Old batteries can be sneaky—swapping them is the first troubleshooting step.
- Wrong code: If your TV brand isn’t responding, double-check the code. Sometimes, older TV models use a different code from what’s listed.
- Distance and angle: Infrared signals need a clear path. Sitting directly in front of the TV, a couple feet away, gives the best chance for success.
- Resetting: If things get hopelessly mixed up, resetting the remote is like a fresh start. Usually, it’s just holding down a specific button for a few seconds—check your manual for exact steps.
Sometimes, it’s not your technique—it’s just the tech. Older TVs may have unique quirks, or your Yamaha remote may have limitations on which brands it can “learn” from. If you run into a wall, you might need to consider a universal remote as a backup.
Alternatives: Universal Remotes and Workarounds
Honestly, if the Yamaha soundbar remote just refuses to play nice, there’s no shame in bringing in a pinch hitter—a universal remote. These are designed to handle a wide range of devices, old and new, by storing tons of codes and even more advanced learning features.
What’s neat with modern universal remotes is that they often walk you through the programming steps right on a little screen. Some even have mobile apps to make syncing a total breeze. If you’re dealing with a truly ancient TV, this might be the quickest solution. Plus, you can sometimes program them to handle not just the TV and soundbar, but your streaming box, Blu-ray player, ceiling fan—okay, maybe not the fan, but close.
Or, if you prefer to keep it simple, just use two remotes—there’s no remote police coming to inspect your coffee table. Sometimes, the tiny hassle is less than the time spent fiddling with codes. Totally your call.
The Role of Batteries, Distance, and Line of Sight
You’d be amazed how many programming issues are solved with fresh batteries. It sounds silly, but honestly, half the time a remote stops cooperating, it’s just crying out for a new pair of AAs. If your remote starts acting flaky halfway through programming, start here.
Another sneaky culprit is distance. Infrared (IR) remotes literally send light signals through the air. If you’re too far, at a weird angle, or there’s a stack of magazines in the way, the signal might not make it to the TV. Get up close, aim right at the TV’s IR sensor (usually a little black window below the screen), and give it another go.
Finally, some older TVs have more sensitive IR receivers than others. If things still aren’t working, try programming in a dimly lit room—crazy, but ambient sunlight can sometimes interfere with the signal. Hey, whatever works, right?
Resetting and Updating: When to Start Fresh
Let’s say you’ve tried every code, pressed every button, and you’re pretty sure you’ve worn a groove in your living room carpet from pacing. Sometimes the only way forward is to reset both your soundbar and the remote. This wipes out all the old code attempts and clears up any “confused” memory the remote might have built up.
To reset, you’ll usually find a combo like “hold down Power and Mute for 5 seconds,” but check your Yamaha manual to be sure. After resetting, try the programming routine again, moving slowly step by step. Occasionally, manufacturers release firmware updates for remotes and soundbars (usually for newer models), so hop onto the Yamaha support site to see if there’s an update or troubleshooting guide for your specific setup.
And, if nothing else works, reaching out to Yamaha’s customer support is always an option. They’ve seen every “it won’t sync!” situation under the sun and can often point out a quirk or solution you wouldn’t have found on your own.
Wrapping It Up: Enjoying the Simplicity
If you’ve made it this far, you’re either a true tech detective or just really ready for a simple life with fewer remotes. Either way, programming a Yamaha soundbar remote for older TVs is all about patience, trial and error, and a sprinkle of luck. Once it’s done, though, it genuinely makes watching TV more relaxing. You might even find yourself bragging just a little—”Yeah, my Yamaha remote handles everything.”
Just remember: keep your batteries new, codes handy, and attitude relaxed. Every home theater setup has its quirks, especially when mixing the old with the new. The real win is making your space work for you, so settle in, hit play, and enjoy the sound—and simplicity—you’ve worked for.